
JIRA Service Management
JIRA Service Management - User Portal
Series: JSM, Post #6
First posted: Jan 08 2025
Read time: 30 minutes
Written By: Steven Godson
Greetings!
In this fifth article in my series on JIRA Service Management (JSM) we will be looking at the User Portal to understand what its various capabilities are and how they can be used by those with Service Desk Agent or Project Admin permissions.
I will show in each section the Create, Read, Update and Delete permission that the User and Project Admin roles have.
This article builds on the knowledge gained from the previous articles in this series, where we looked at the design and implementation options available for JSM, and takes a pragmatic view of what is possible.
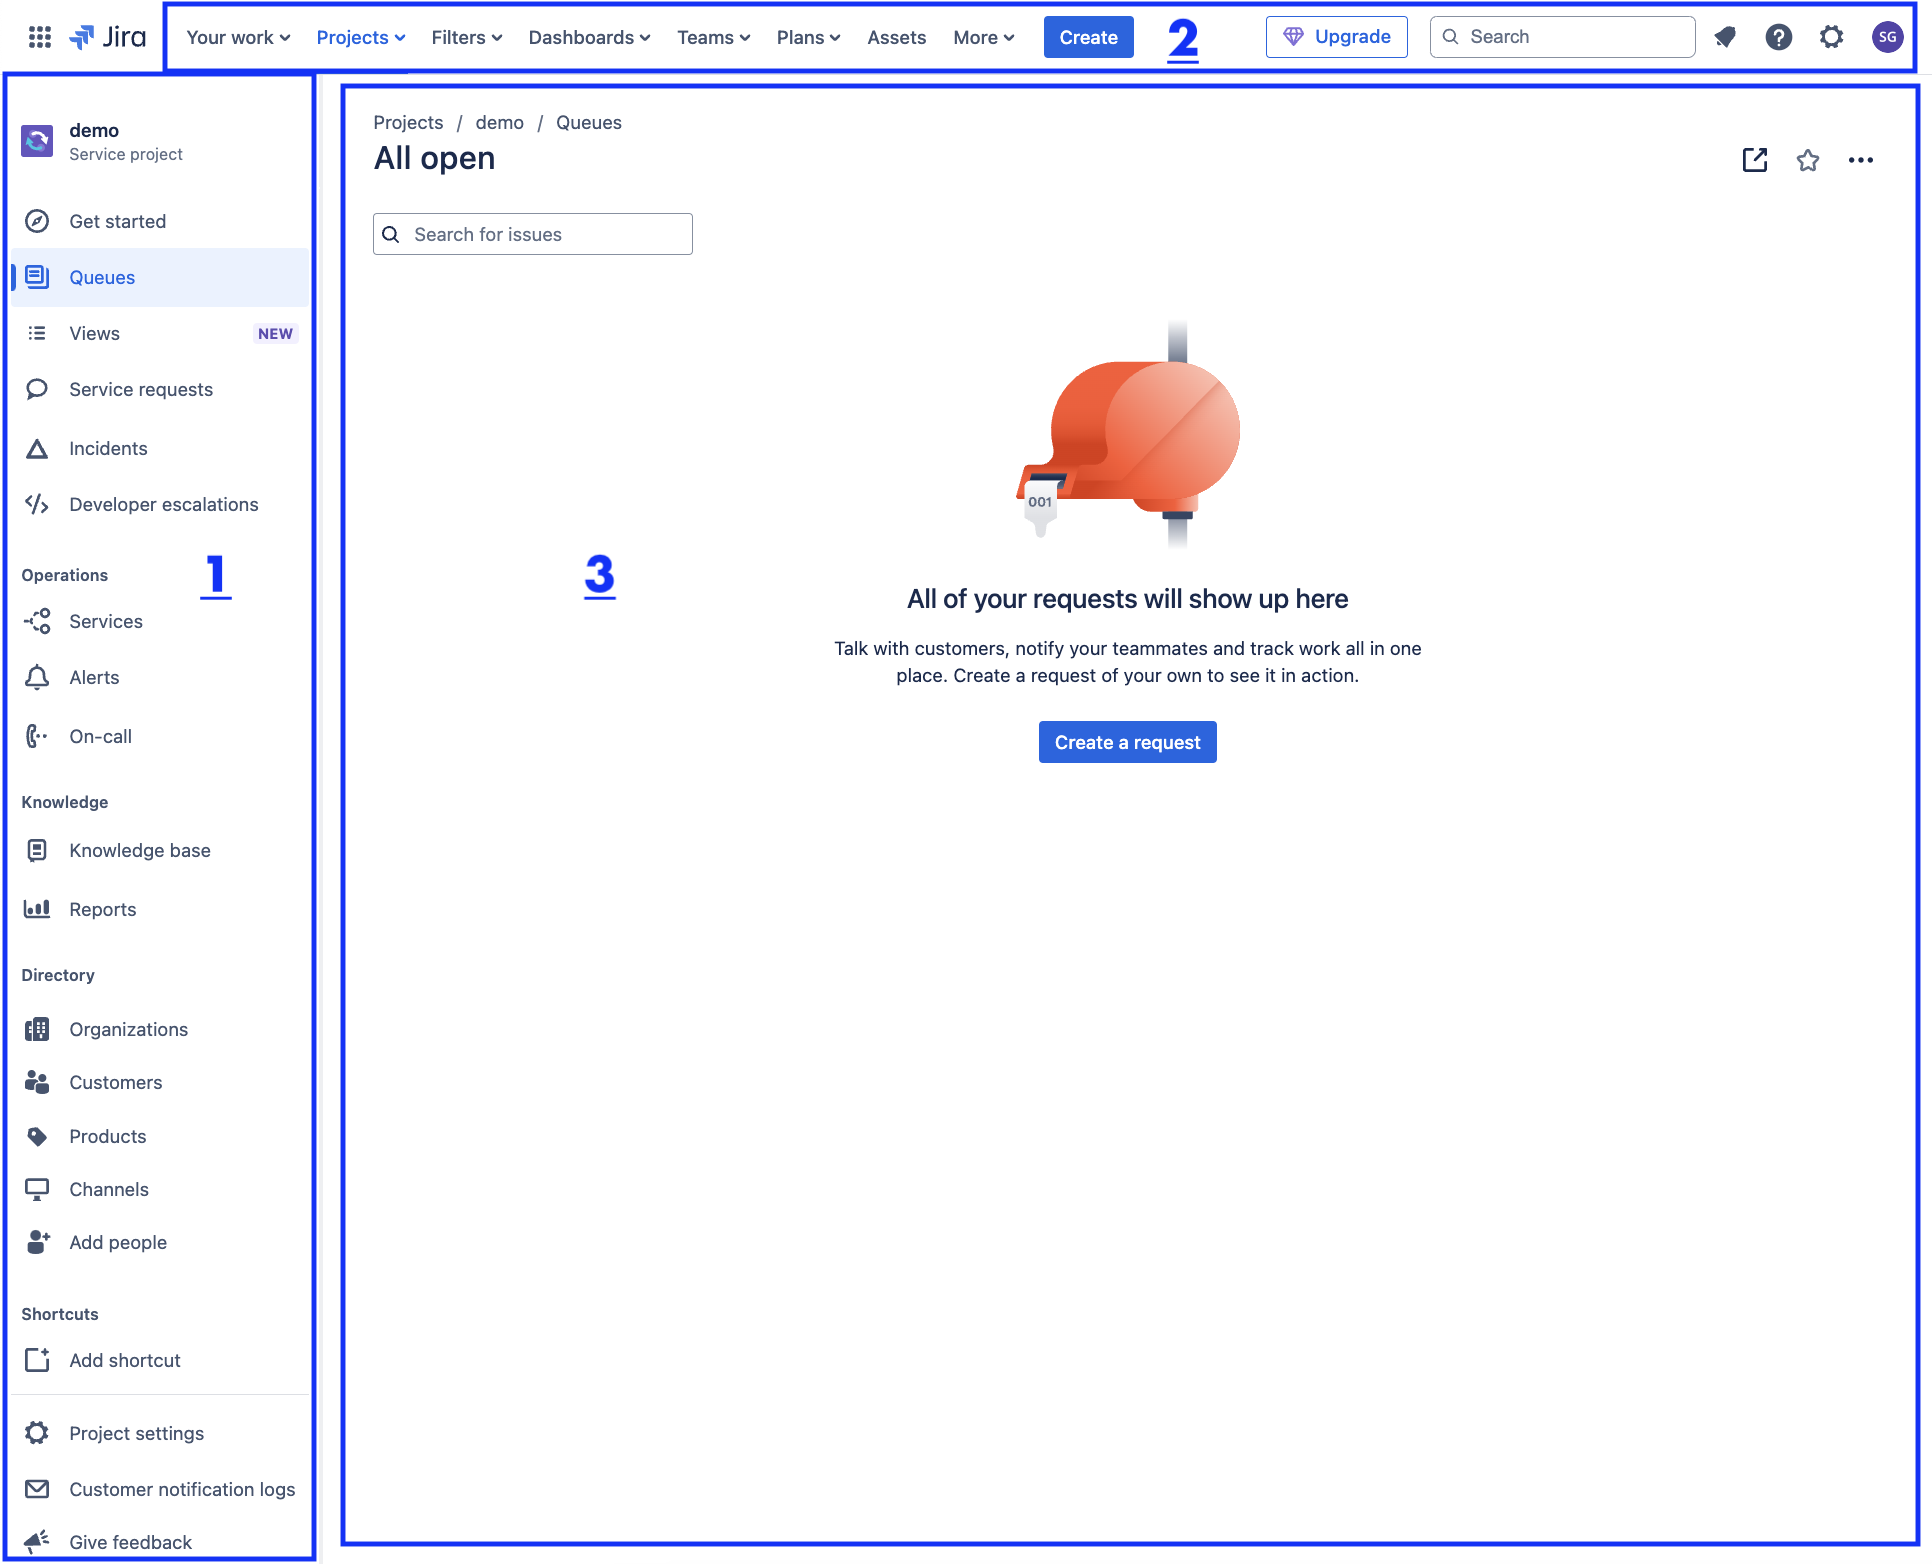
The user portal is made up of a few key areas, as shown on the below image, which are
- Main project menu on the left-hand side of the screen
- JIRA menu across the top of the screen
- Work area where all screens, lists and options are interacted with by the user
Main Project Menu
Get Started (Agent: none, Admin: CRUD)
This area was covered in the first article of this series on JSM. JIRA Service Management - Article 1
Queues (Agent: R, Admin: CRUD)
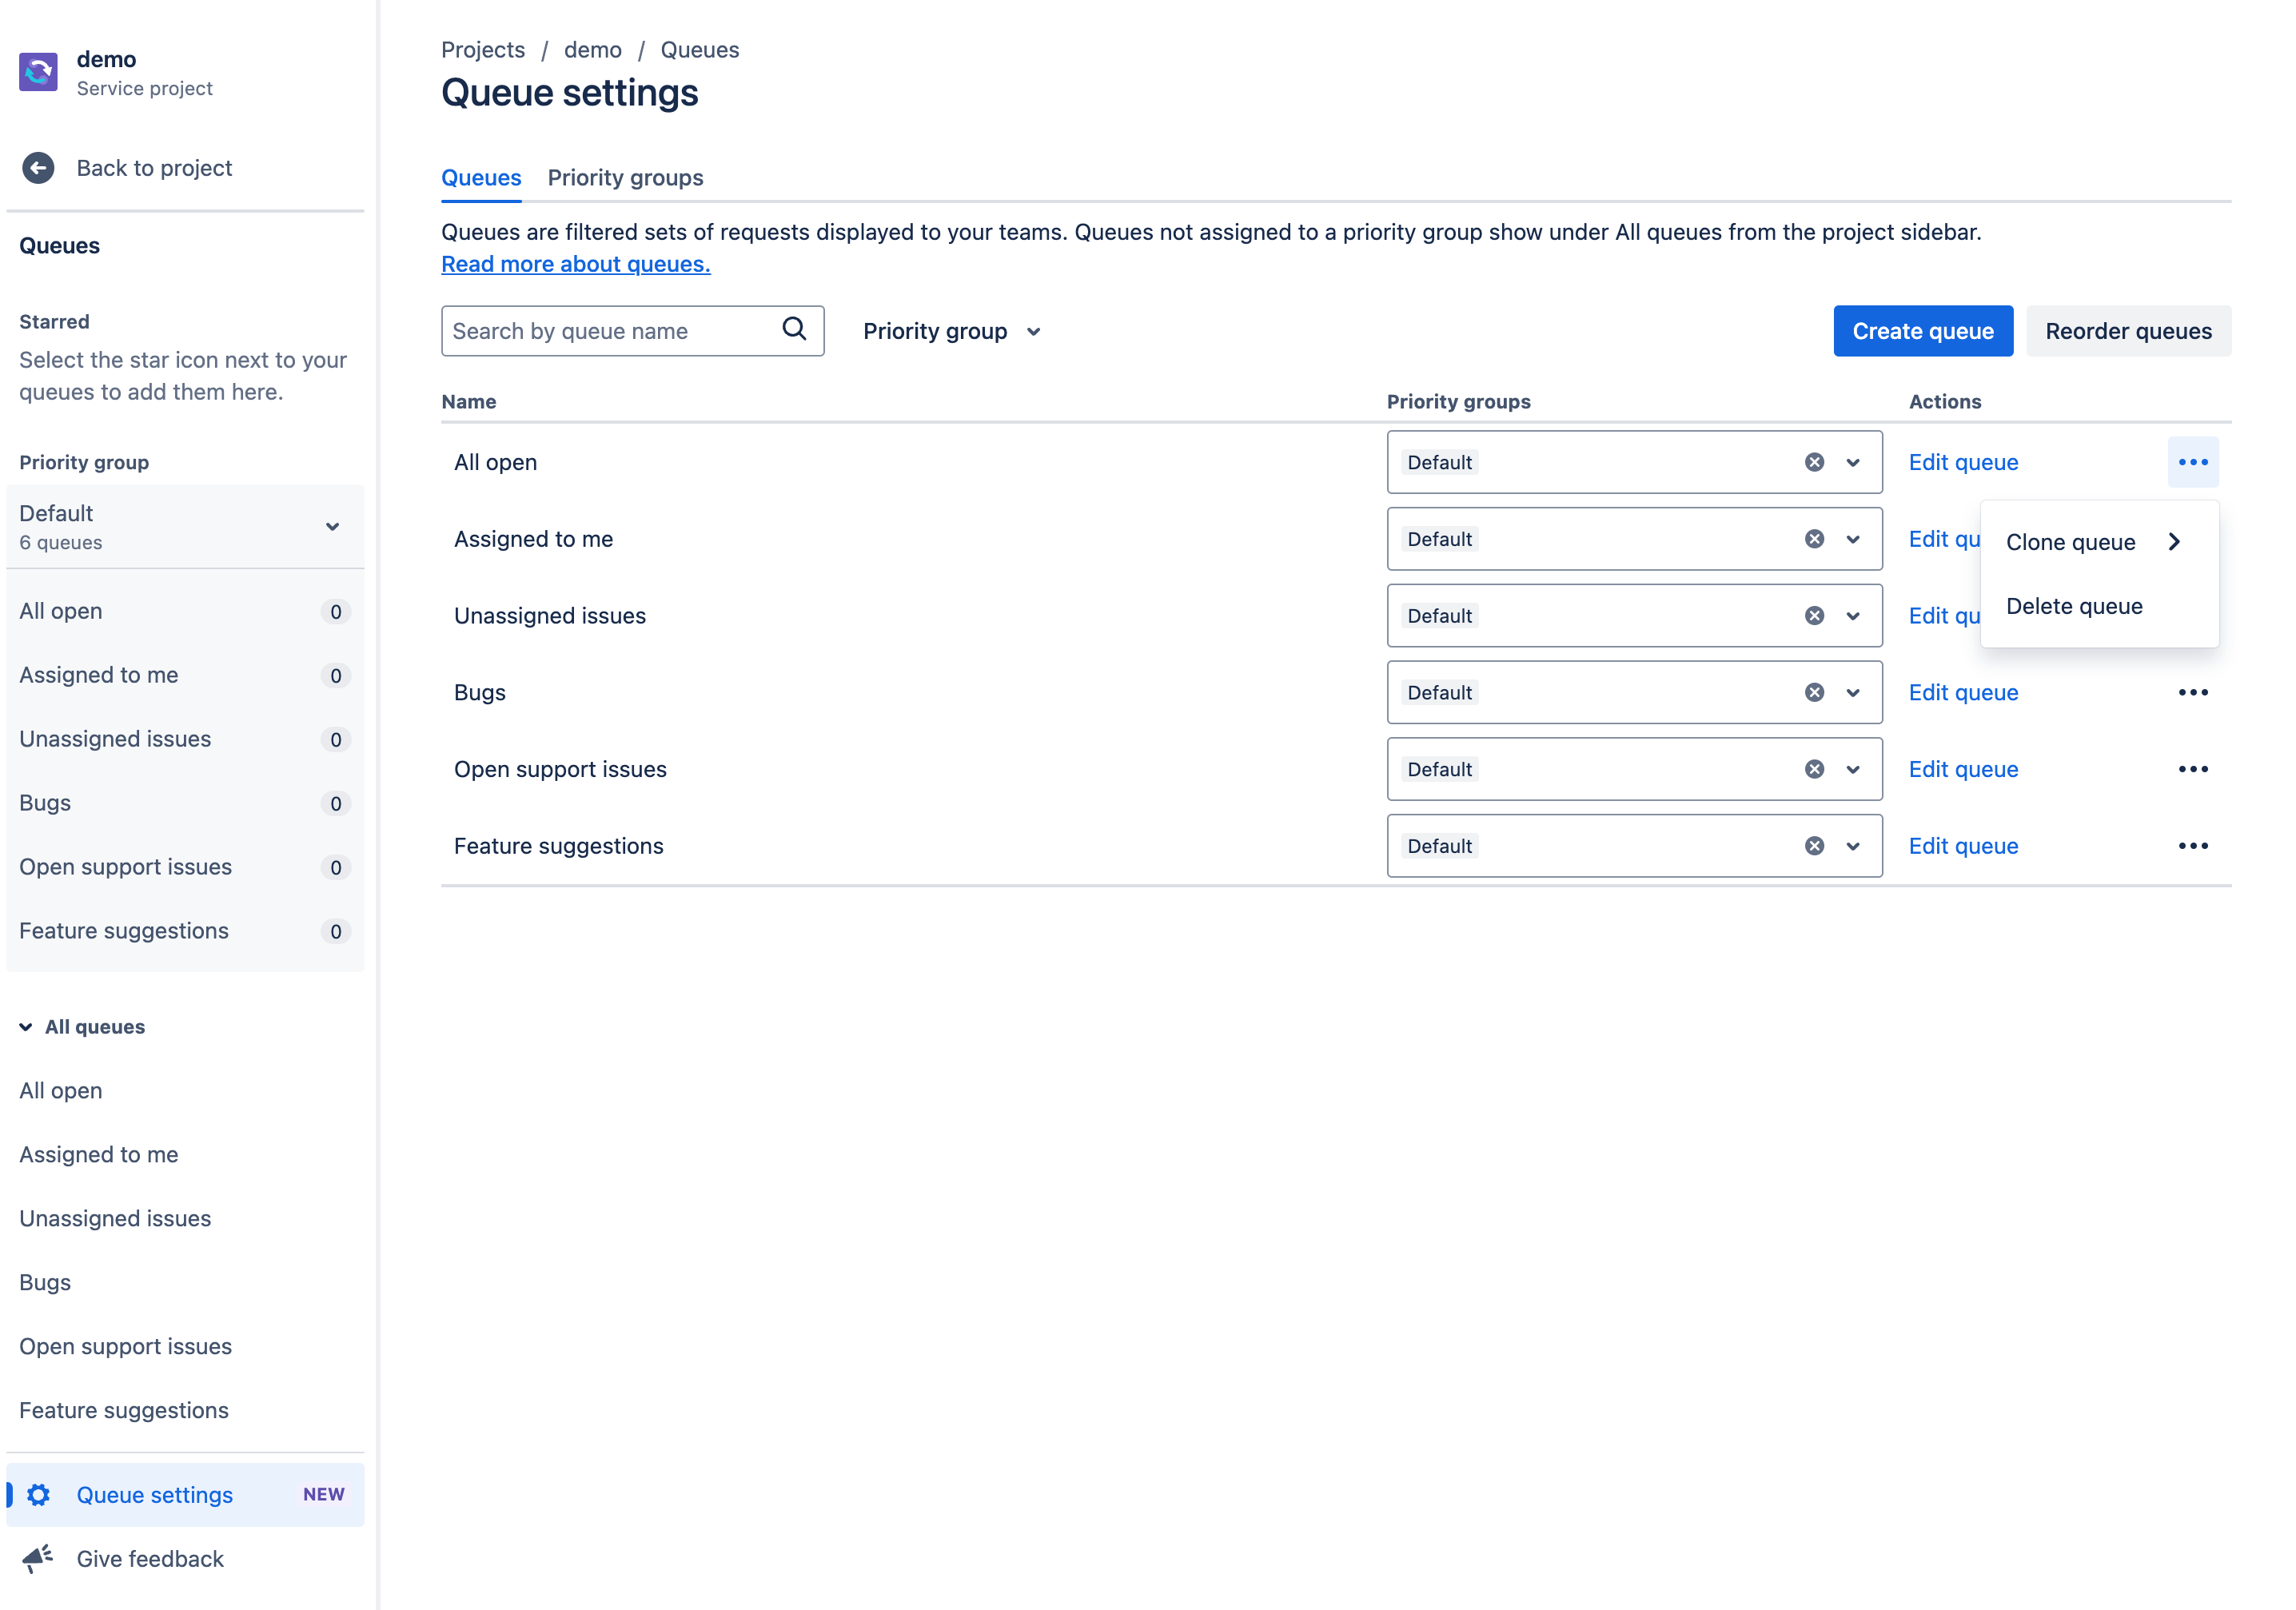
In a very real sense the Queues in JSM can be considered as the “coal face” for the service desk agents. The side menu has three distinct areas
- Starred - the queues that a user has marked as a “favourite”. This list is empty by default
- Priority group - these are the queues that the project admin has set as the ones all agents see
- All queues - this list expands to show all queues that have been created in the JSM project

There is now also a Queue settings link that opens the following view. This view gives you the ability to
- Create new queues
- Edit queues
- Clone a queue within either the generic or ITSM process sections
- Delete a queue
- Assign a queue to a Priority group
- Reorder the queues
Views (Agent: R, Admin: CRUD)
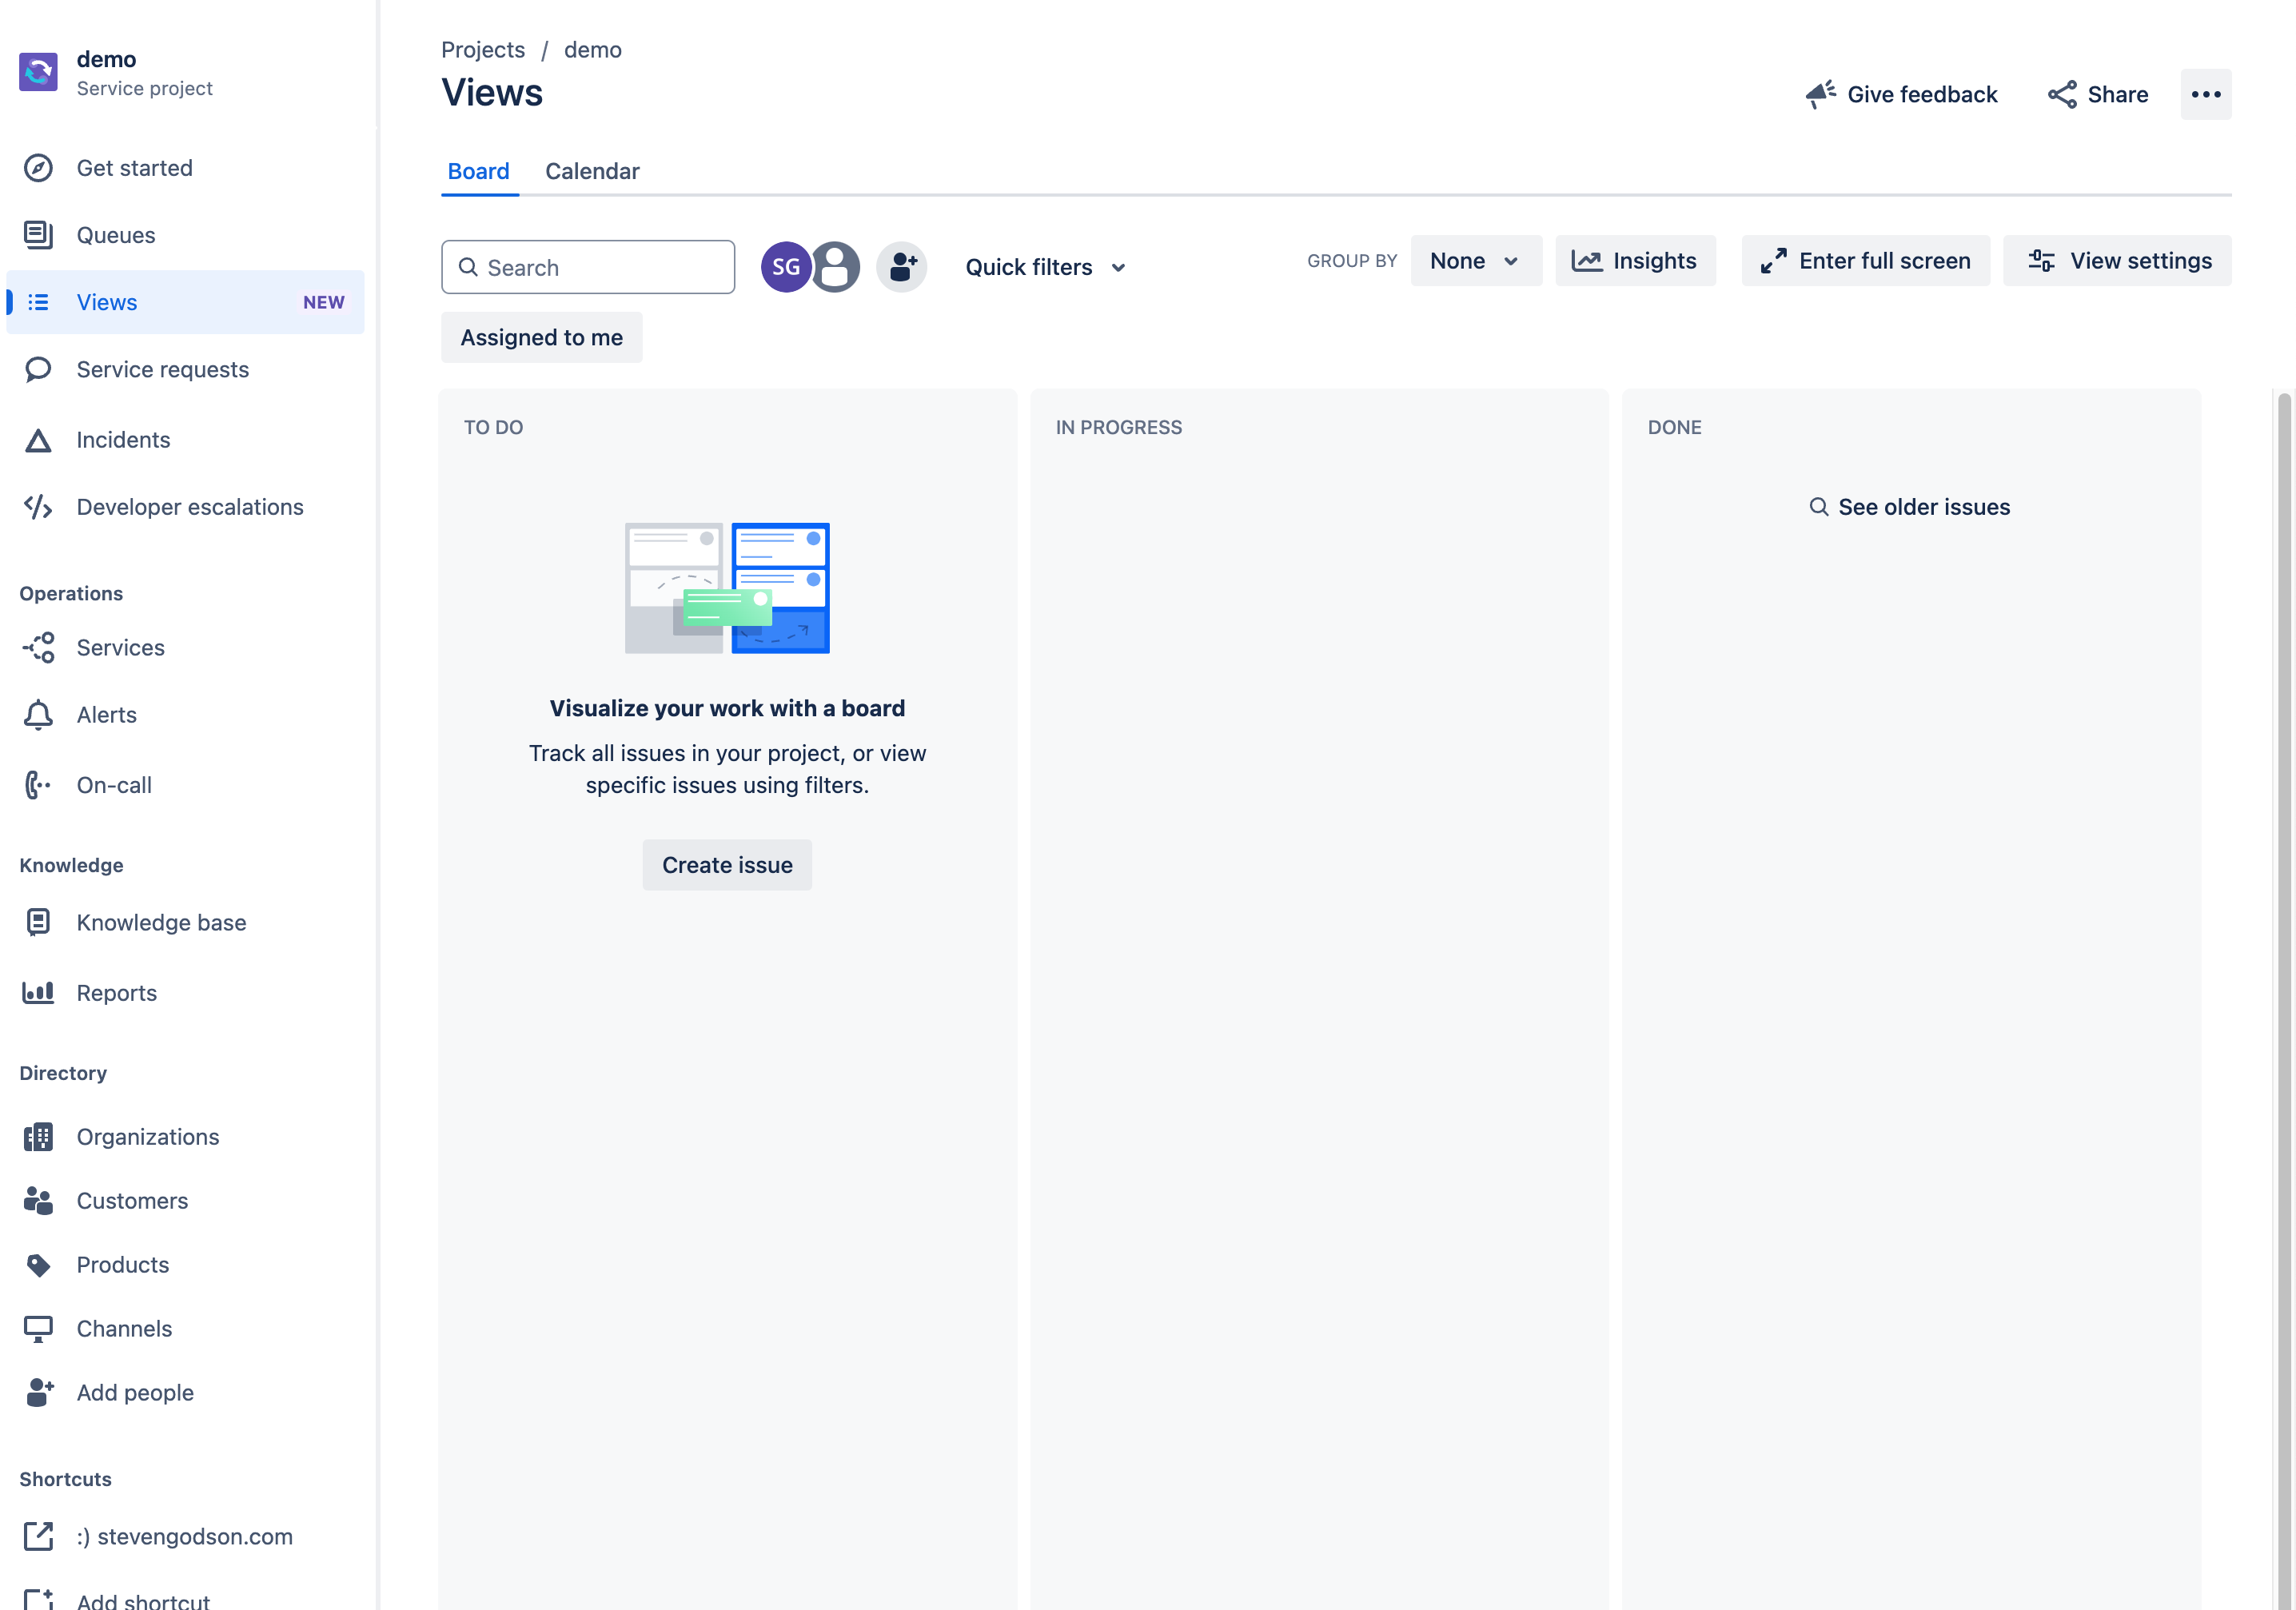
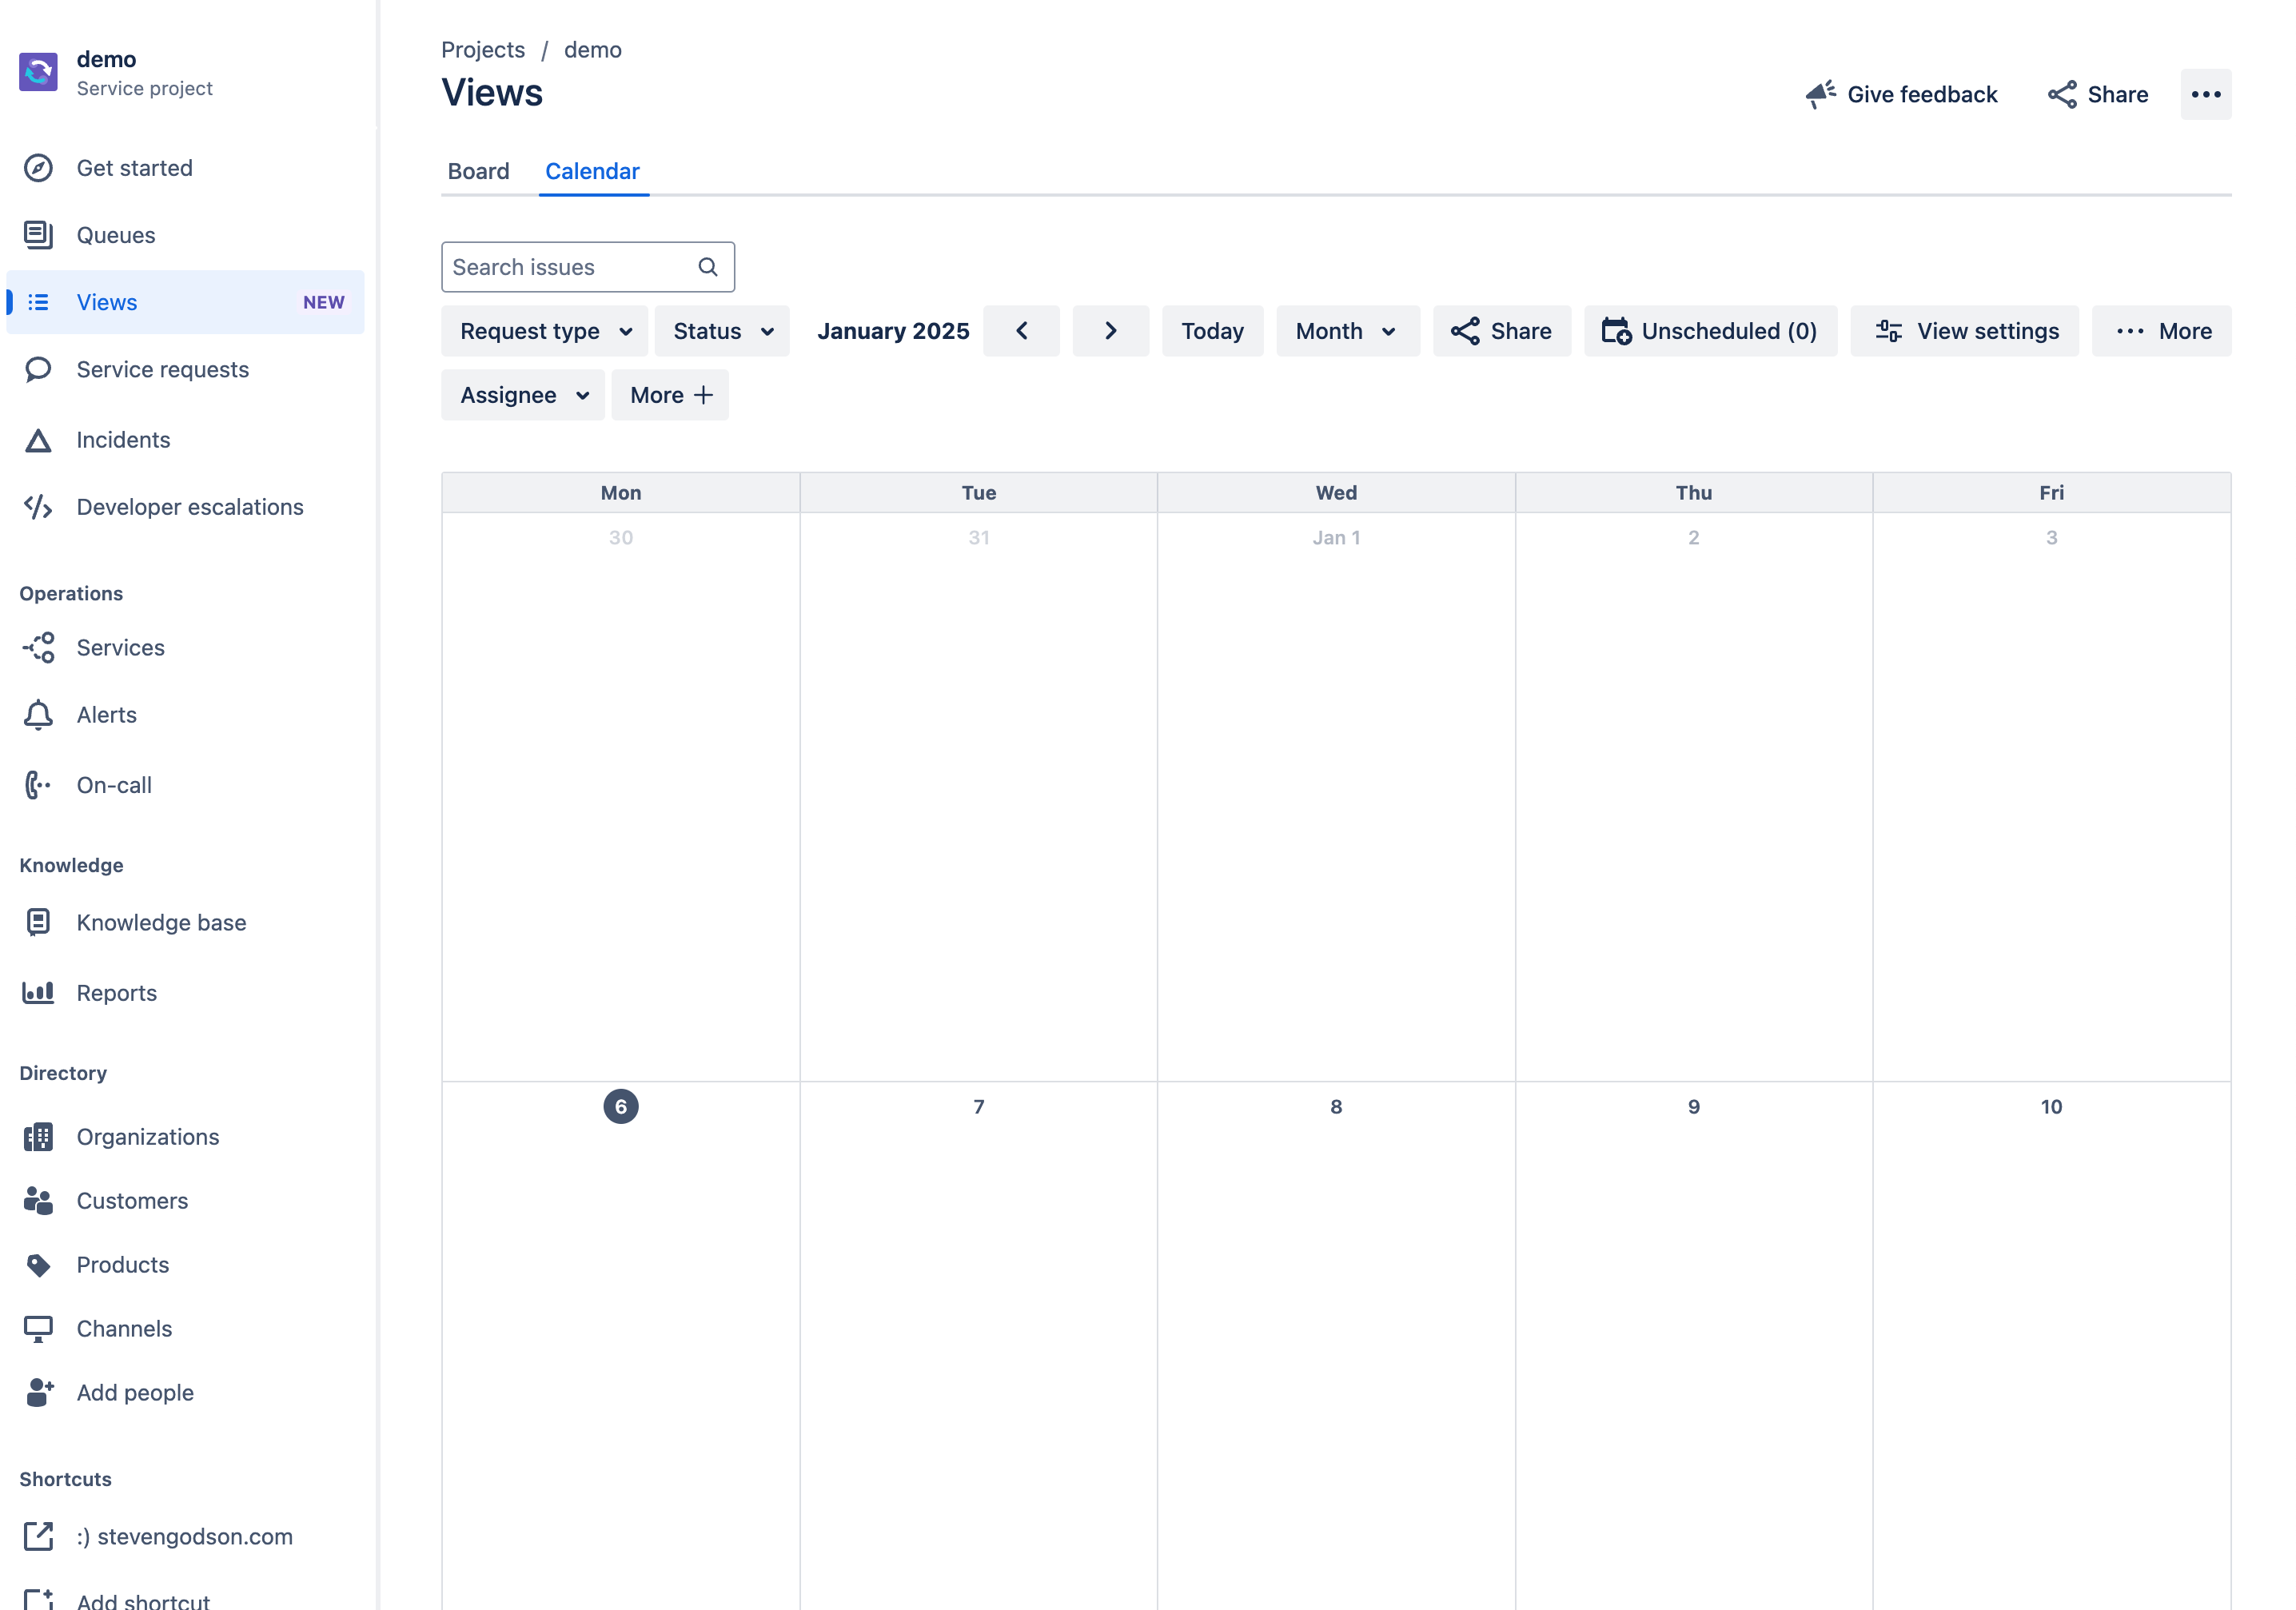
At theme of writing this article, this is new functionality in JSM. It gives a user the ability to see the service desk or service desk agents workload in either Kanban Board or Calendar view. Each comes with various filters and setting for filtering by request type and controlling how records open when selected.
Kanban Board
Calendar
Service Requests (Agent: R, Admin: CRUD)
This section works in exactly the same way as the generic Queues section, with specific queues for Service Requests.
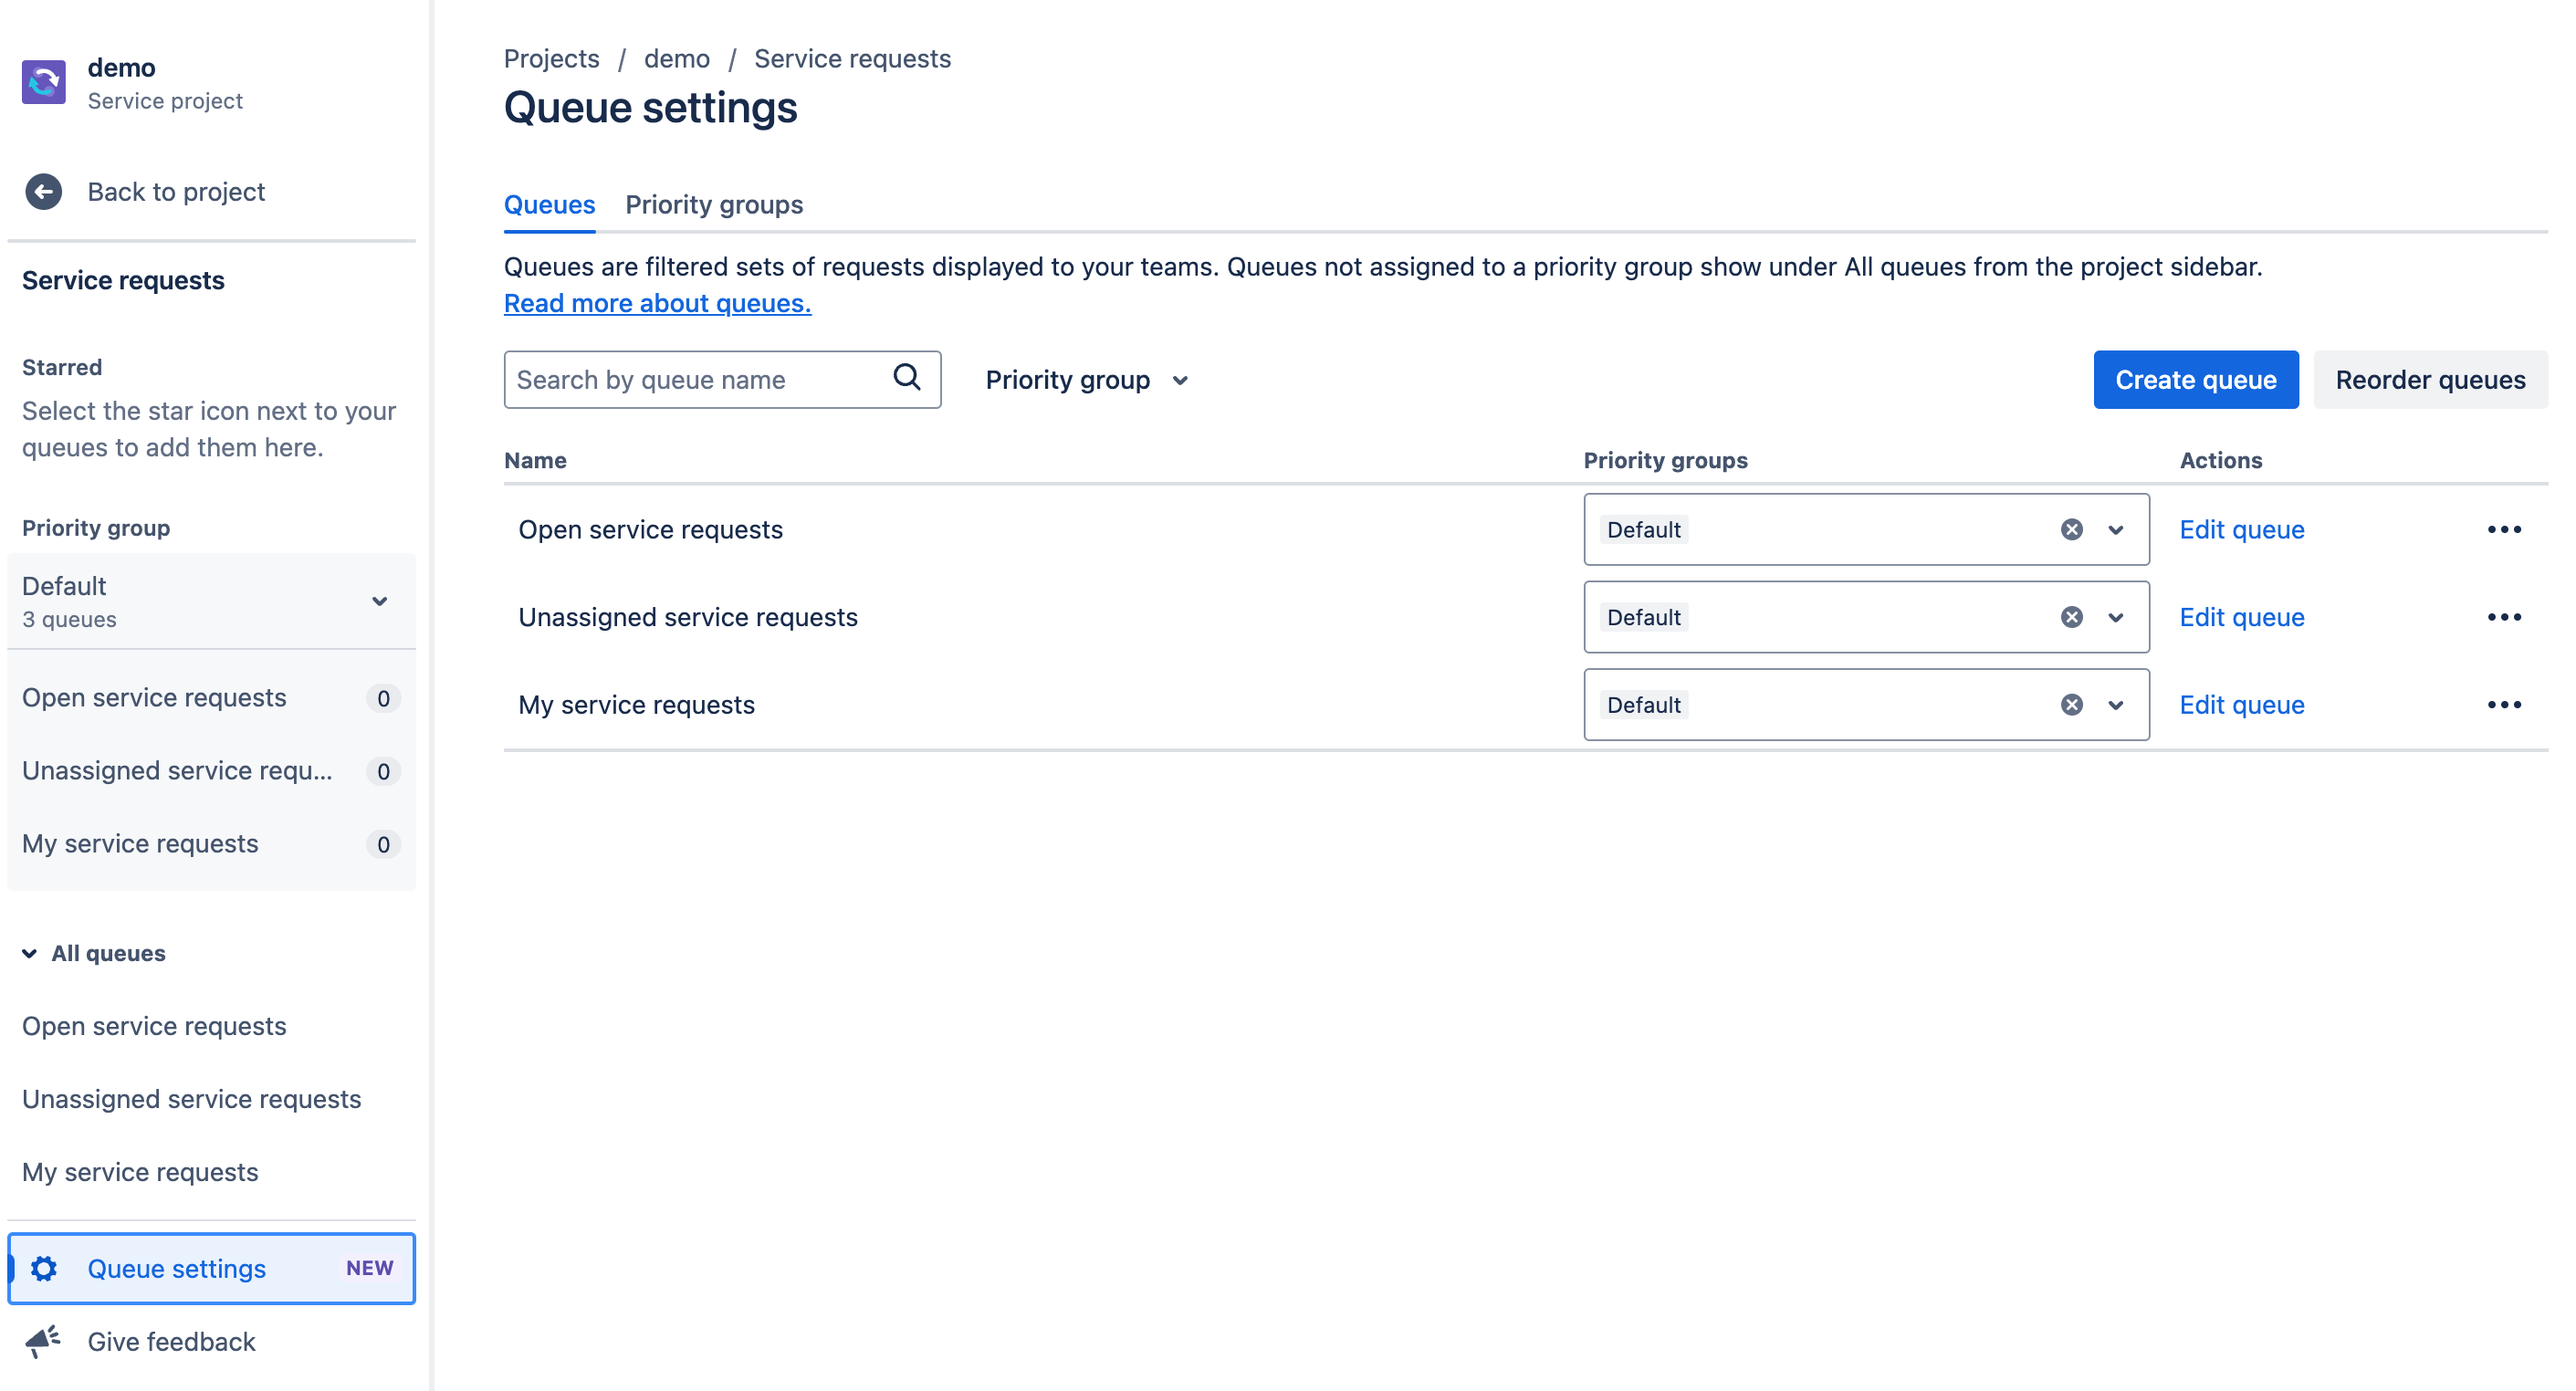
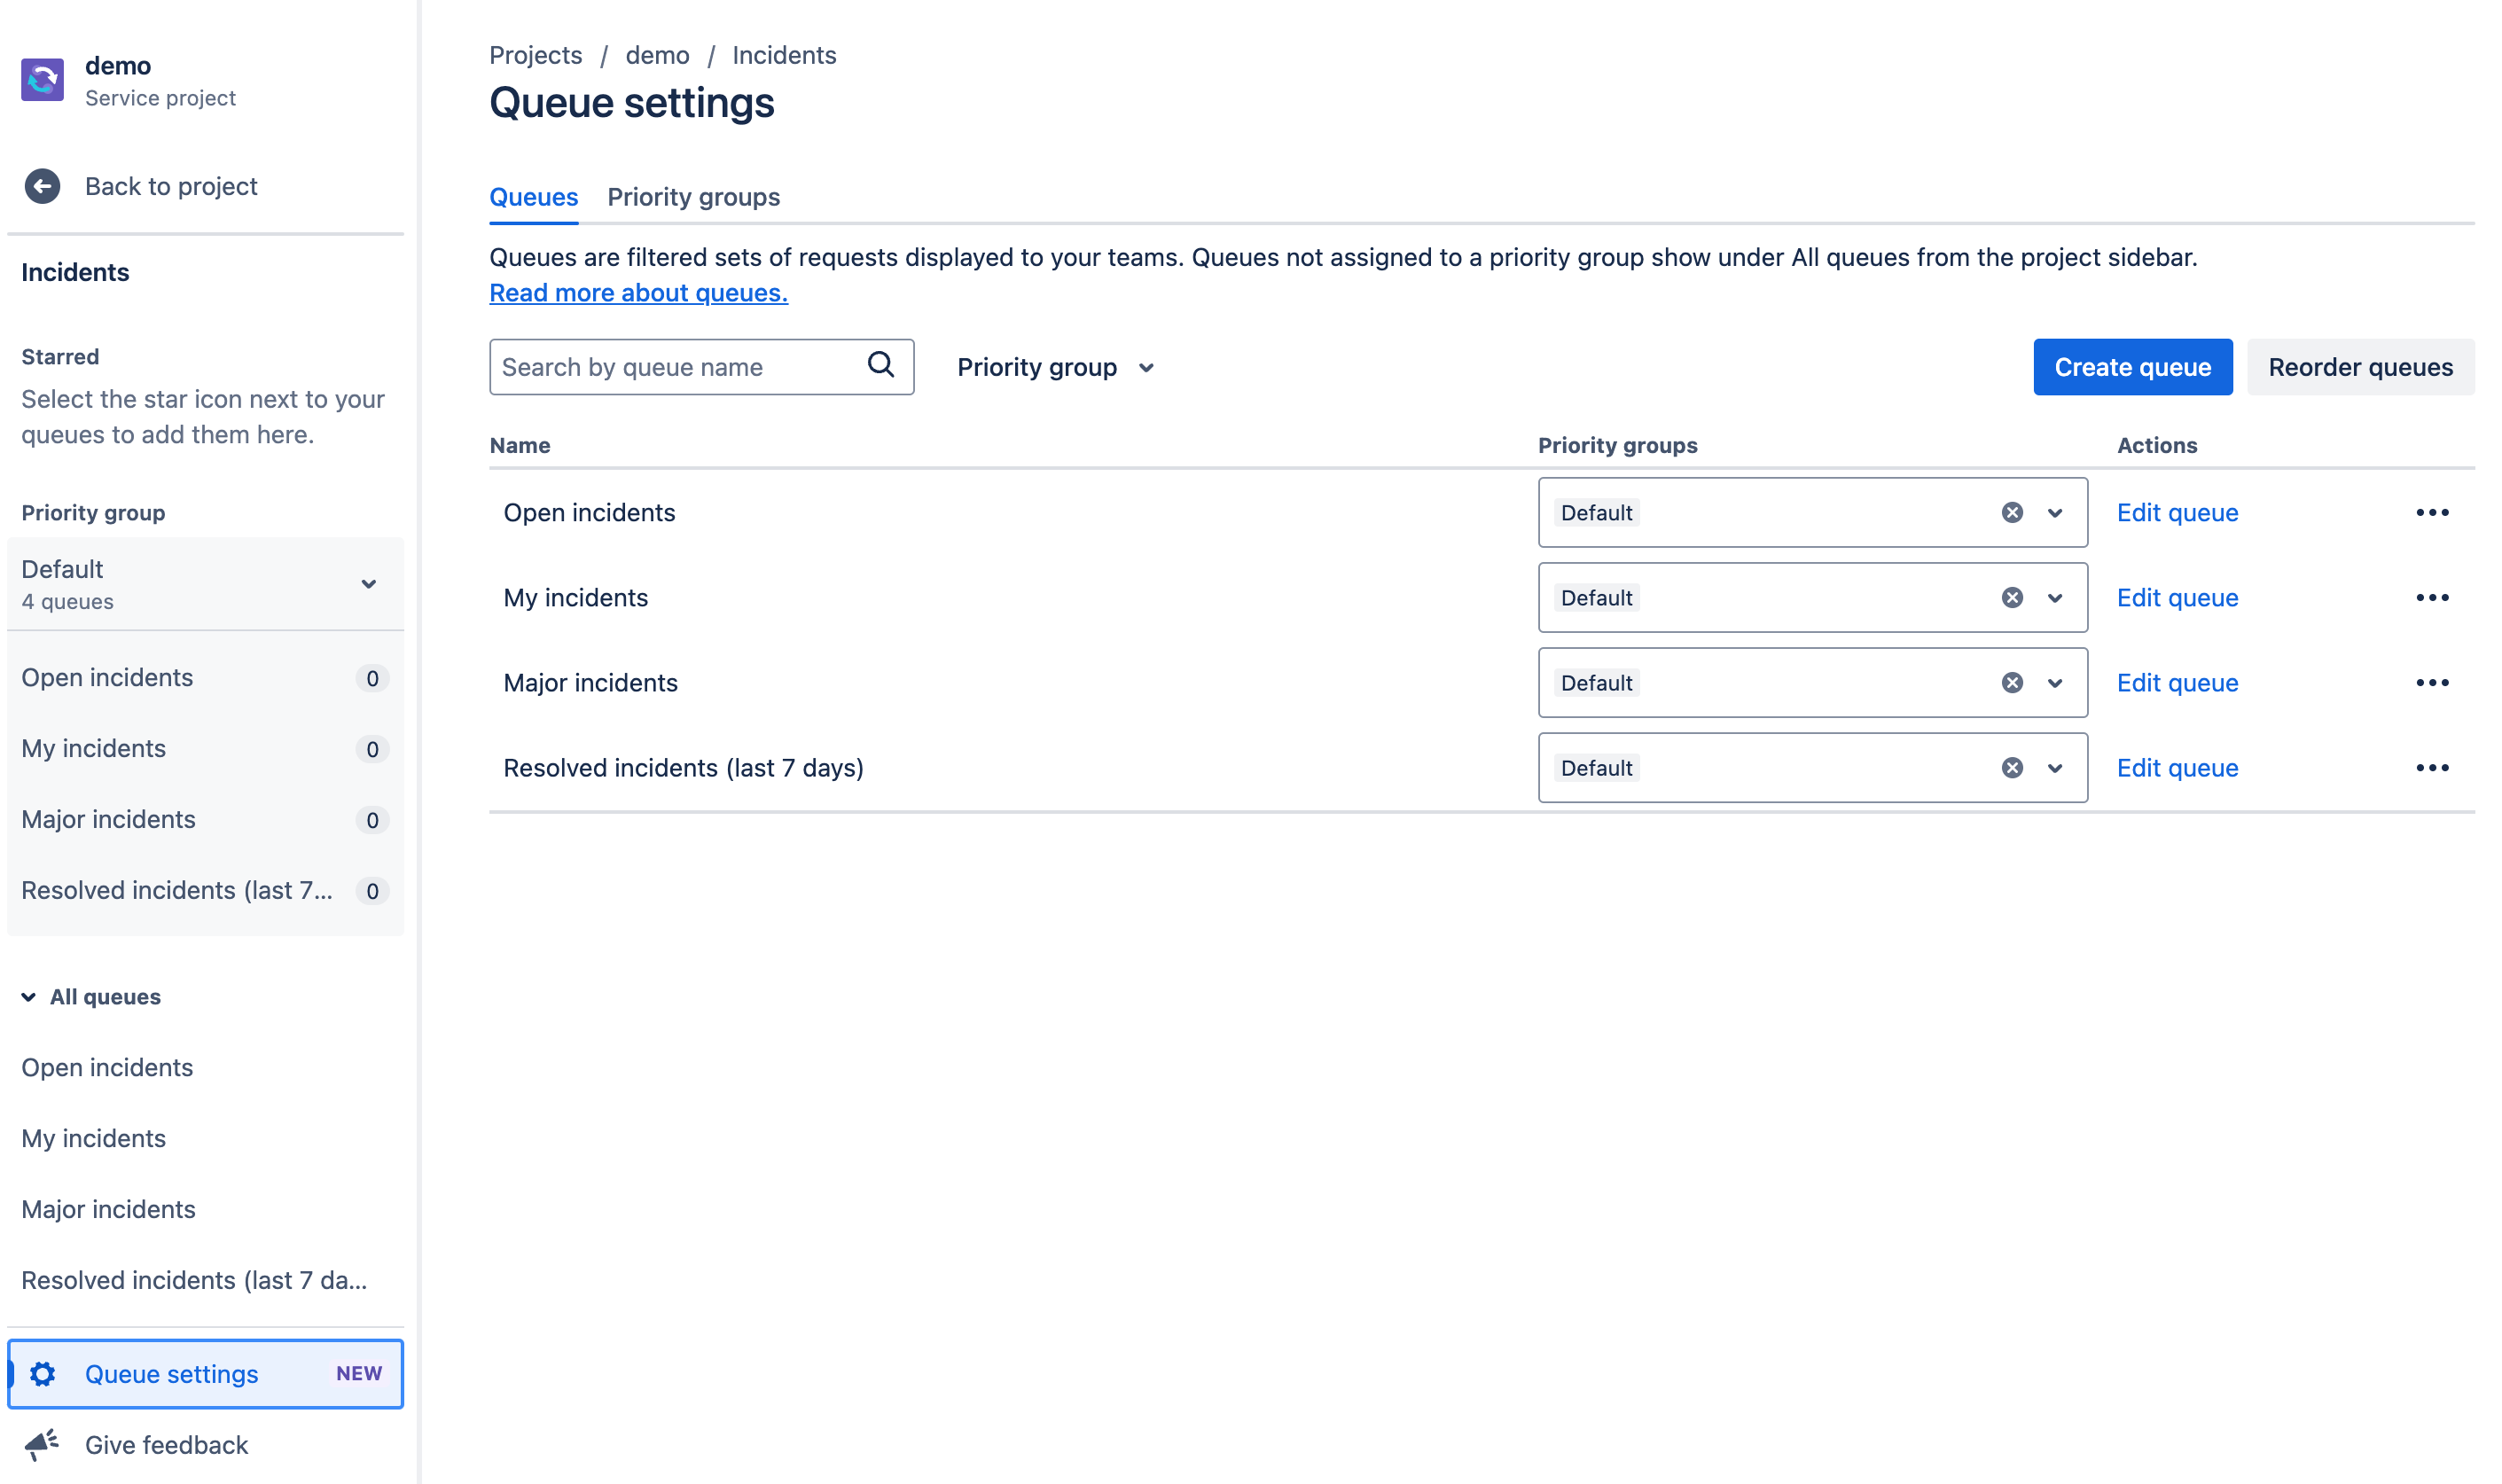
Incidents (Agent: R, Admin: CRUD)
This section works in exactly the same way as the generic Queues section, with specific queues for Incidents.
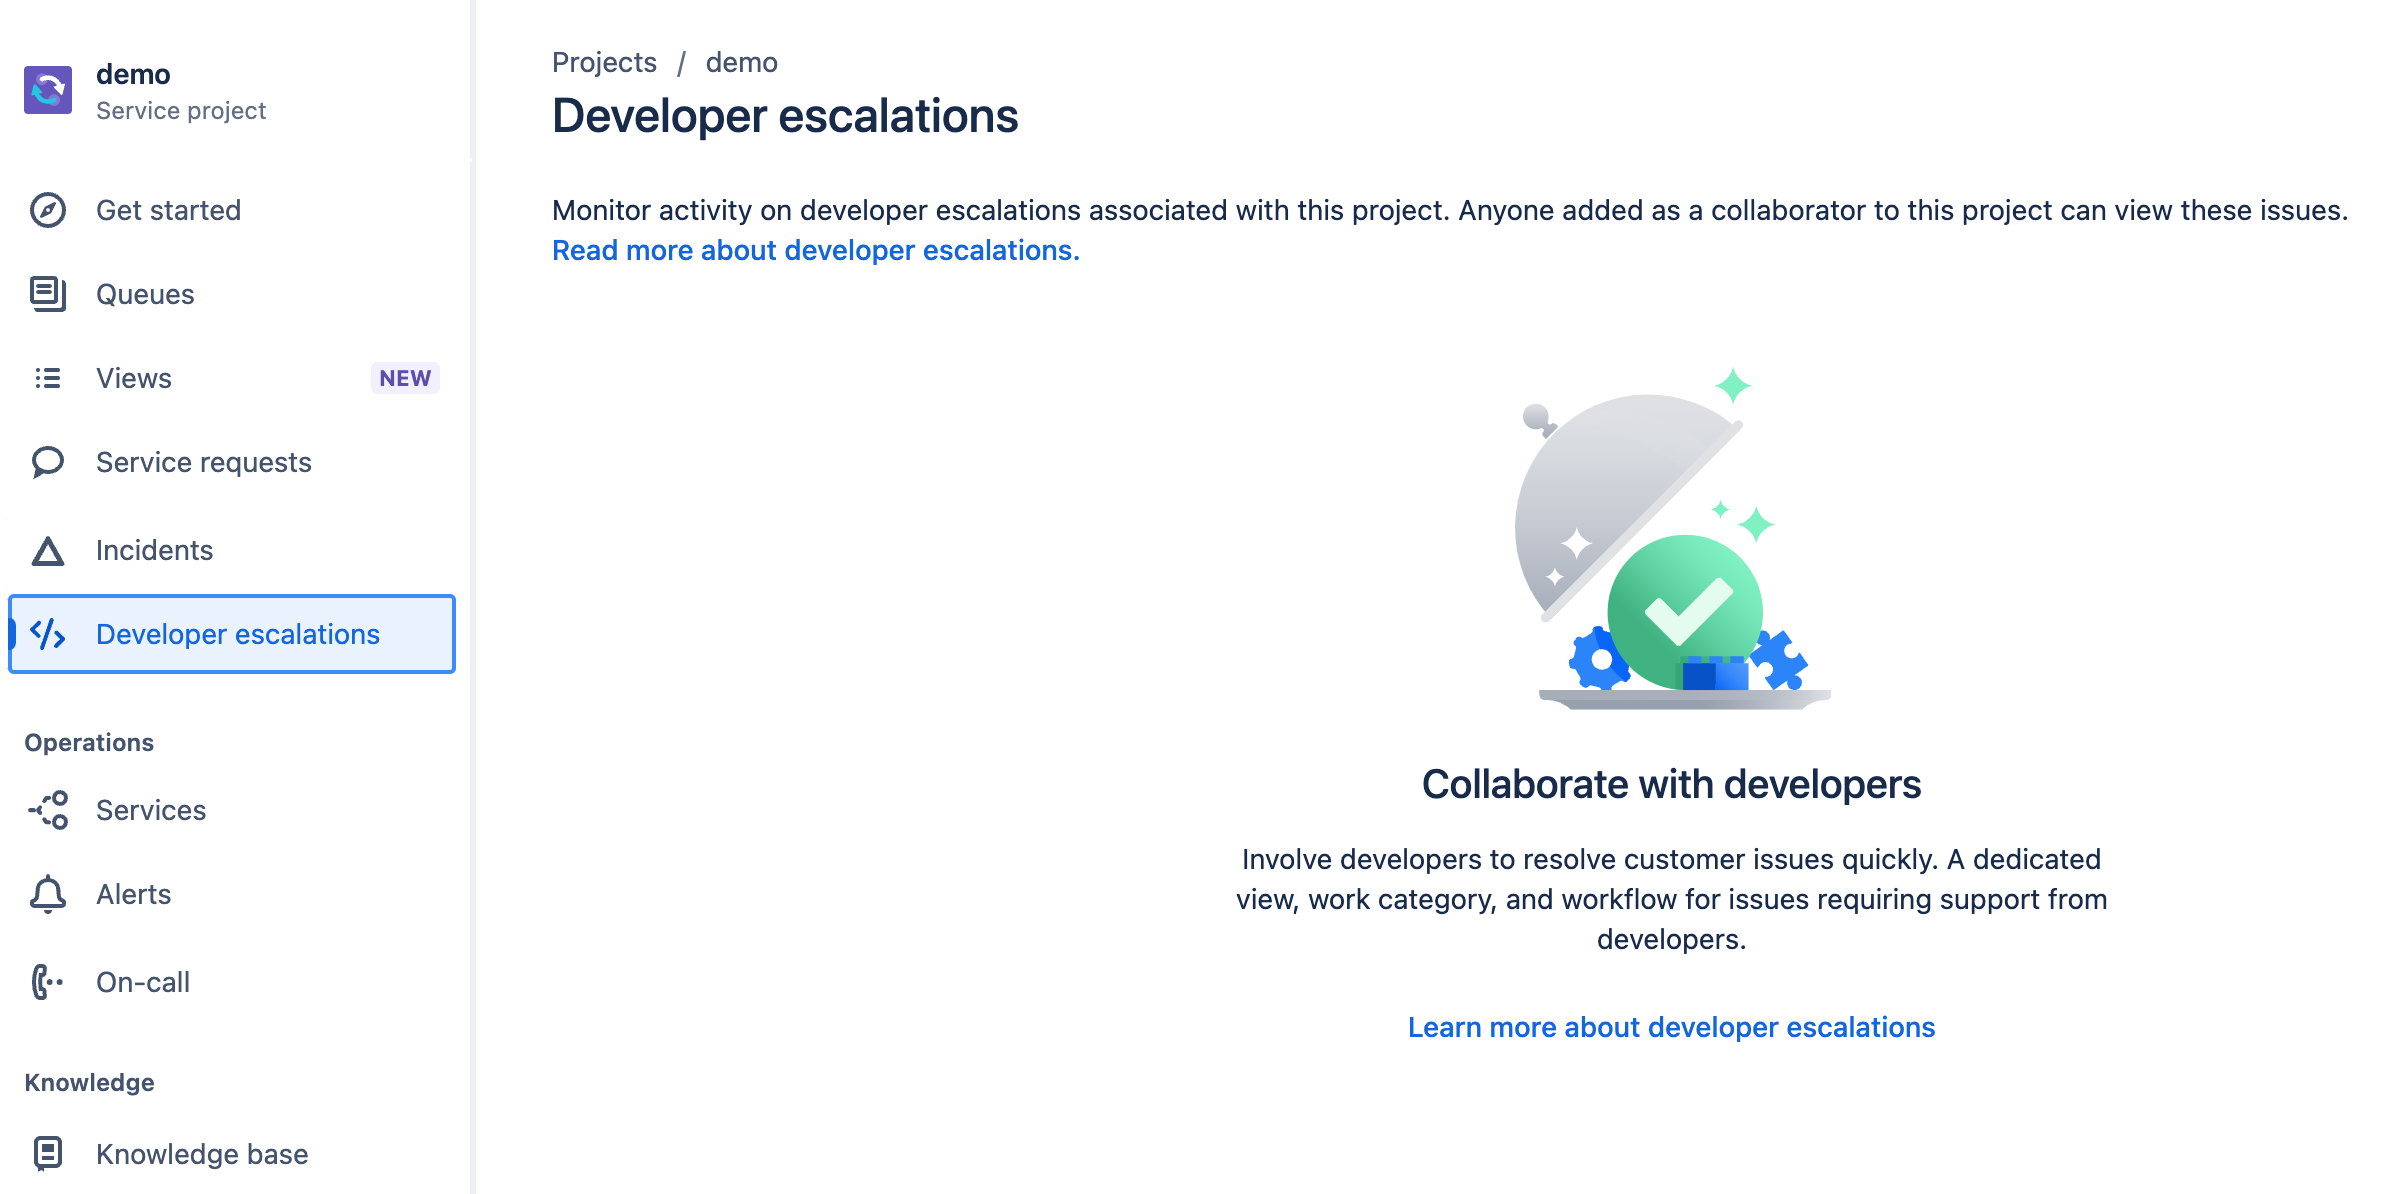
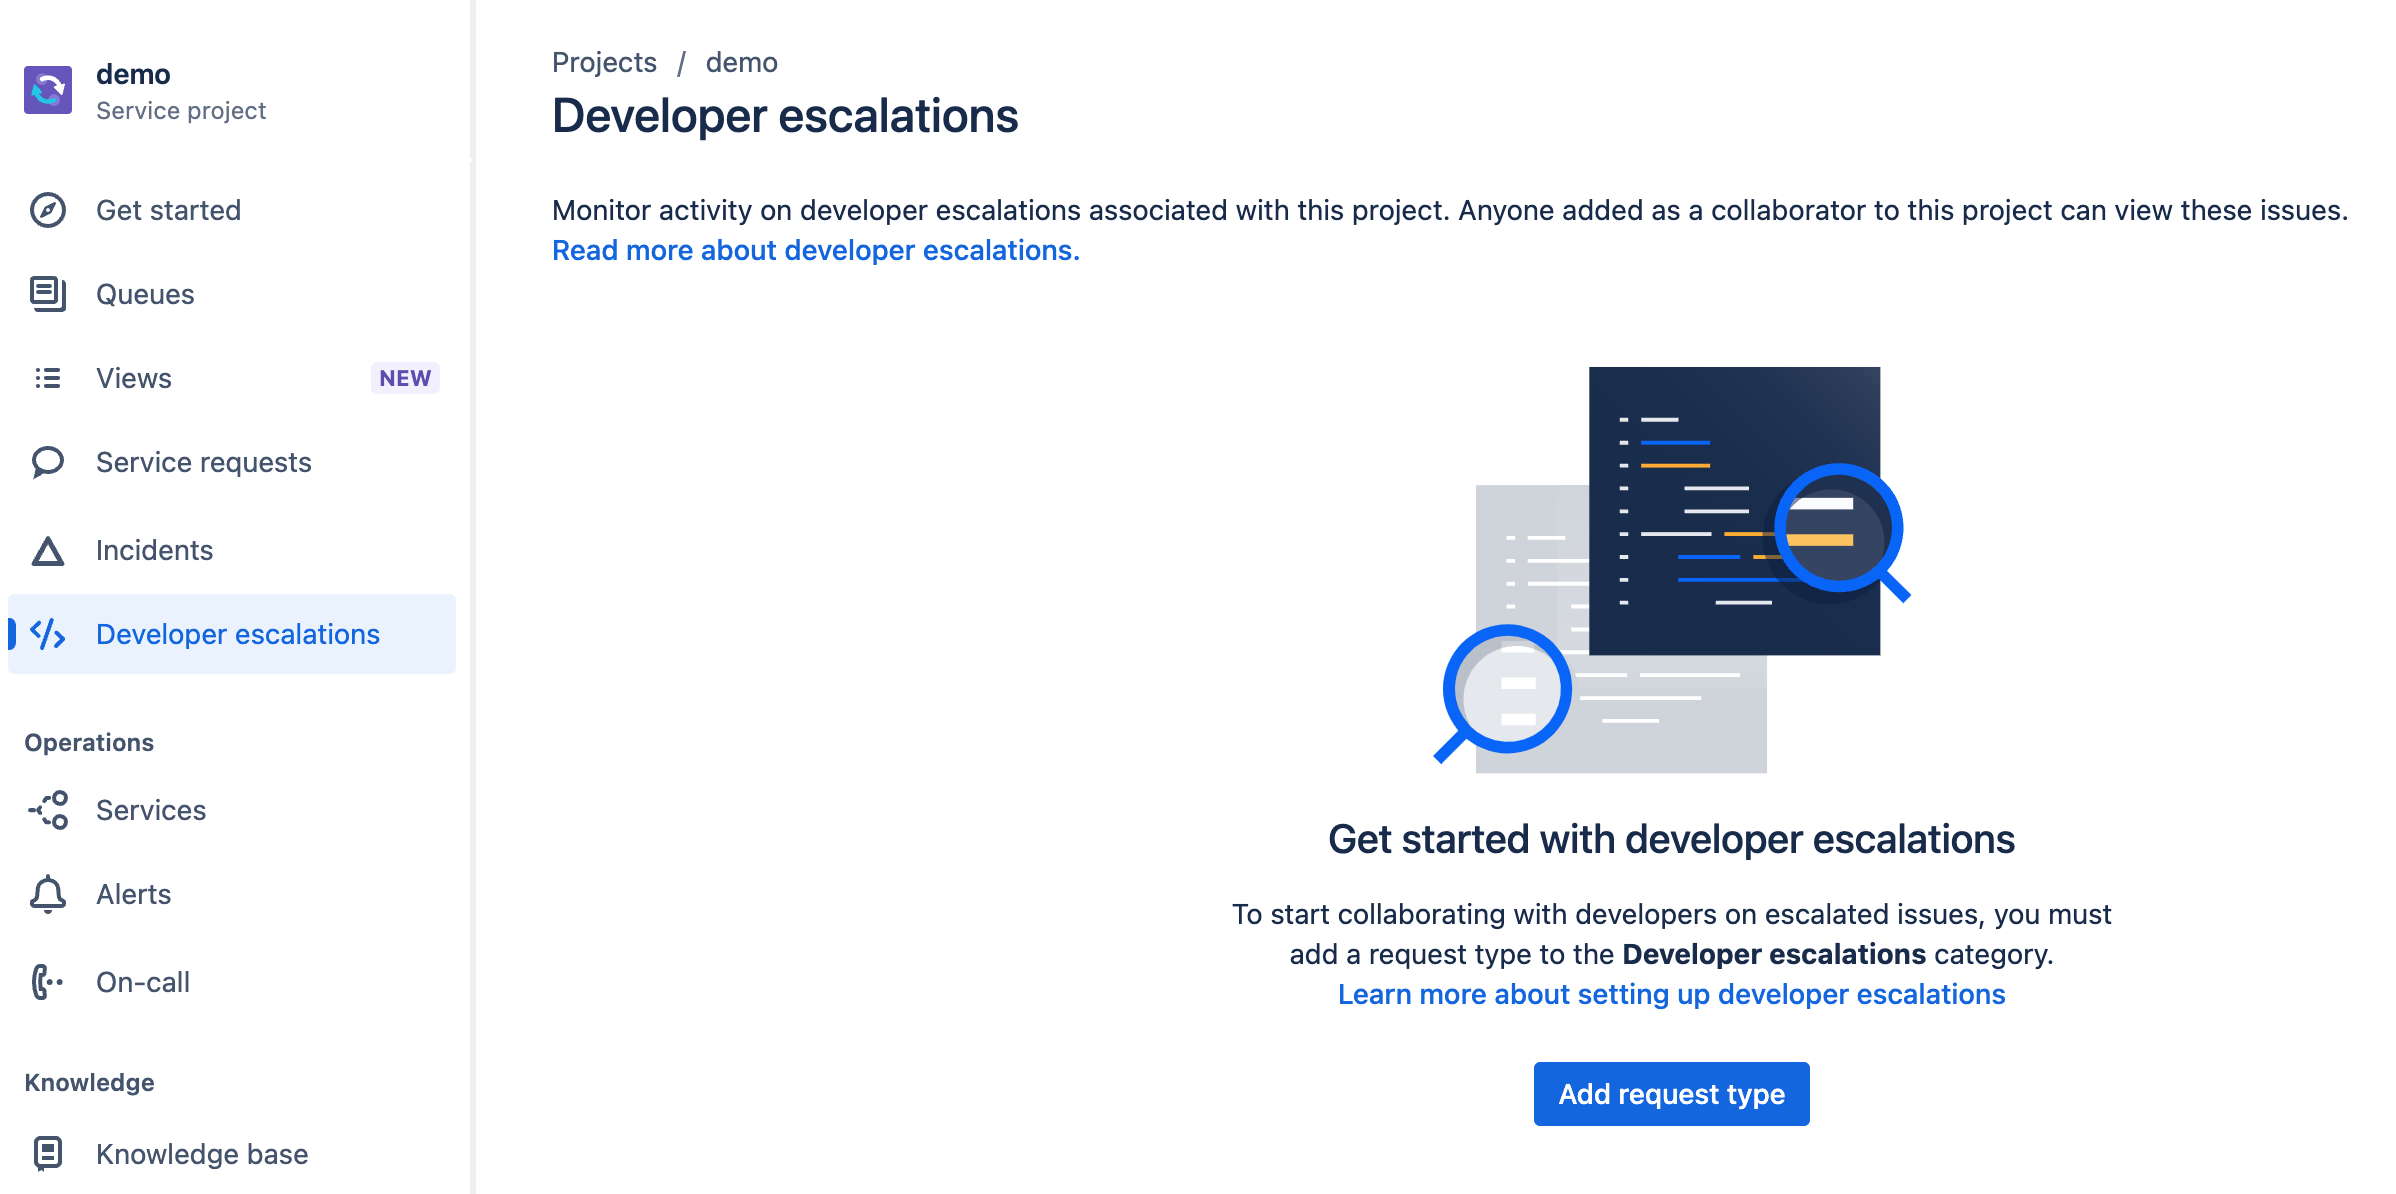
Developer Escalations (Agent: R, Admin: CRUD)
If you have created request types for Developer Escalations the following screen will be shown. Any open escalations will be listed here.
If you have not yet created any request types for Developer Escalations the following screen will be shown. From here you can go into Project settings and create one, or more, request types to meet your need.
Operations
Services (Agent: R, Admin: CRUD)
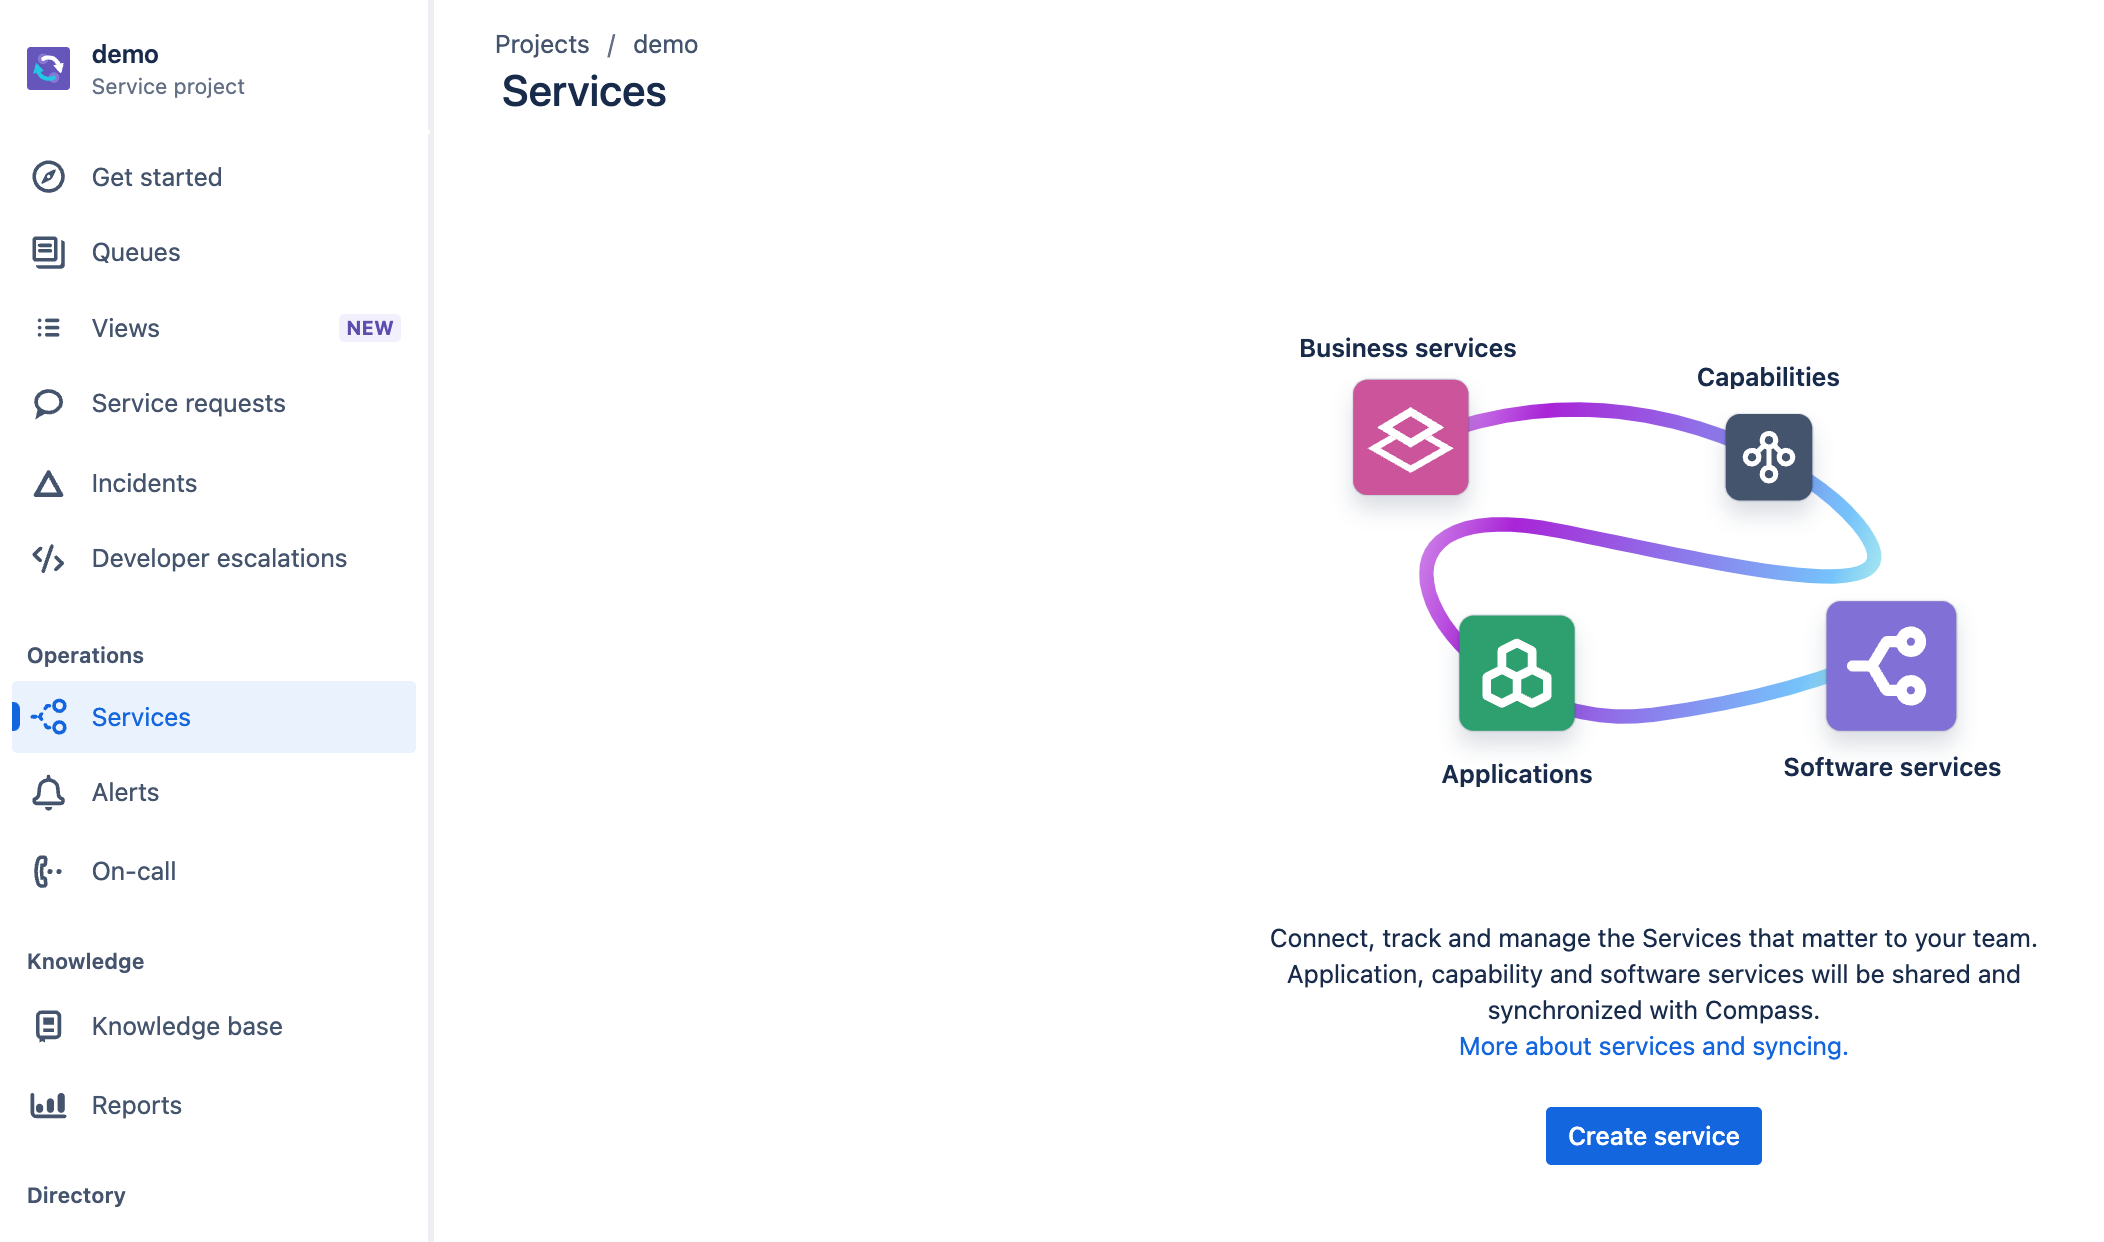
This functionality provides the ability to create a list of Services (Business, Capabilities, Software and Application) and assigned values to each of the fields, as needed, as shown below.
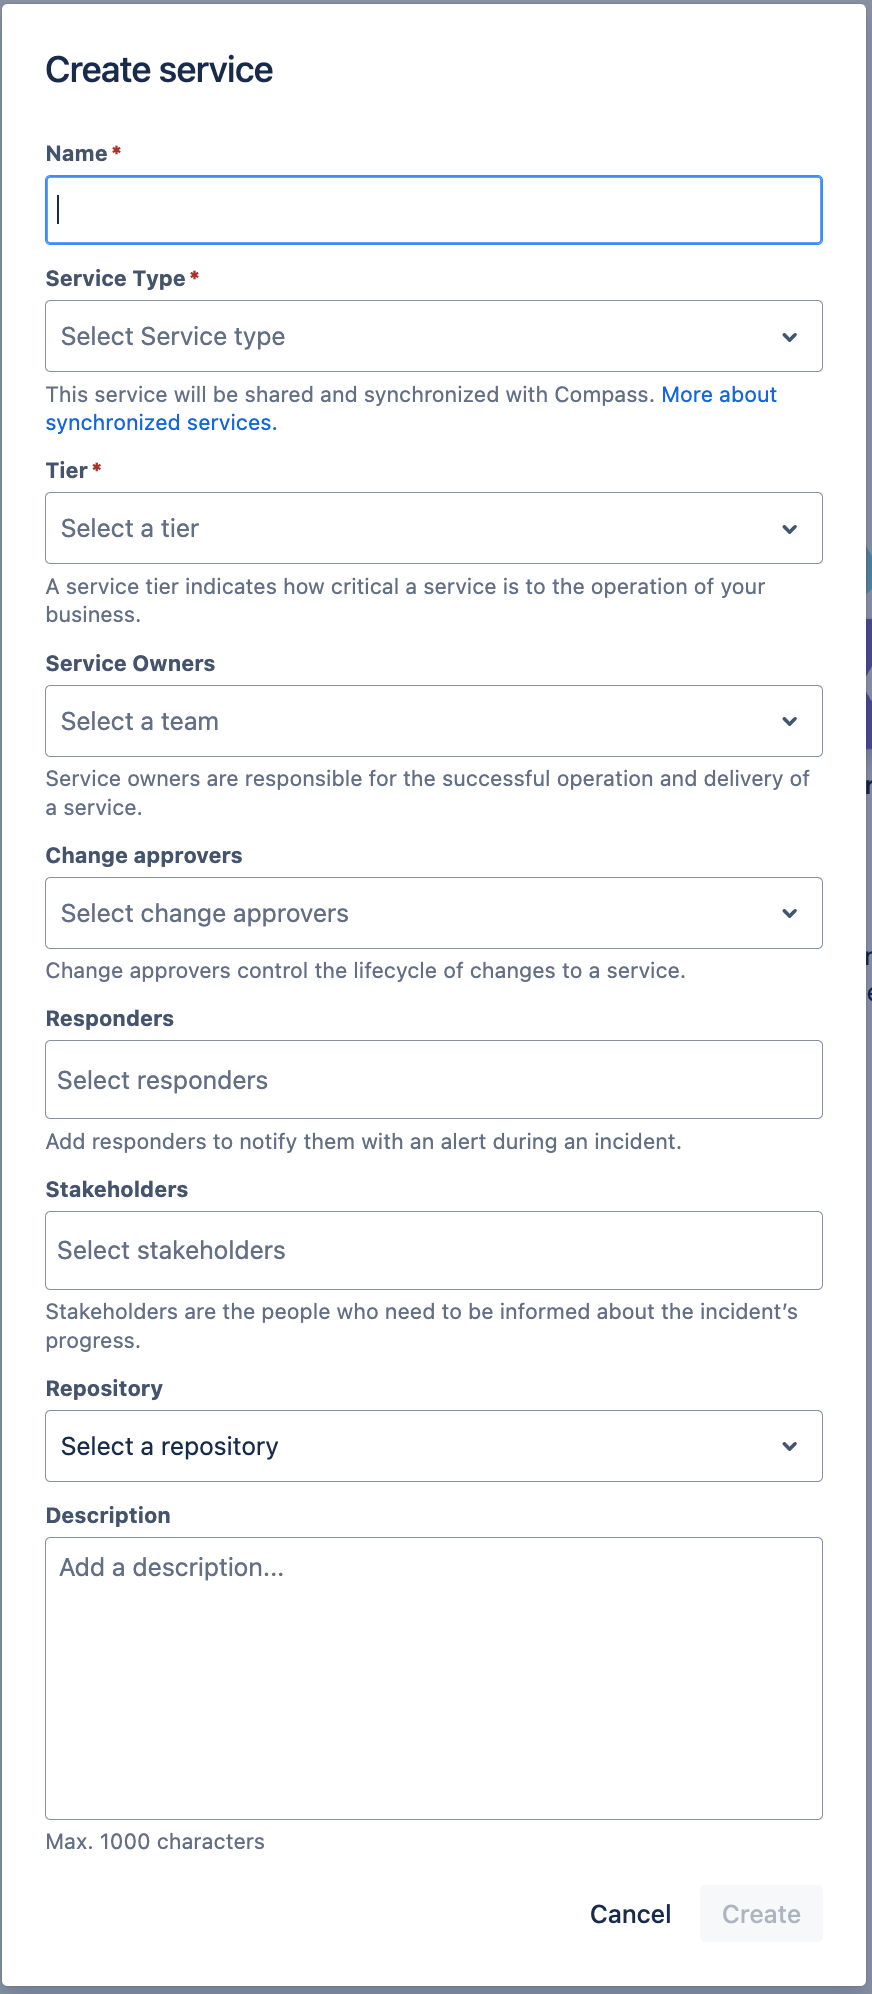
The capture of this information, probably in conjunction with your Enterprise Architect function/capability, is a great way to manage the information that is vital in the data to day management and support of services, as well as support automation of workflows and communications.
The relationship between your various services can be set, once the service has been created, by clicking on the Name of the service and using the Add Relationship button to set Depends on or Used by relationships with other services.
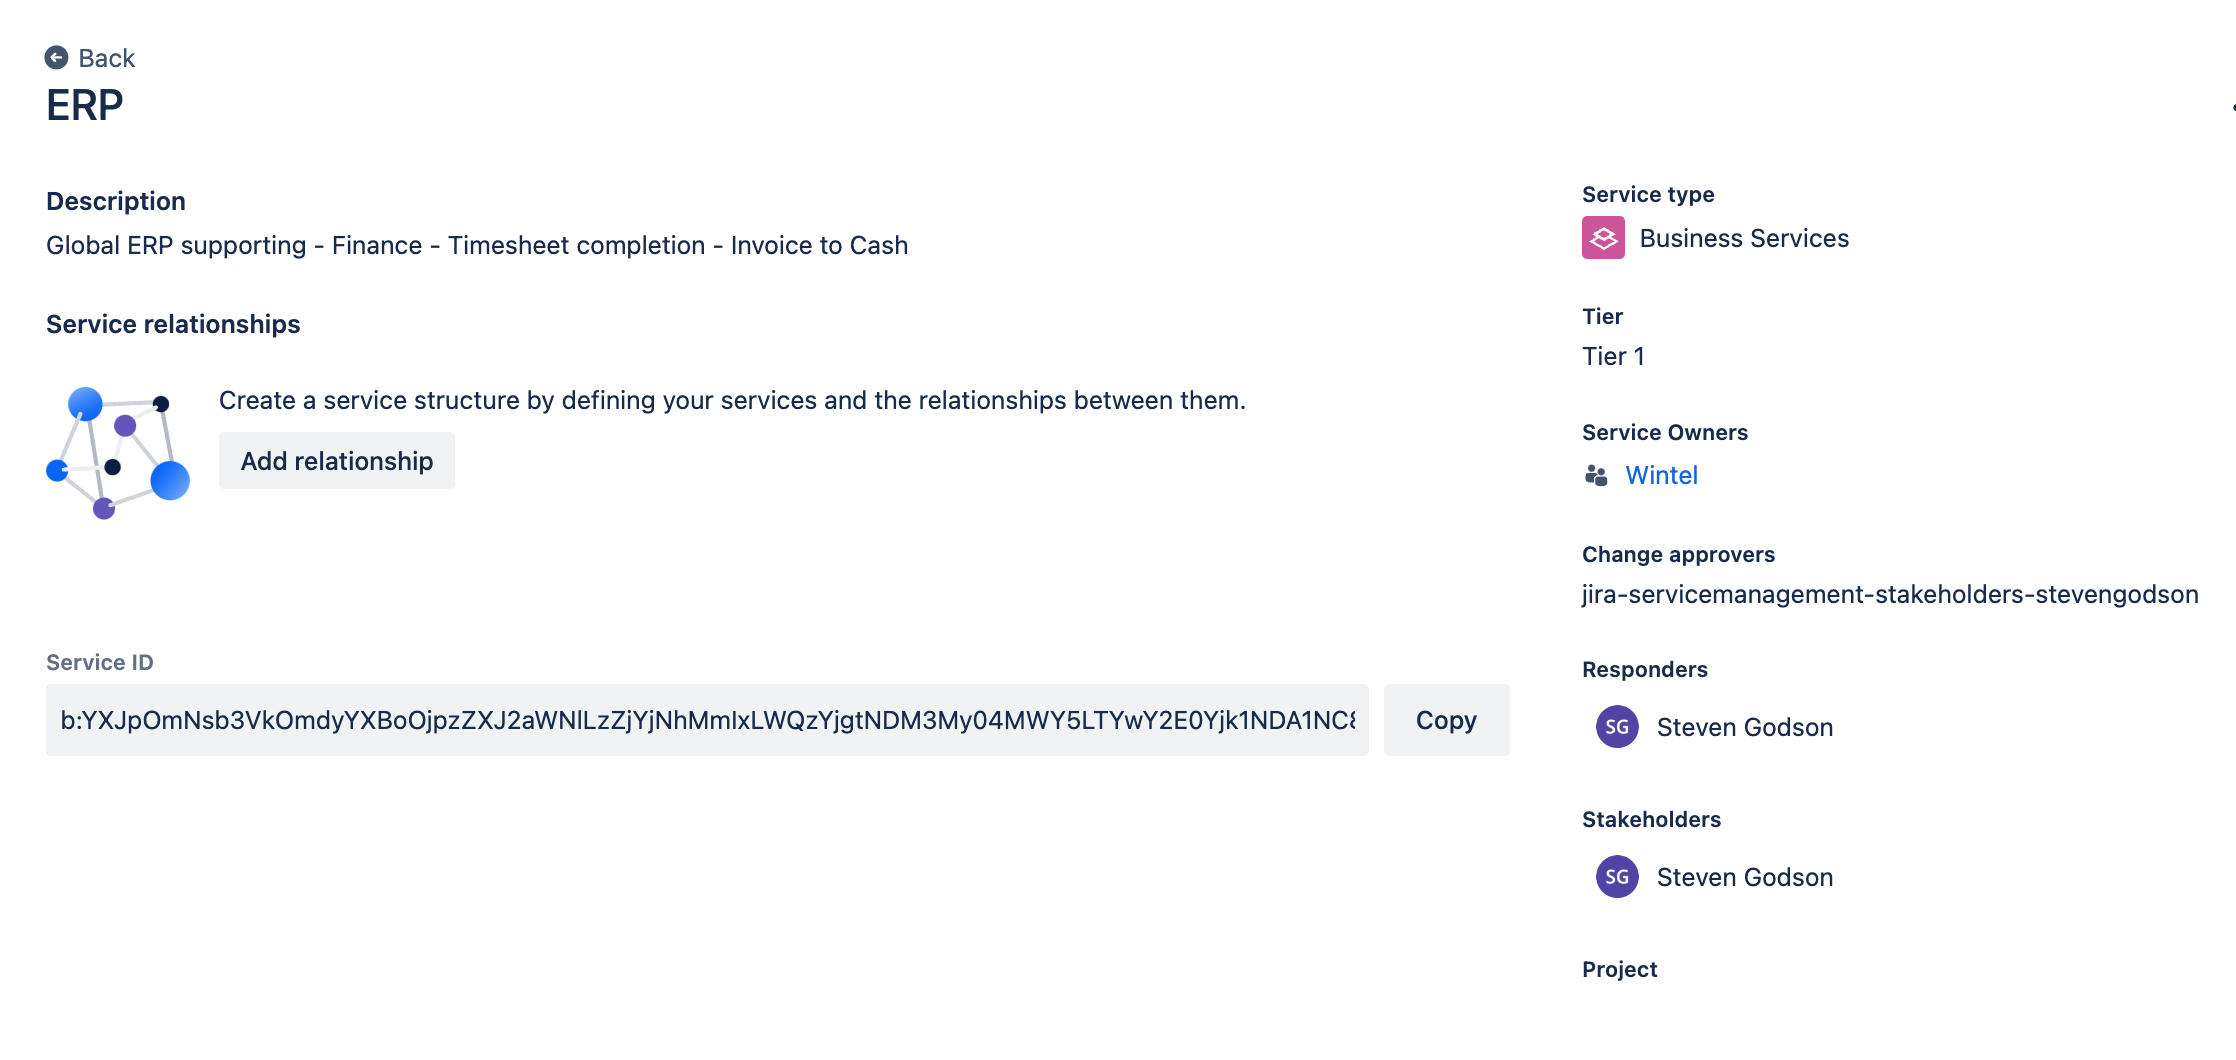
Whilst this functionality is useful, I think that Atlassian are currently missing a trick by not giving the view a diagrammatic view of how services are interconnected (as is shown on the initial splash screen). Hopefully, this will be coming in future updates.
Alerts (Agent: CRUD, Admin: CRUD)
This dedicated view is used to see Alerts that have been seen in your services Enterprise Management (EM) solutions. Out of the box, without integration with an EM tool, this requires manual creation and management of alerts. From this screen you can
- Create alerts
- Acknowledge alerts
- Close alerts
- Export to a CSV file
- Search and filter the list of alerts
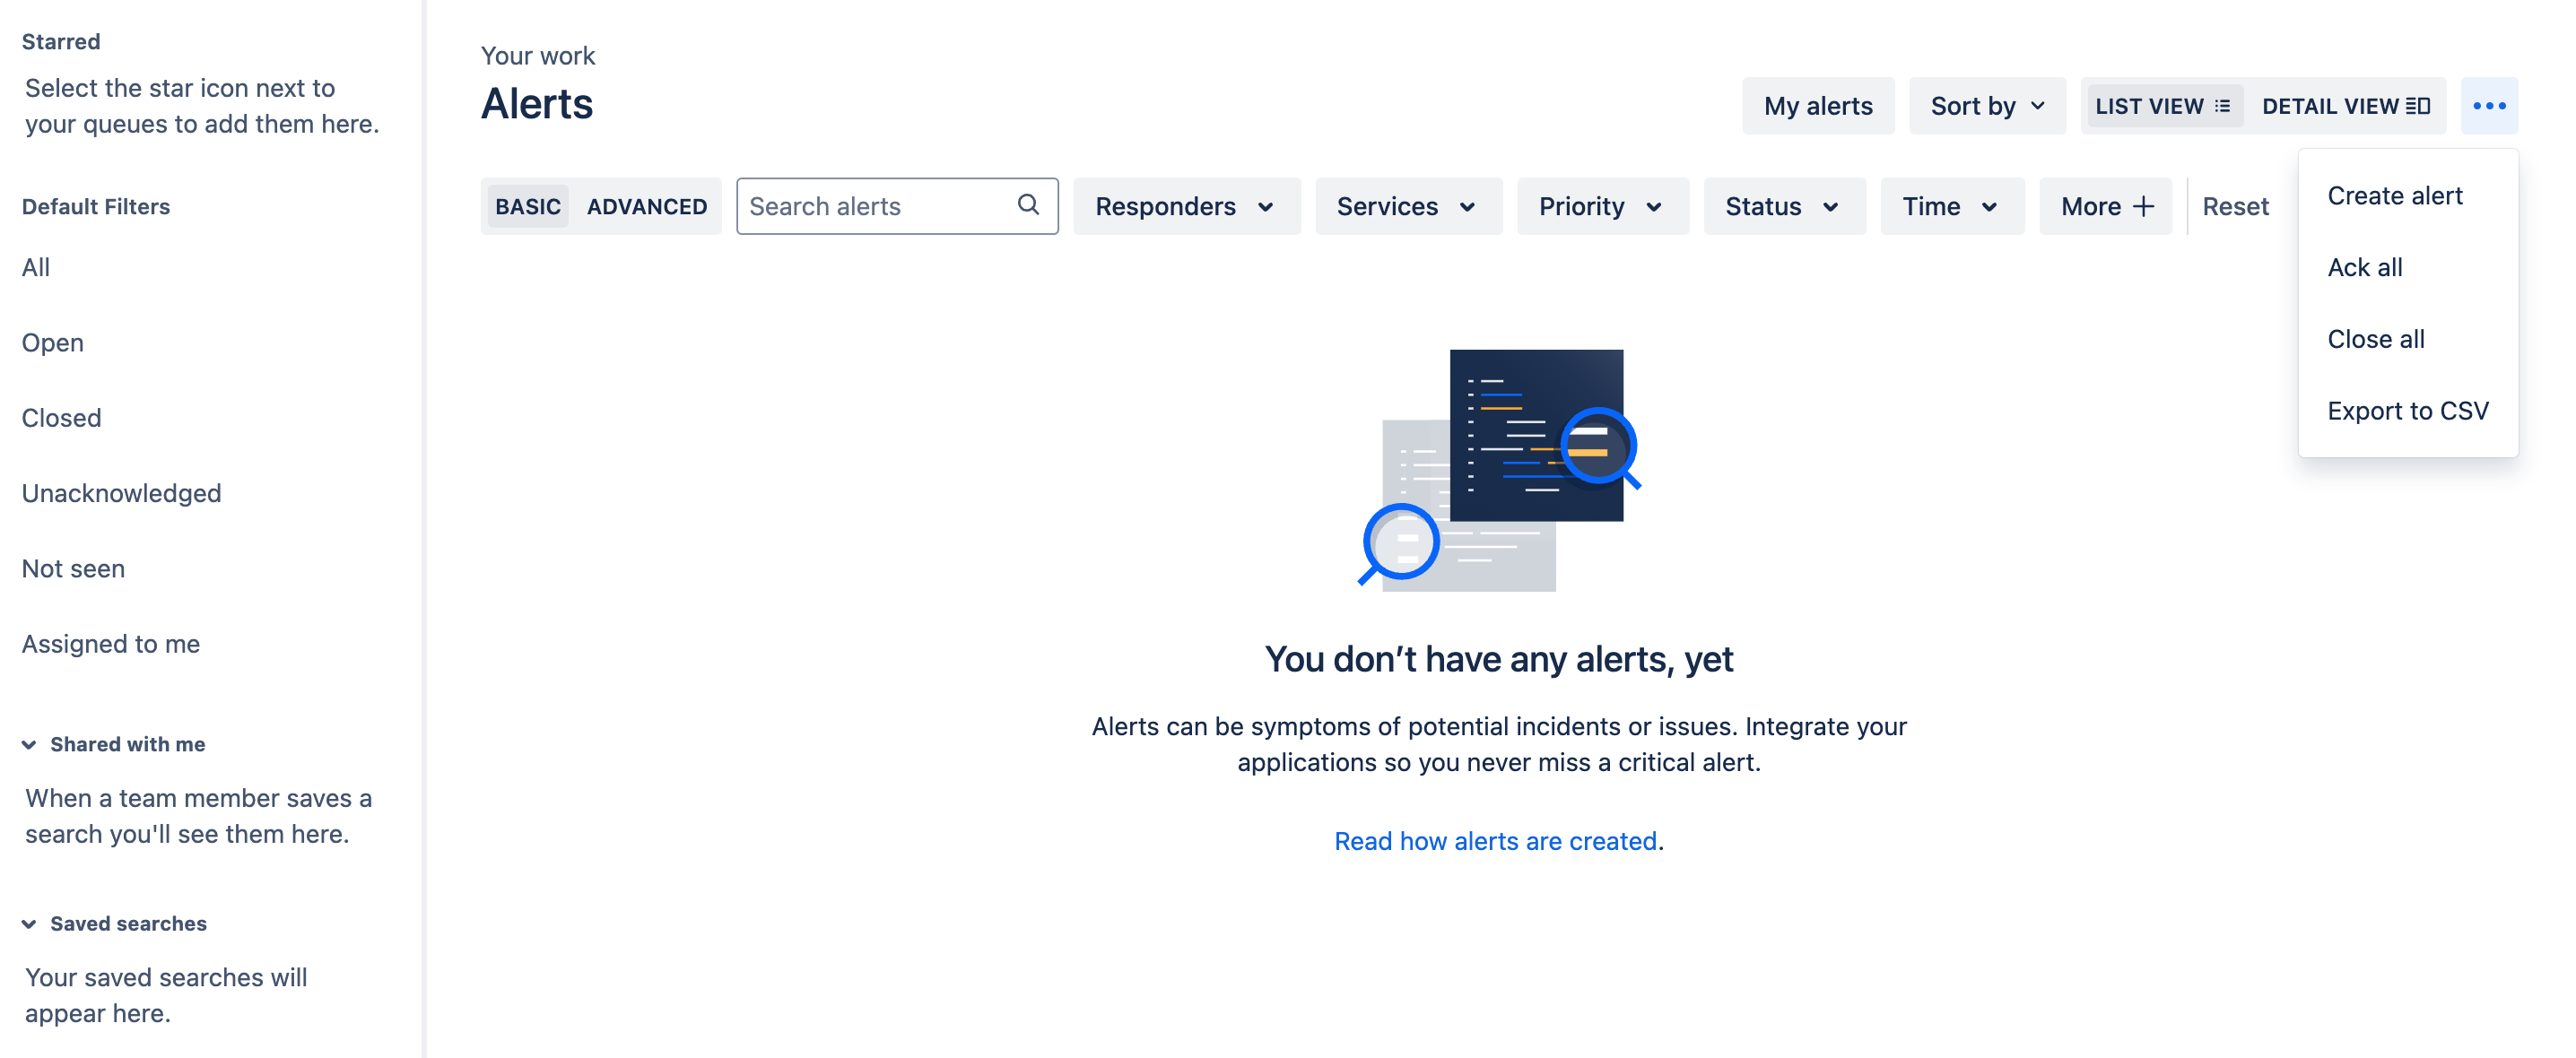
Personally, I see no benefit in doing this unless you are working under quite stringent security conditions that do not allow integration with cloud based systems. The benefit in using this is when integrated with an EM tool and automating workflows using the available functionality. I will be covering this, in a dedicated article, later in the series.
On-call (Agent: R, Admin: CRUD)
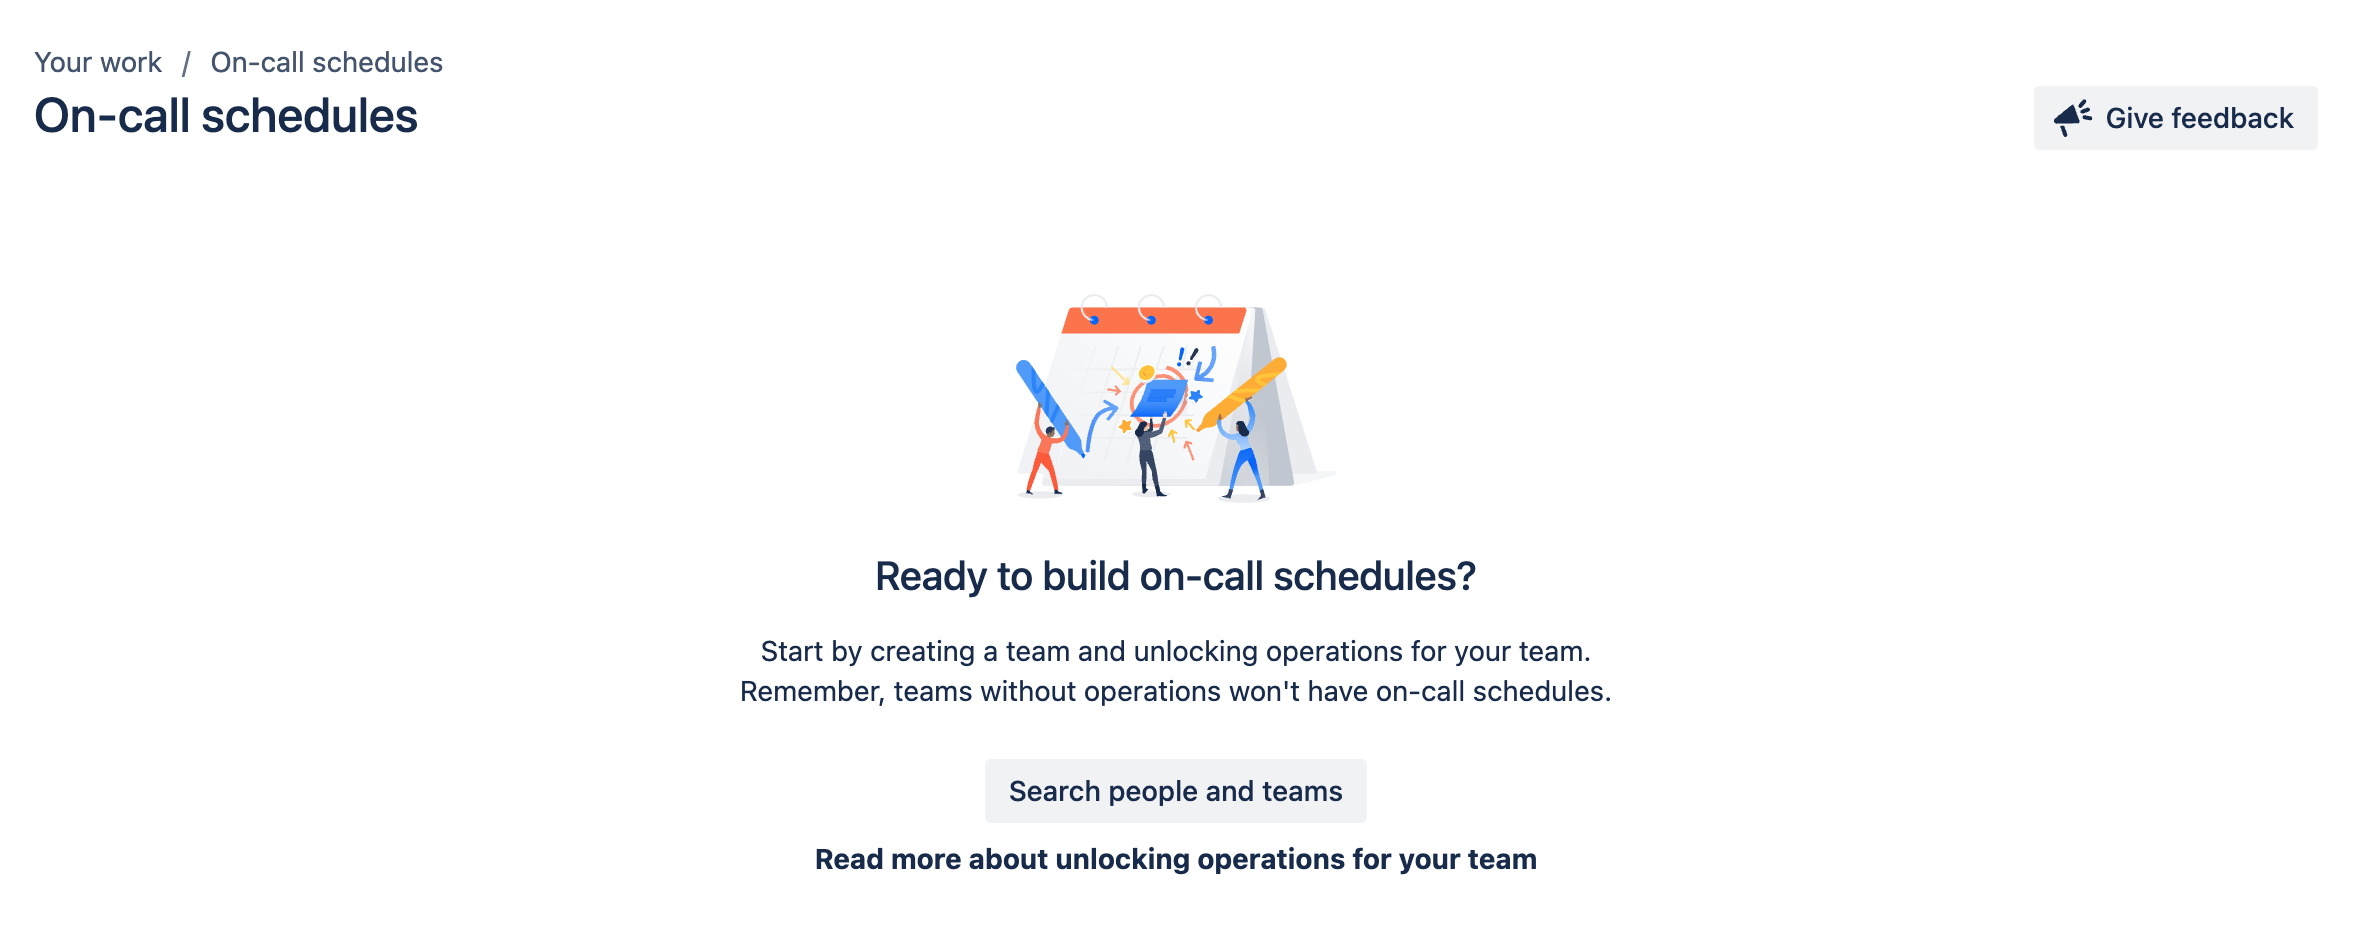
The On-call function gives you the ability to
- Manage users
- Create teams of users
- Add users to the project, which was covered in the fifth article of this series on JSM. JIRA Service Management - User Access Management
- Search for people and teams
- View all teams that have been created
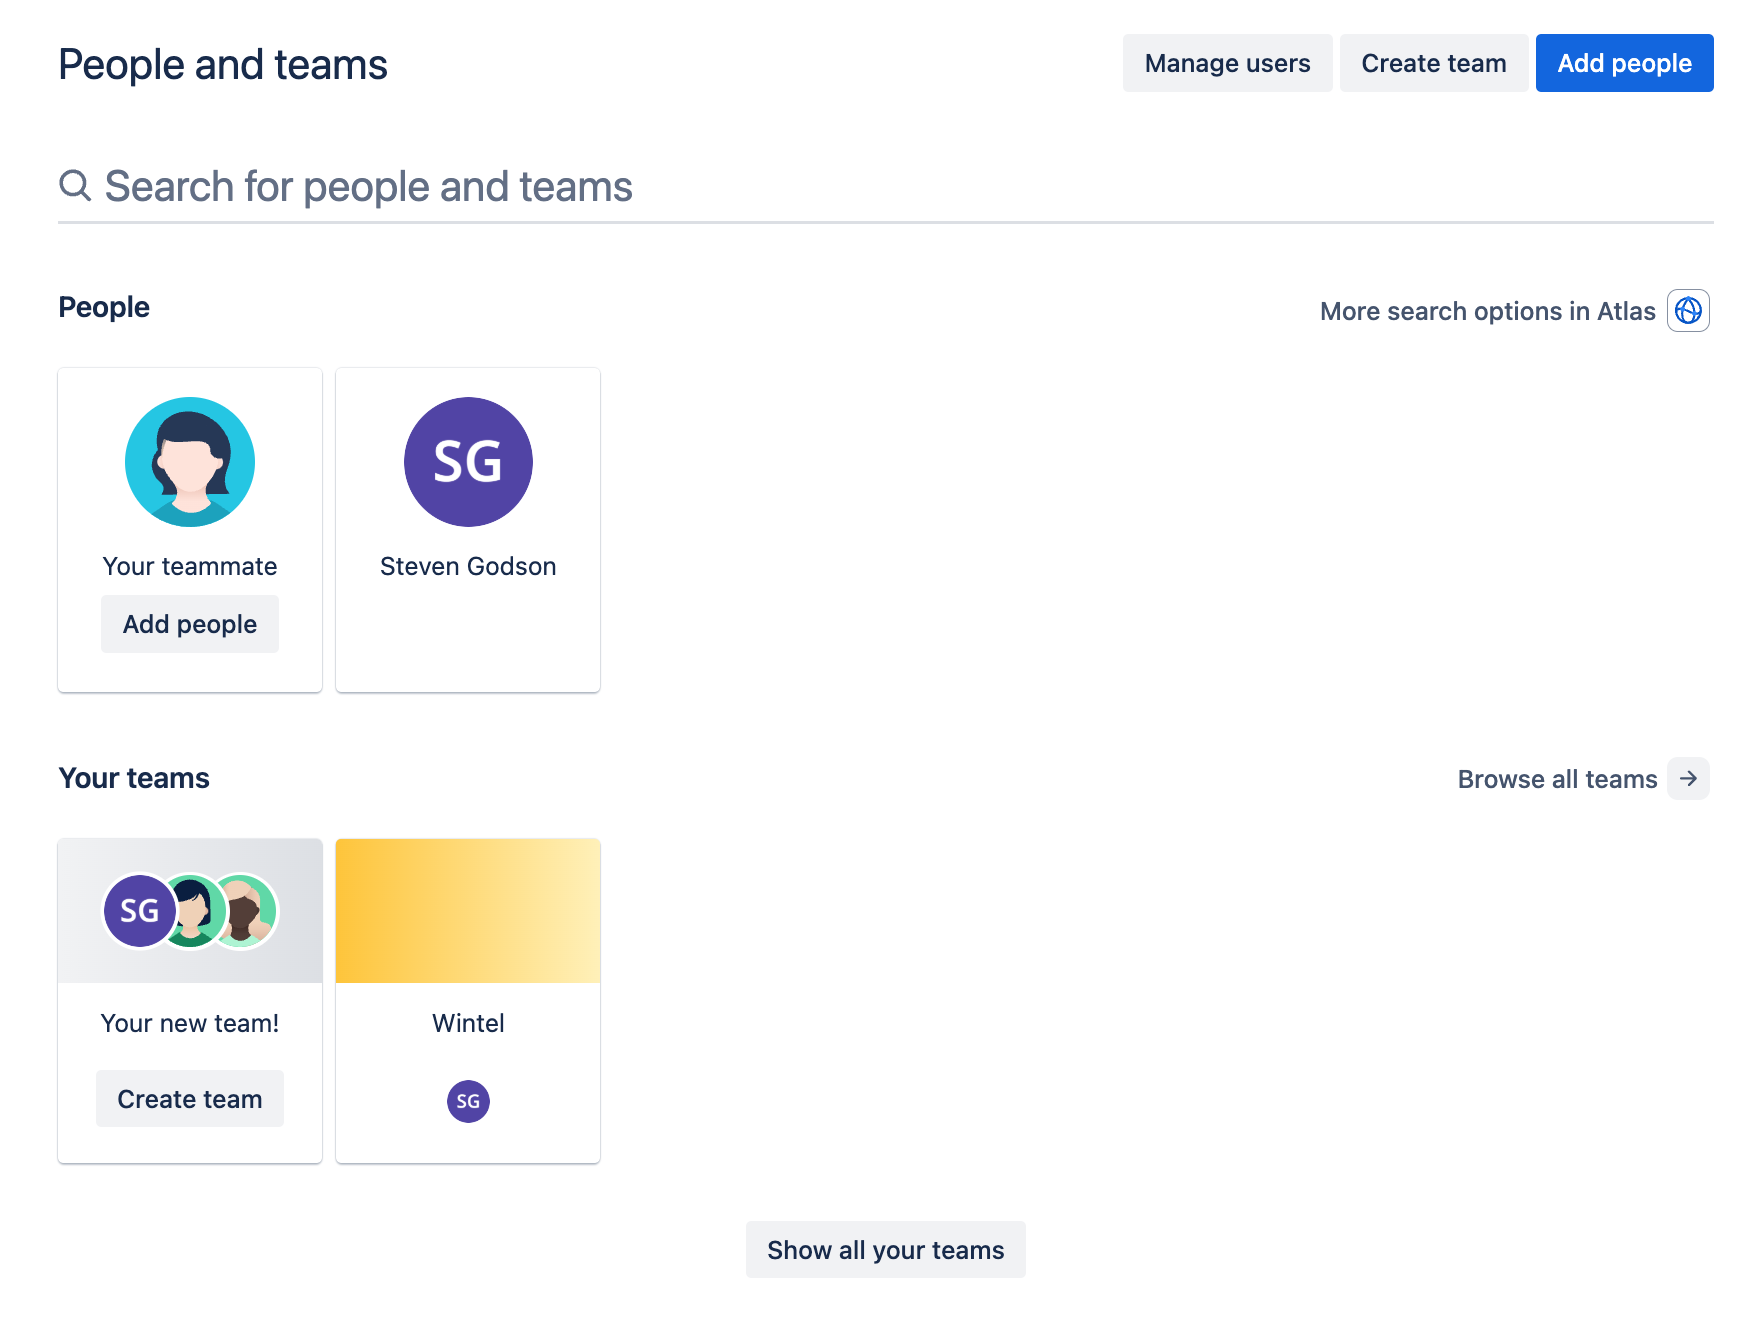
In JSM, a team is a virtual group of users that work together for a common goal. This could be
- Supporting a particular IT component (I have used the example of a Wintel team)
- Undertaking swarm analysis on certain types of issues
- Performing certain IT function roles e.g. Problem Management or Major Incident Management
- Support tiers for a particular service e.g. 2nd, 3rd and 4th line support
Users can be members of as many teams as needed.
To create a team you just click on the Create team button and populate the pop-up.
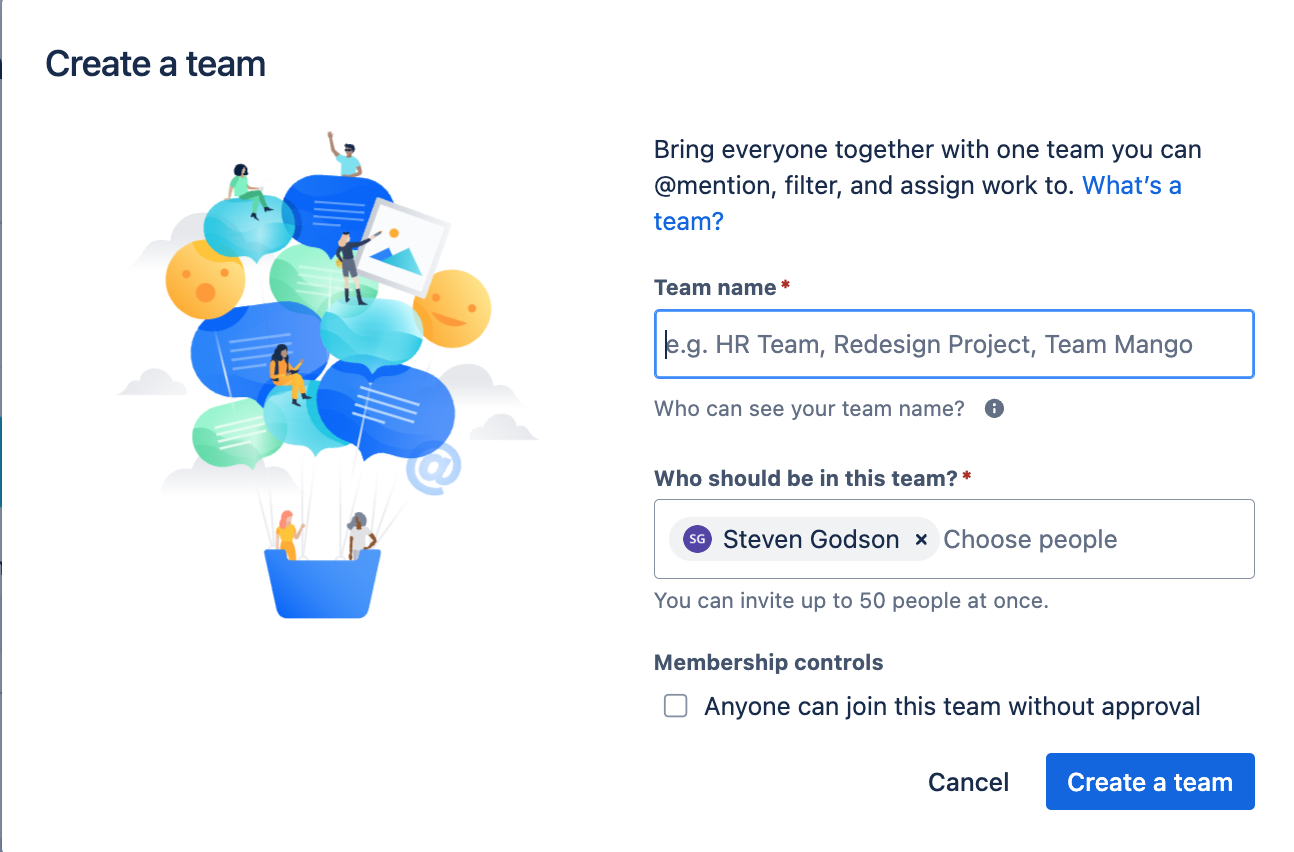
Once you click on the Create a team button, you will taken to the newly created team home page. From the screen you can
- Add members to the team
- Give kudos (positive feedback) to the team
- See the members of the team
- See the issues assigned to the team
- View the software components that are associated to the team
- View the team’s help links
- See the kudos given to the team
- Access the team’s knowledge article
- Setup the on-call schedules (we got there in the end!) for the team
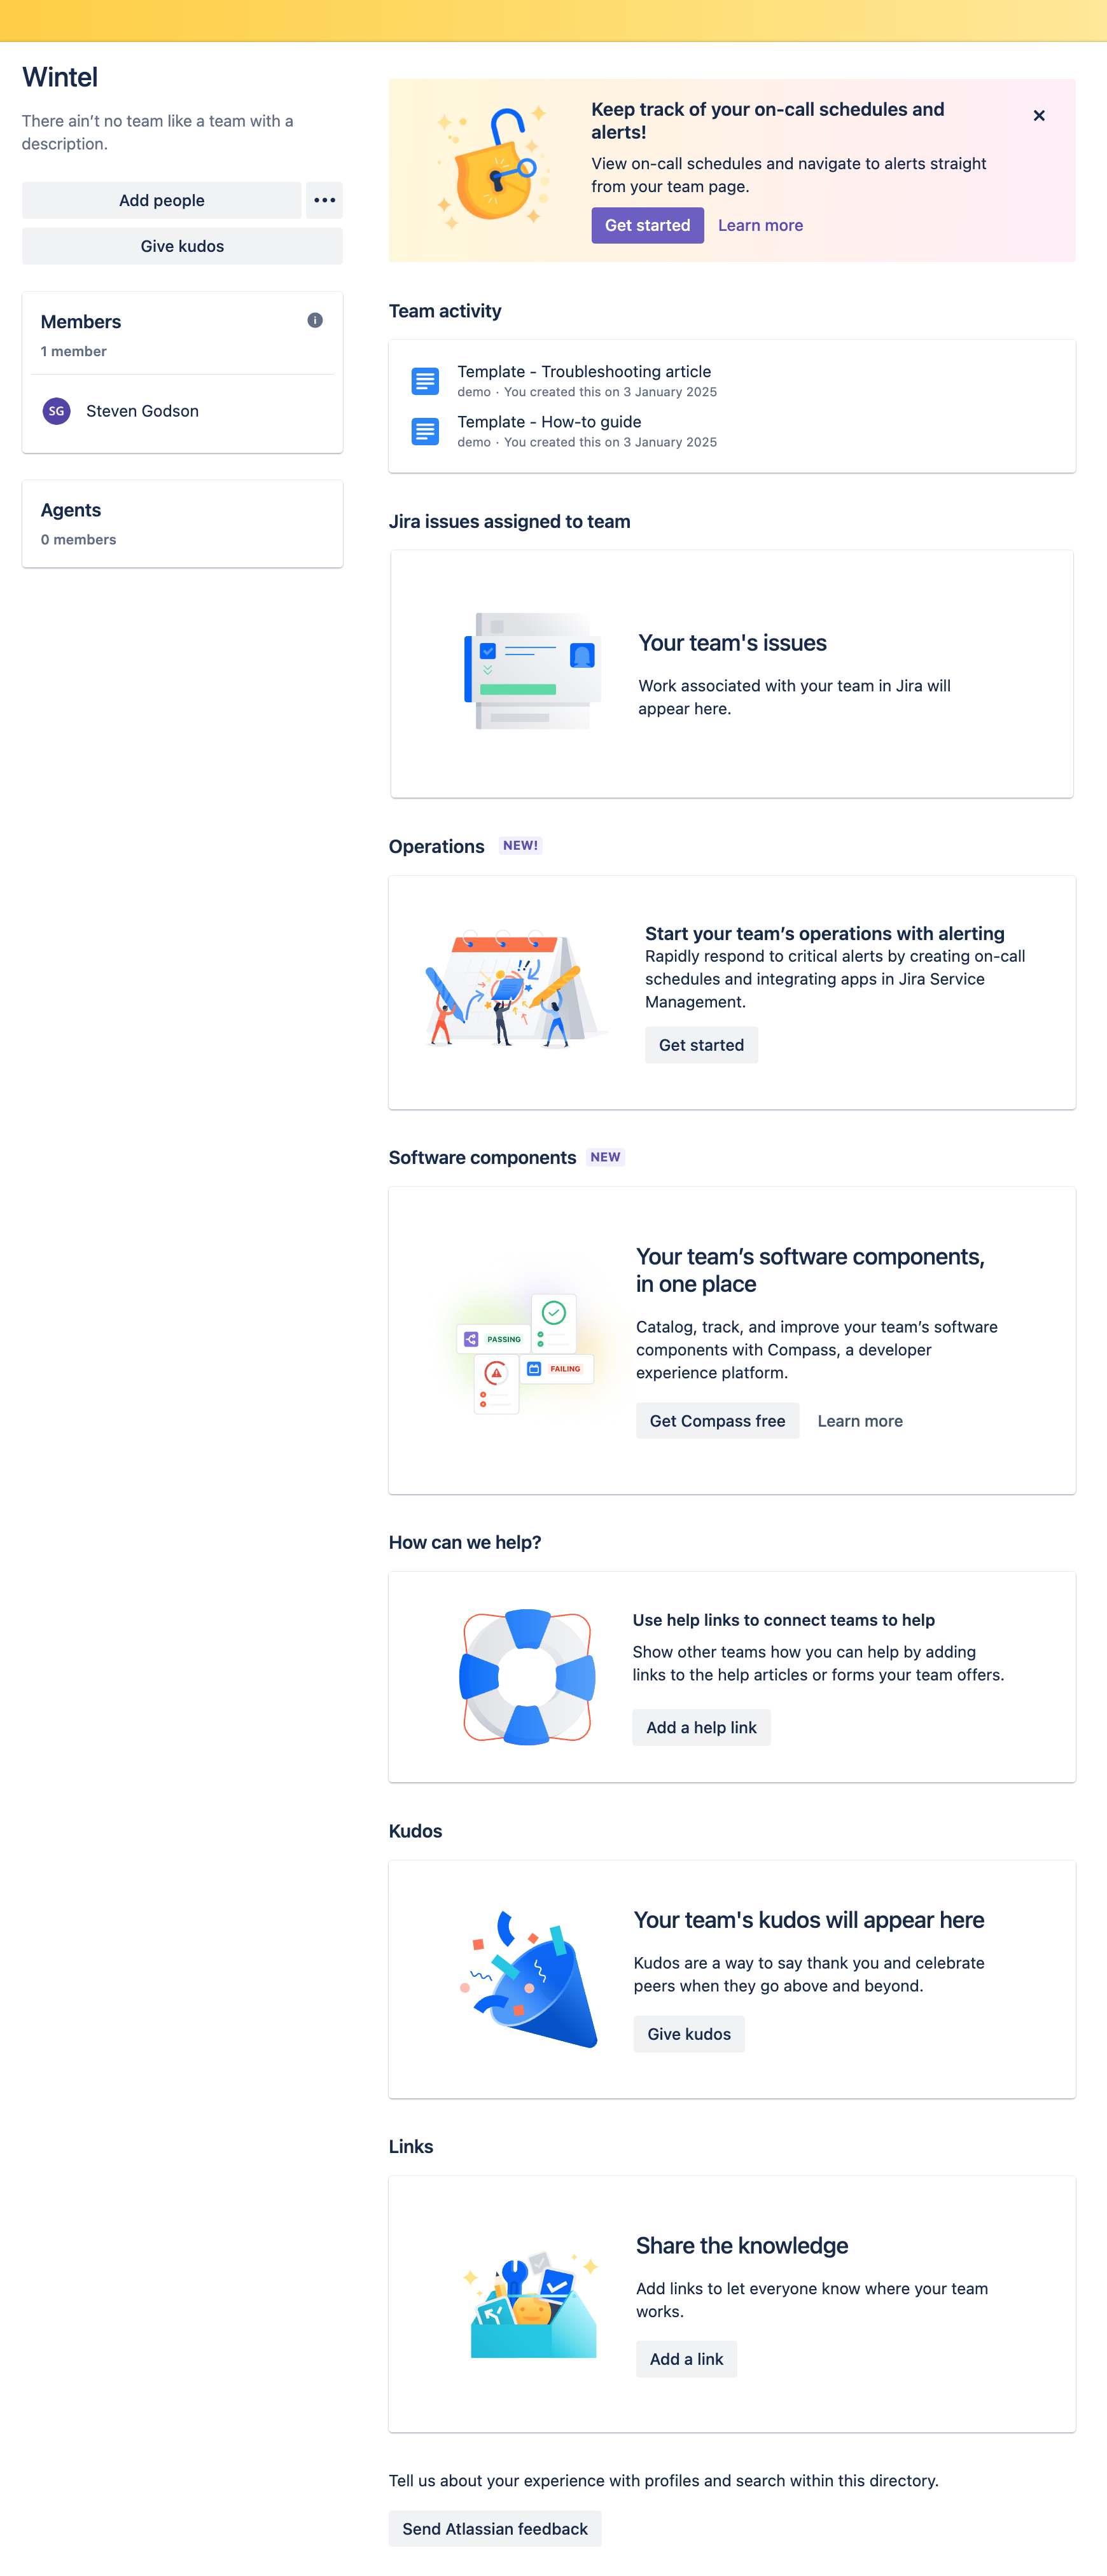
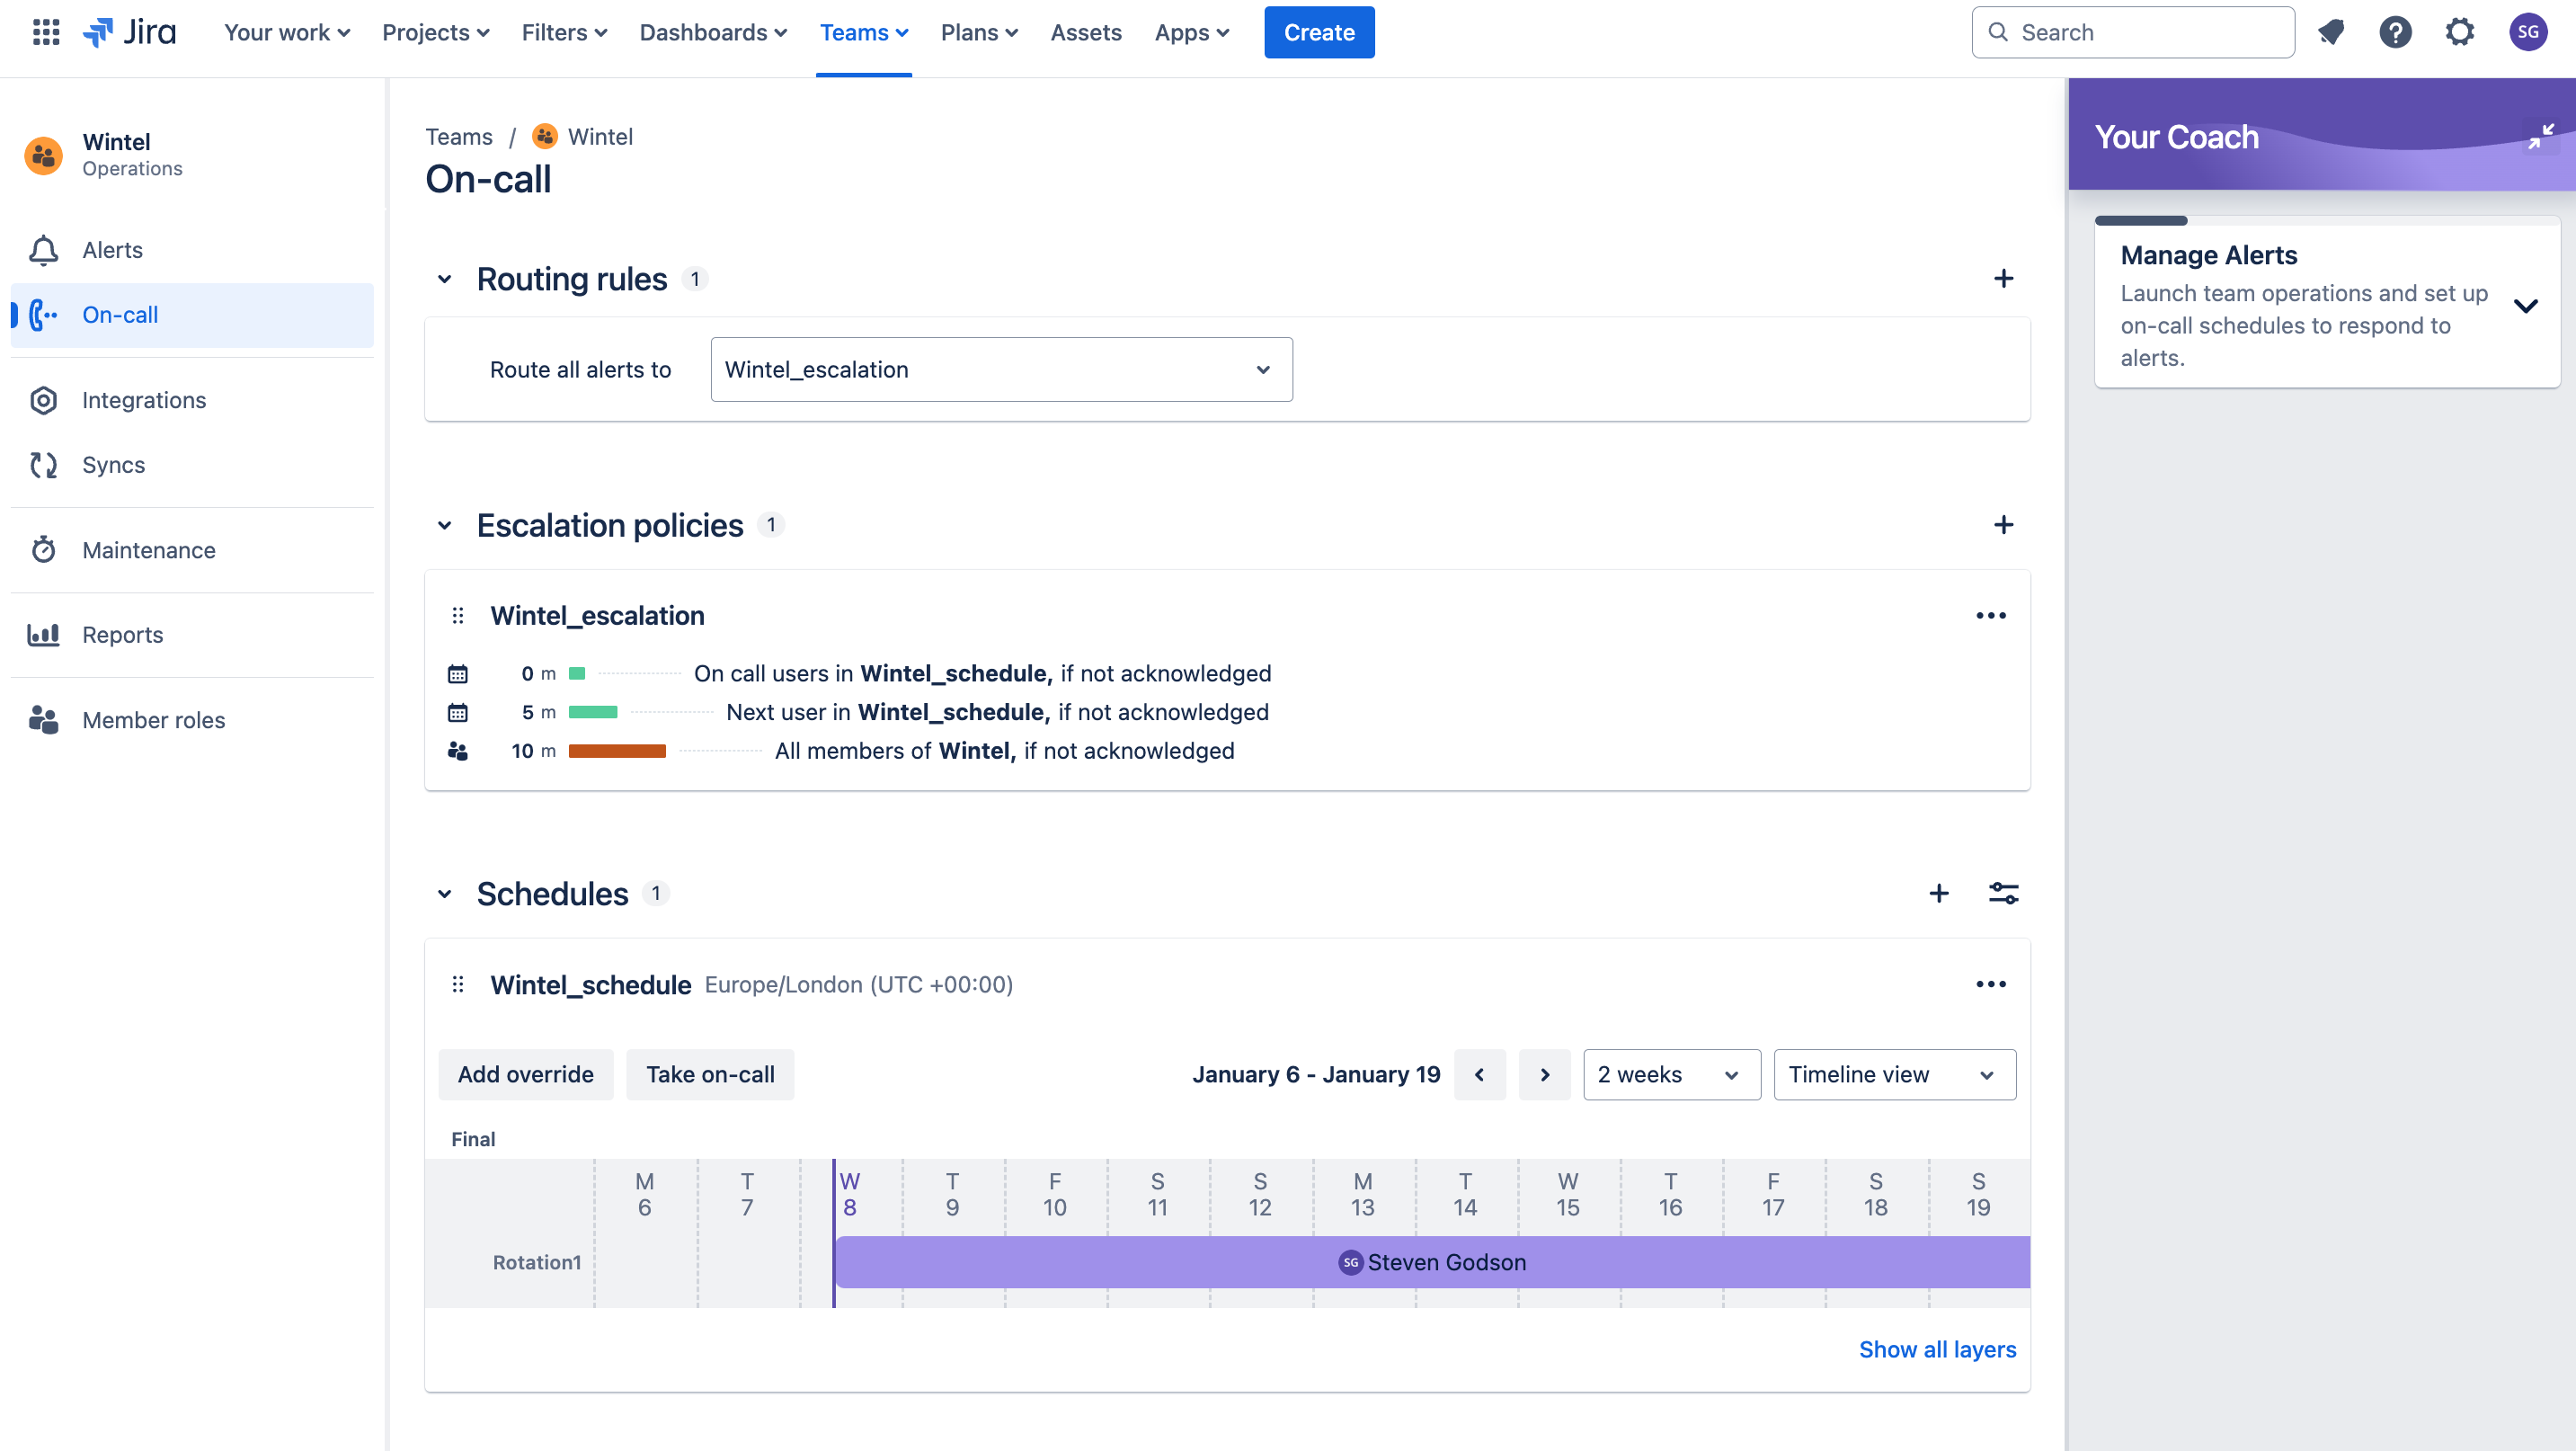
So, let’s get started and setup an on-call schedule for the Wintel team. Click on Let’s get started, Next on the first launch page, and then assign your team administrator on the last. You will be taken to your teams On-callpage, from here you can
- Create Routing rules
- Create, amend and delete Escalation policies
- Create, amend and delete Schedules
Routing rules
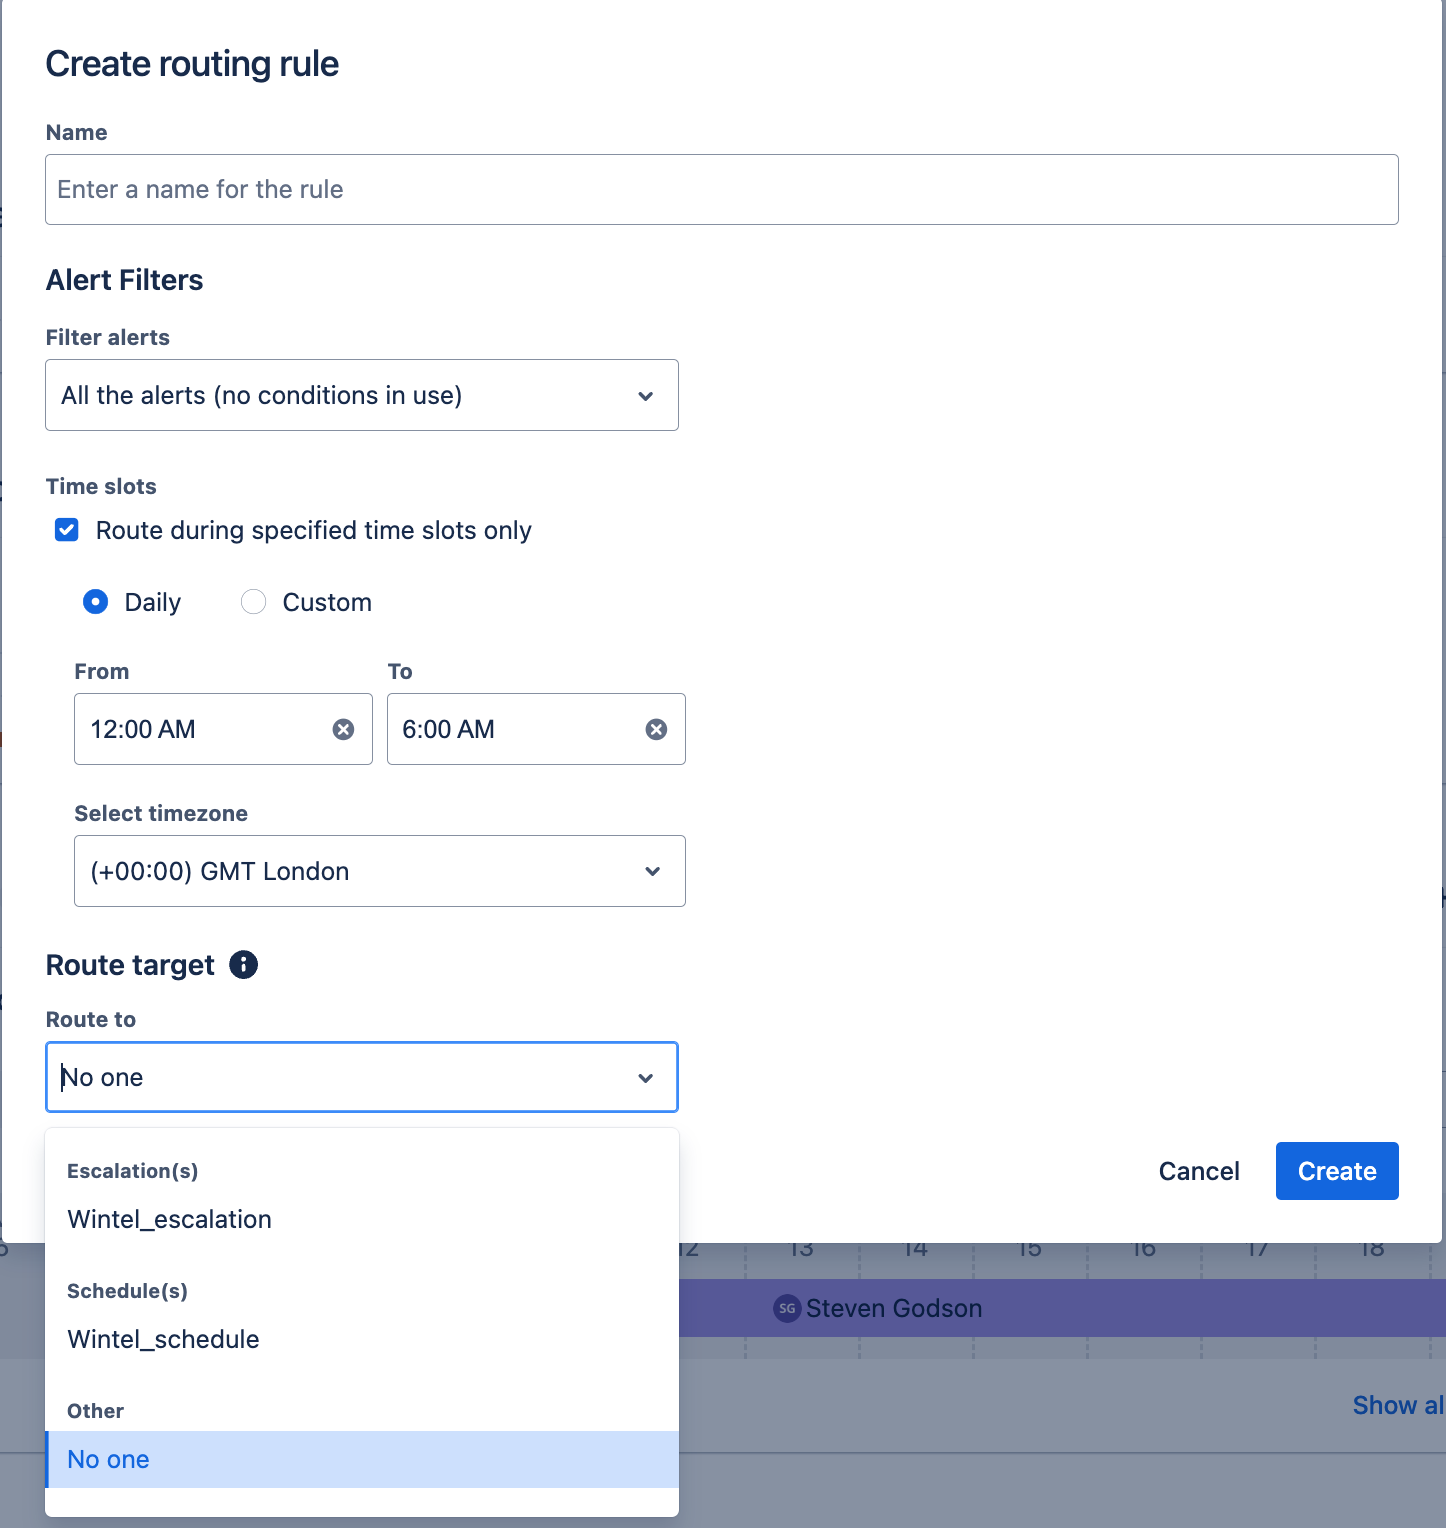
When settings up a Routing rule you can set
- Rule name
- Alert filters and apply conditions that need to be met e.g. Priority 1 Incidents are routed differently outside of normal operational hours
- Set time slots against which the rule is applied
- Whether to route to an
- Escalation policy
- Schedule
- Other (defaults to none)
Escalation policies
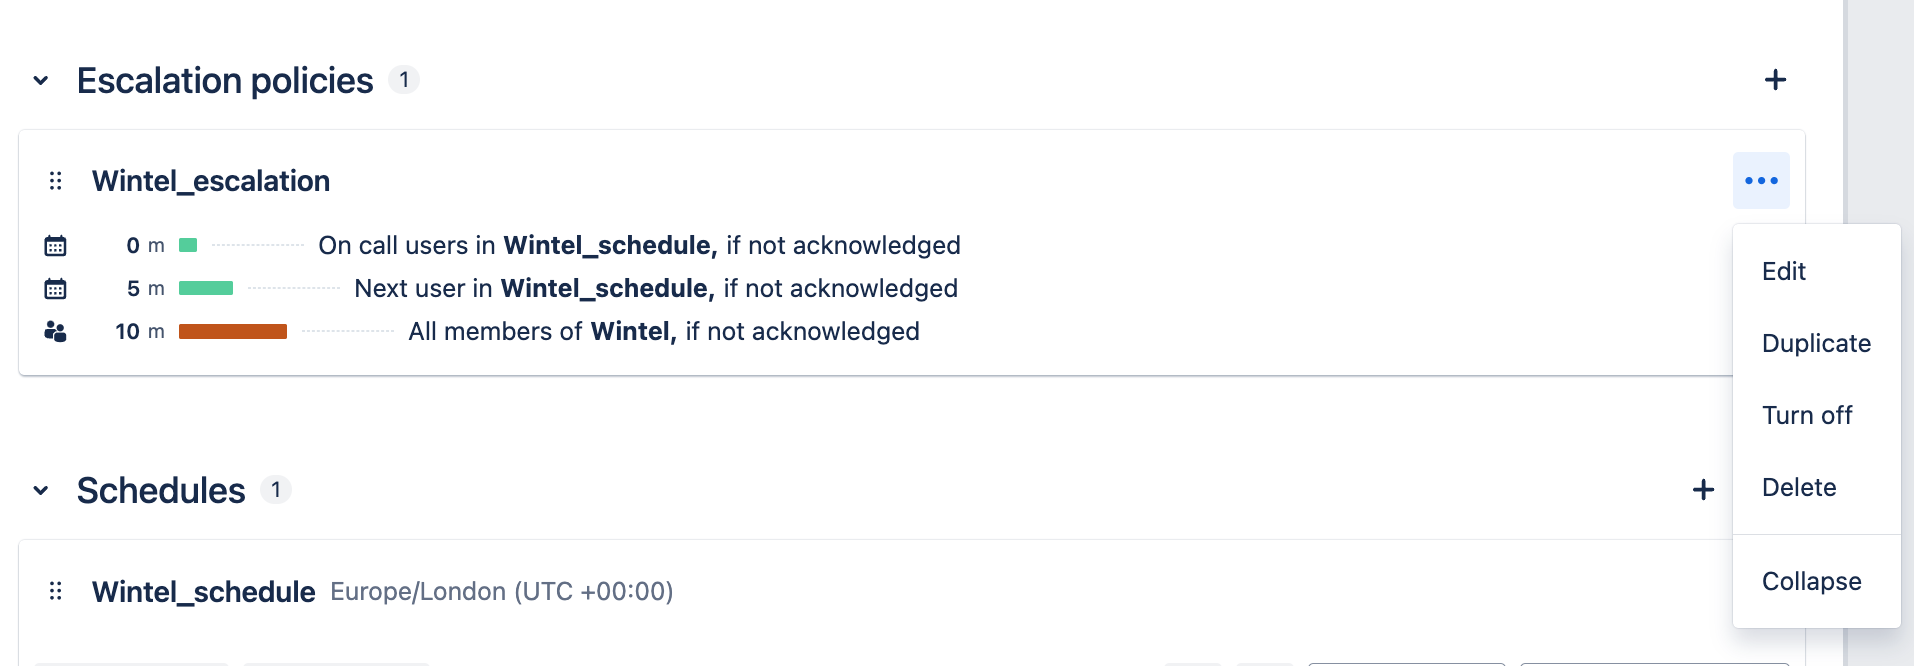
An Escalation policy sets conditions against which an alert is escalated. The one shown above is the JSM default.
This section provides the ability to
- Edit a policy
- Duplicate a policy
- Turn off a policy
- Delete a policy
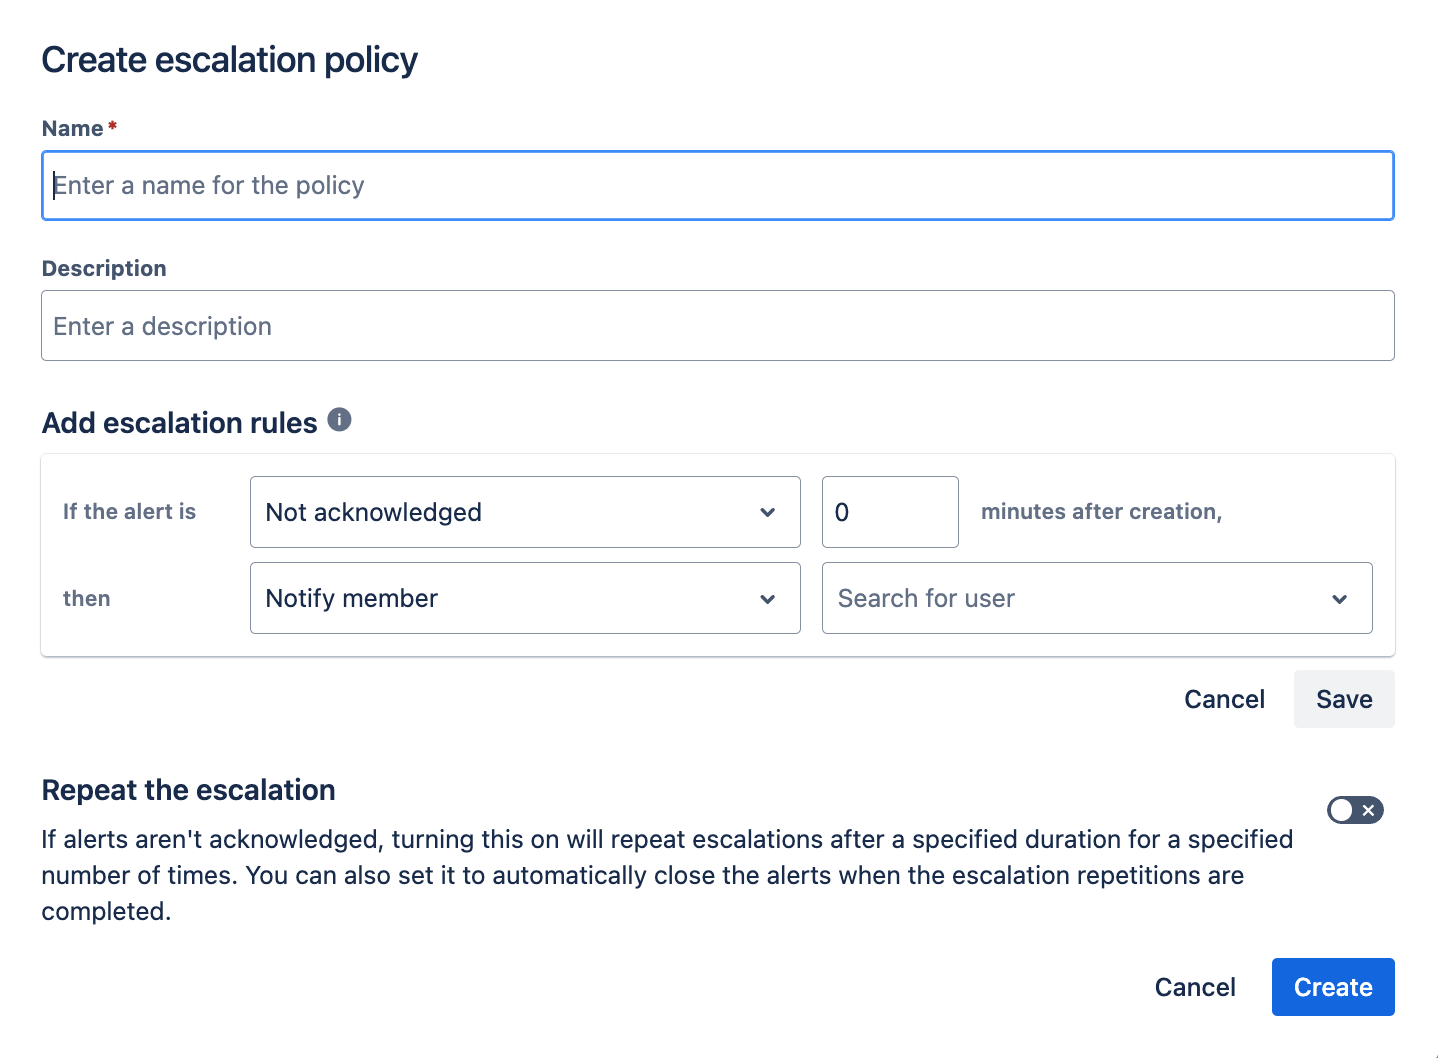
- Create a policy, which requires the specification of
- Name
- Description
- Add escalation rule
Schedules
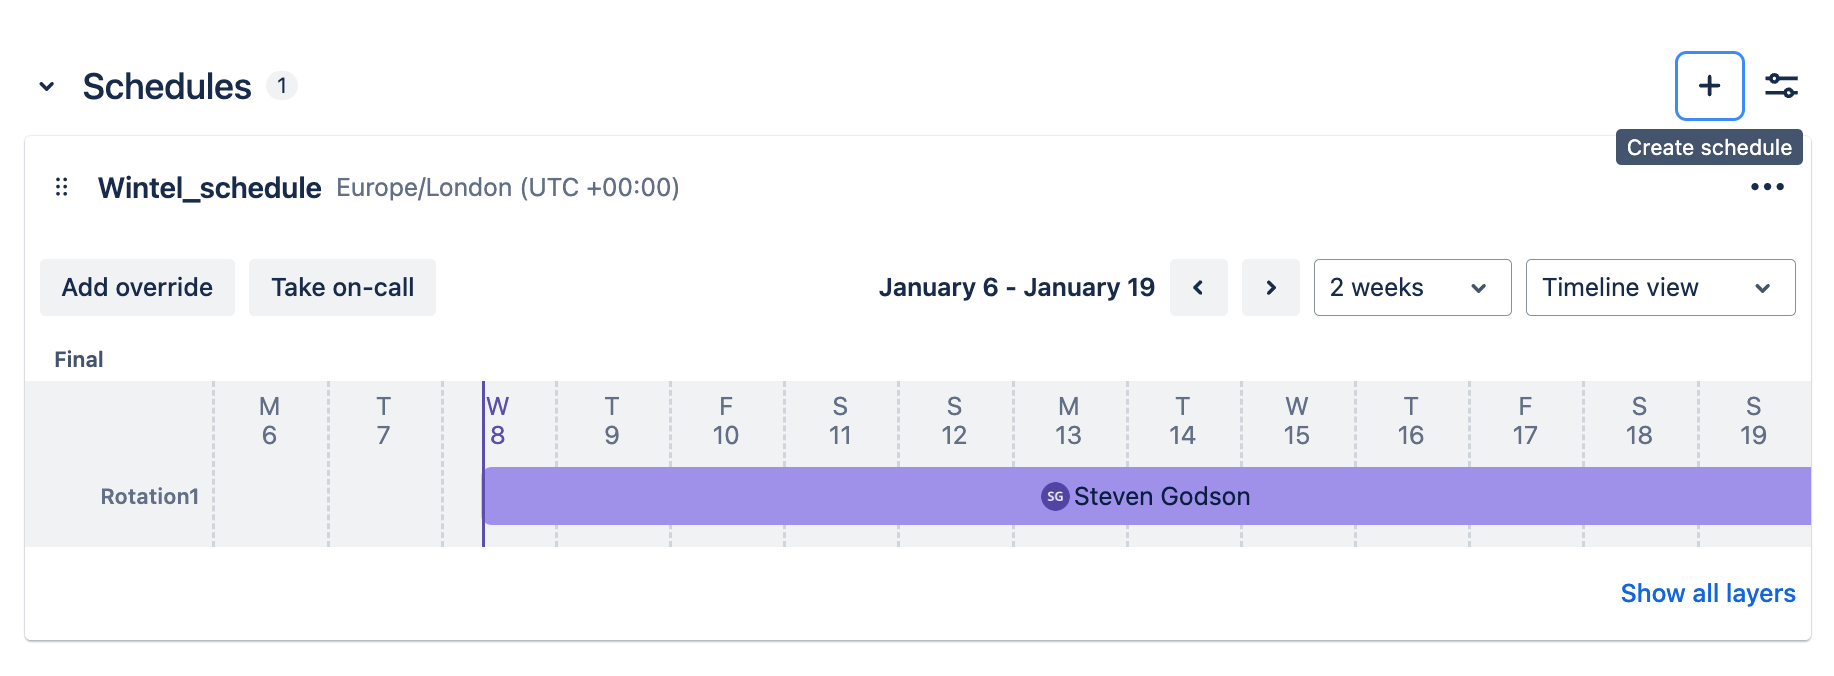
The Schedule specific when your team is available.
- Edit a schedule, where you can edit the working pattern (rotation) within the schedule and create new rotations
- Duplicate a schedule
- Export a schedule
- Turn off a schedule
- Delete a schedule
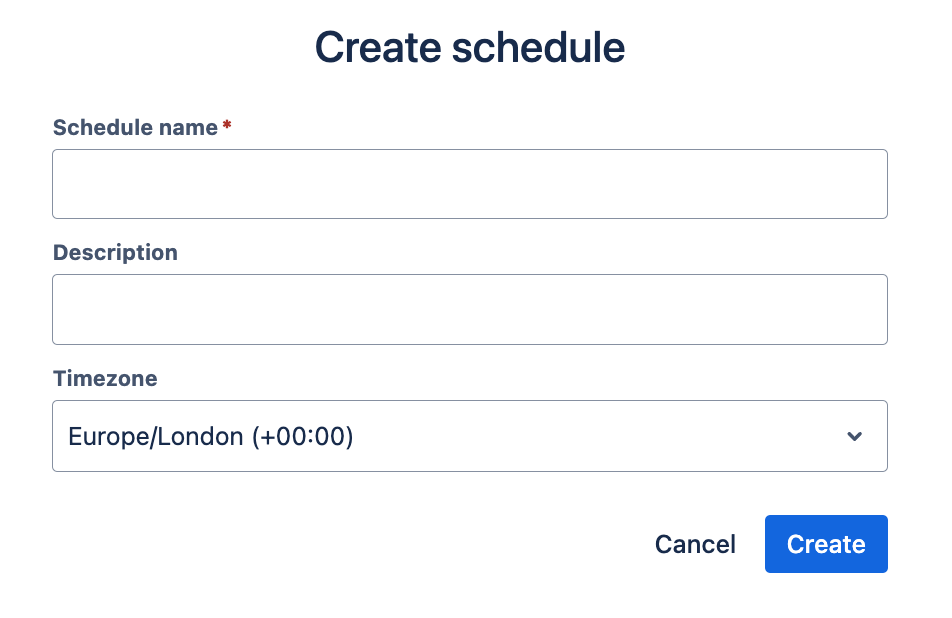
- Create a schedule, which requires the specification of
- Name
- Description
- Timezone, against which it is applied. This is key if you have geographically dispersed teams and / or are delivering to a ‘follow the sun’ approach
Knowledge
Knowledge base (Agent: R, Admin: CRUD)
Initially this link opens the knowledge base articles page, where all articles that have been created are listed and can be searched.
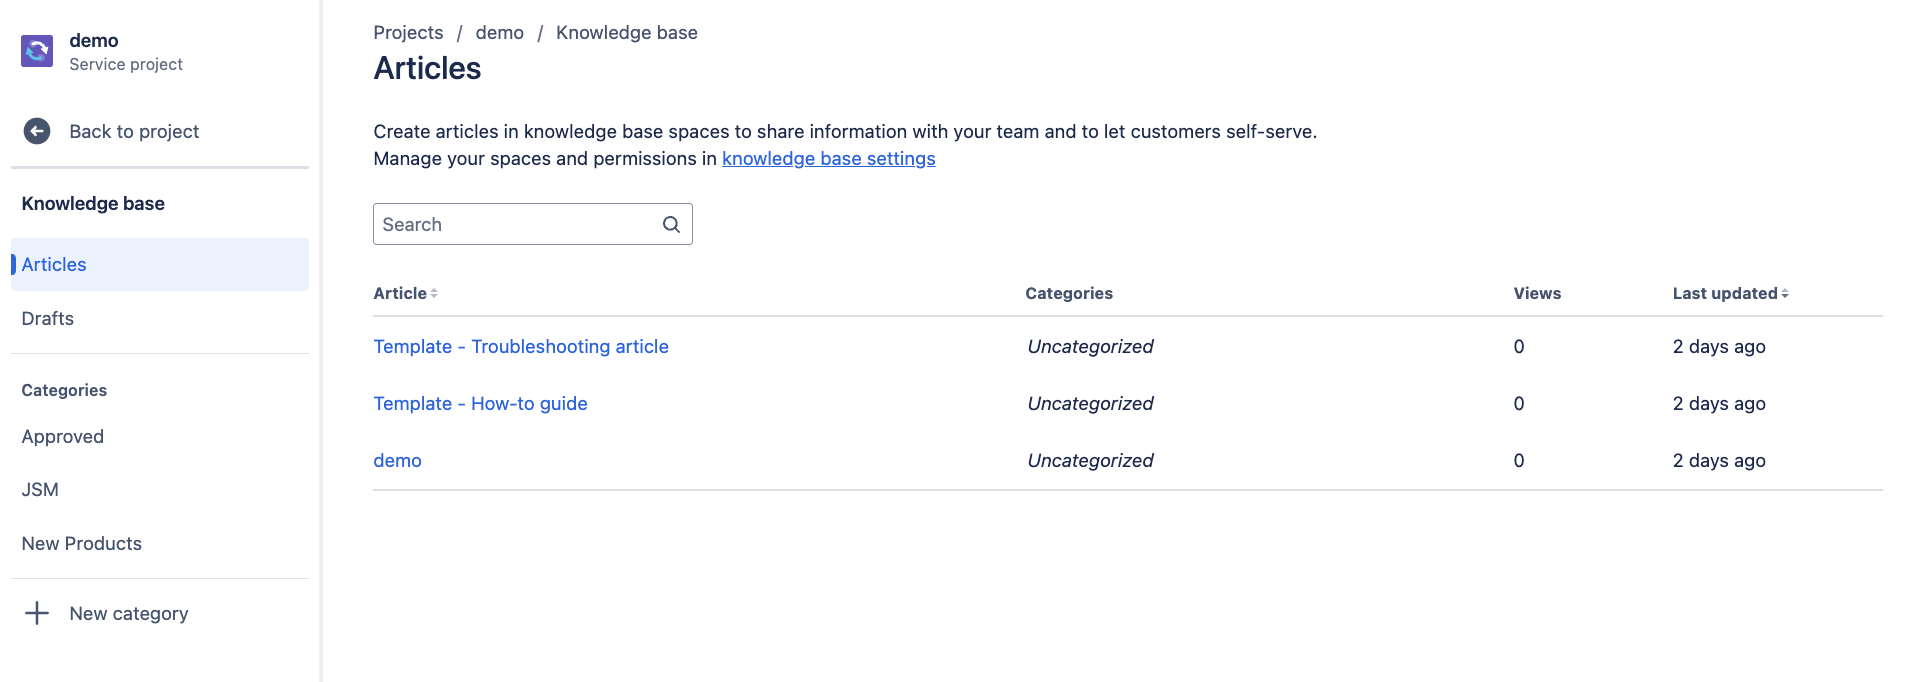
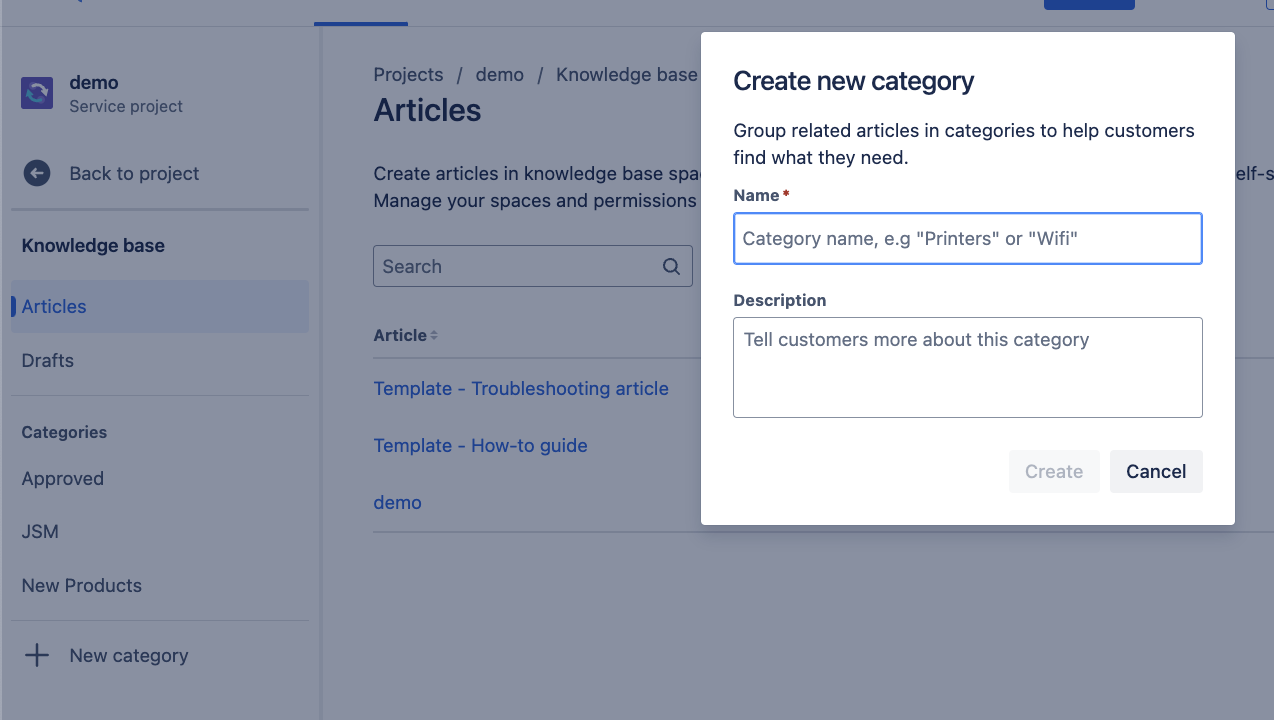
On this screen you can create categories, that can be assigned to articles for logical grouping, which users and customers will see in the knowledge base.
If you select a Category you will be taken to the list of articles associated with that category. From this view you can
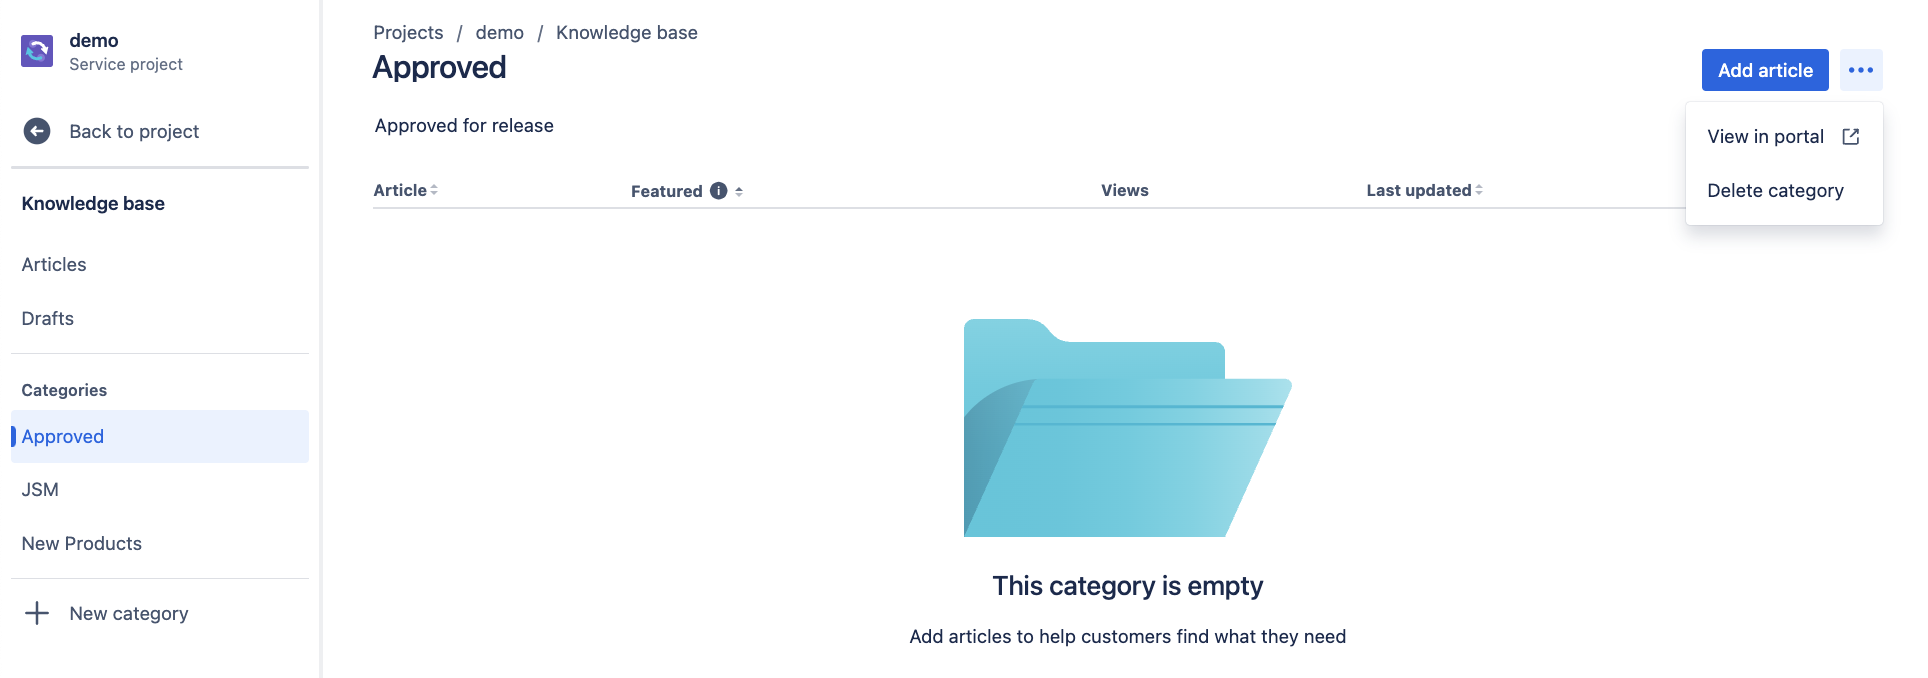
- View the category in the portal
- Delete the category
- Associate articles to the category by clicking on Add article and selecting the plus sign next an article in the list

Each JSM project starts with the three articles shown, the latter being named after your JSM instance. If you click on the articles name you are taken to a view of the article.
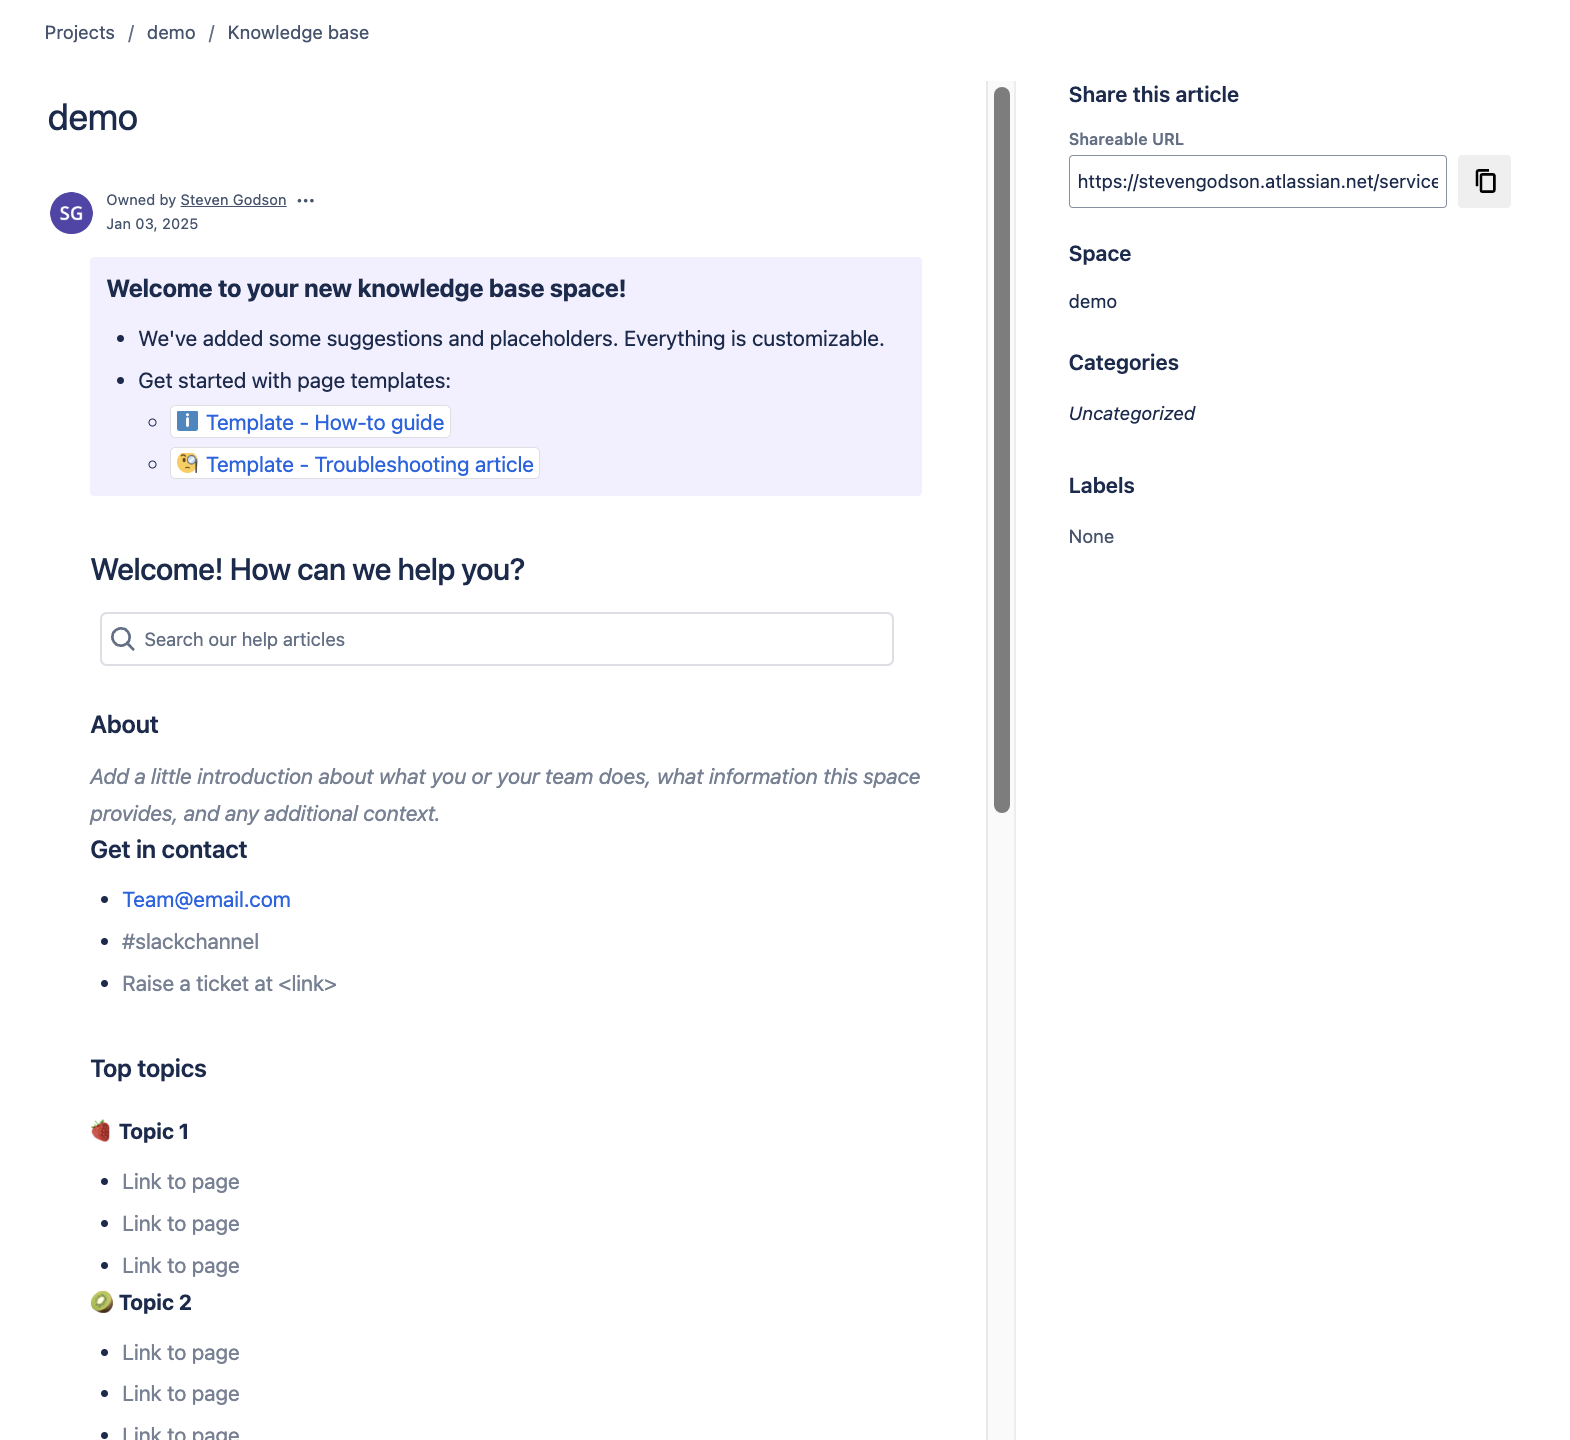
“This is fascinating,” I hear you cry, “but how do we create articles in the first place?!”. The answer to this depend on where you want to manage your articled, your choices are
- In Confluence (JSM default) in which can you need to switch from JSM to Confluence, or
- In JSM, in which case you need to get a Project Admin to go into Project Settings->Channels & self-service->Knowledge base and change the setting for Who can edit to Service project user.
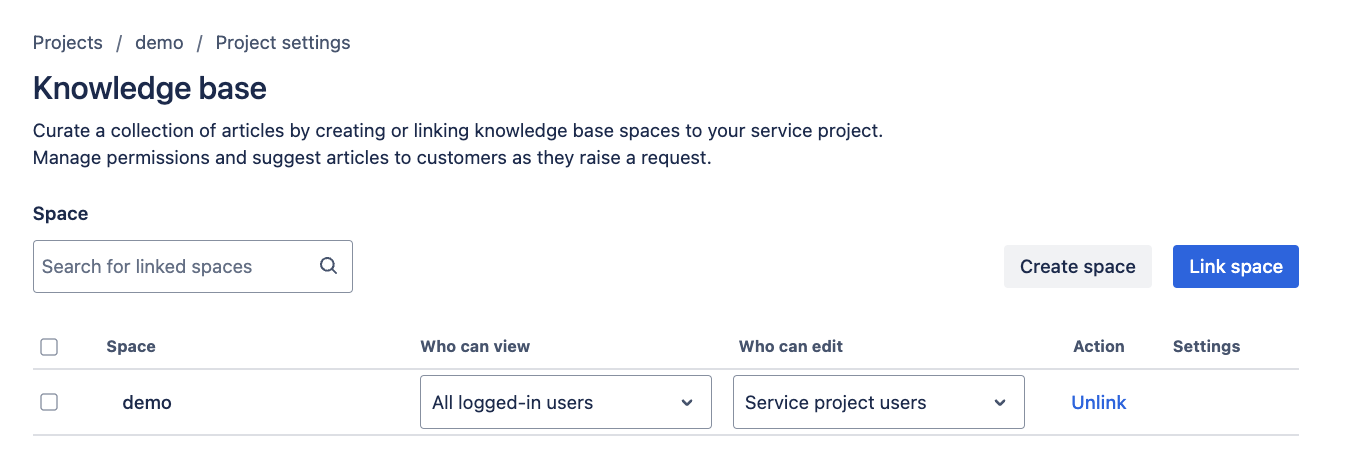
This can will make the Create article button appear on the knowledge base article listing screen, as shown below.
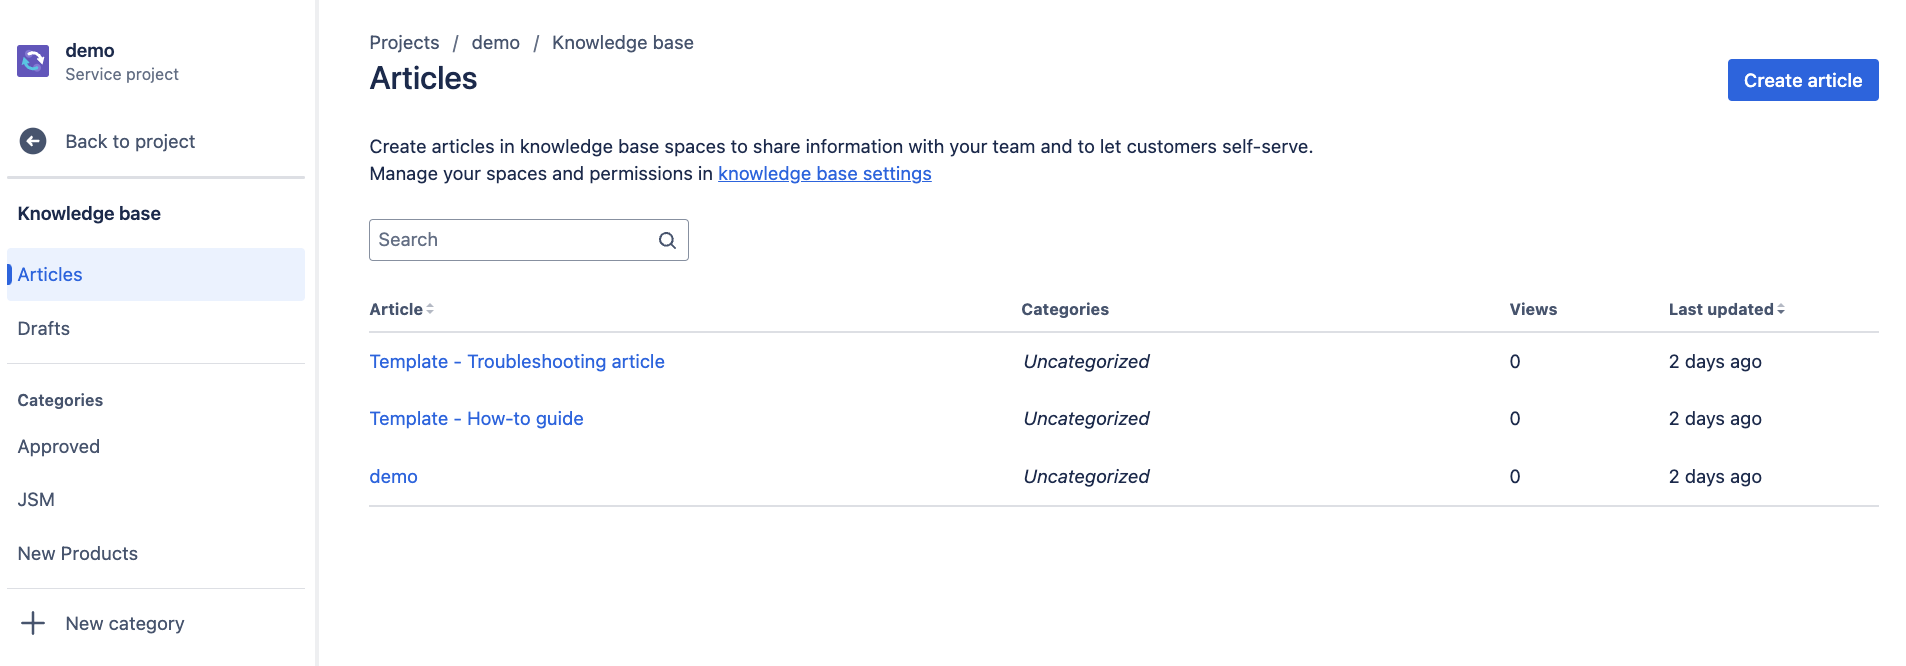
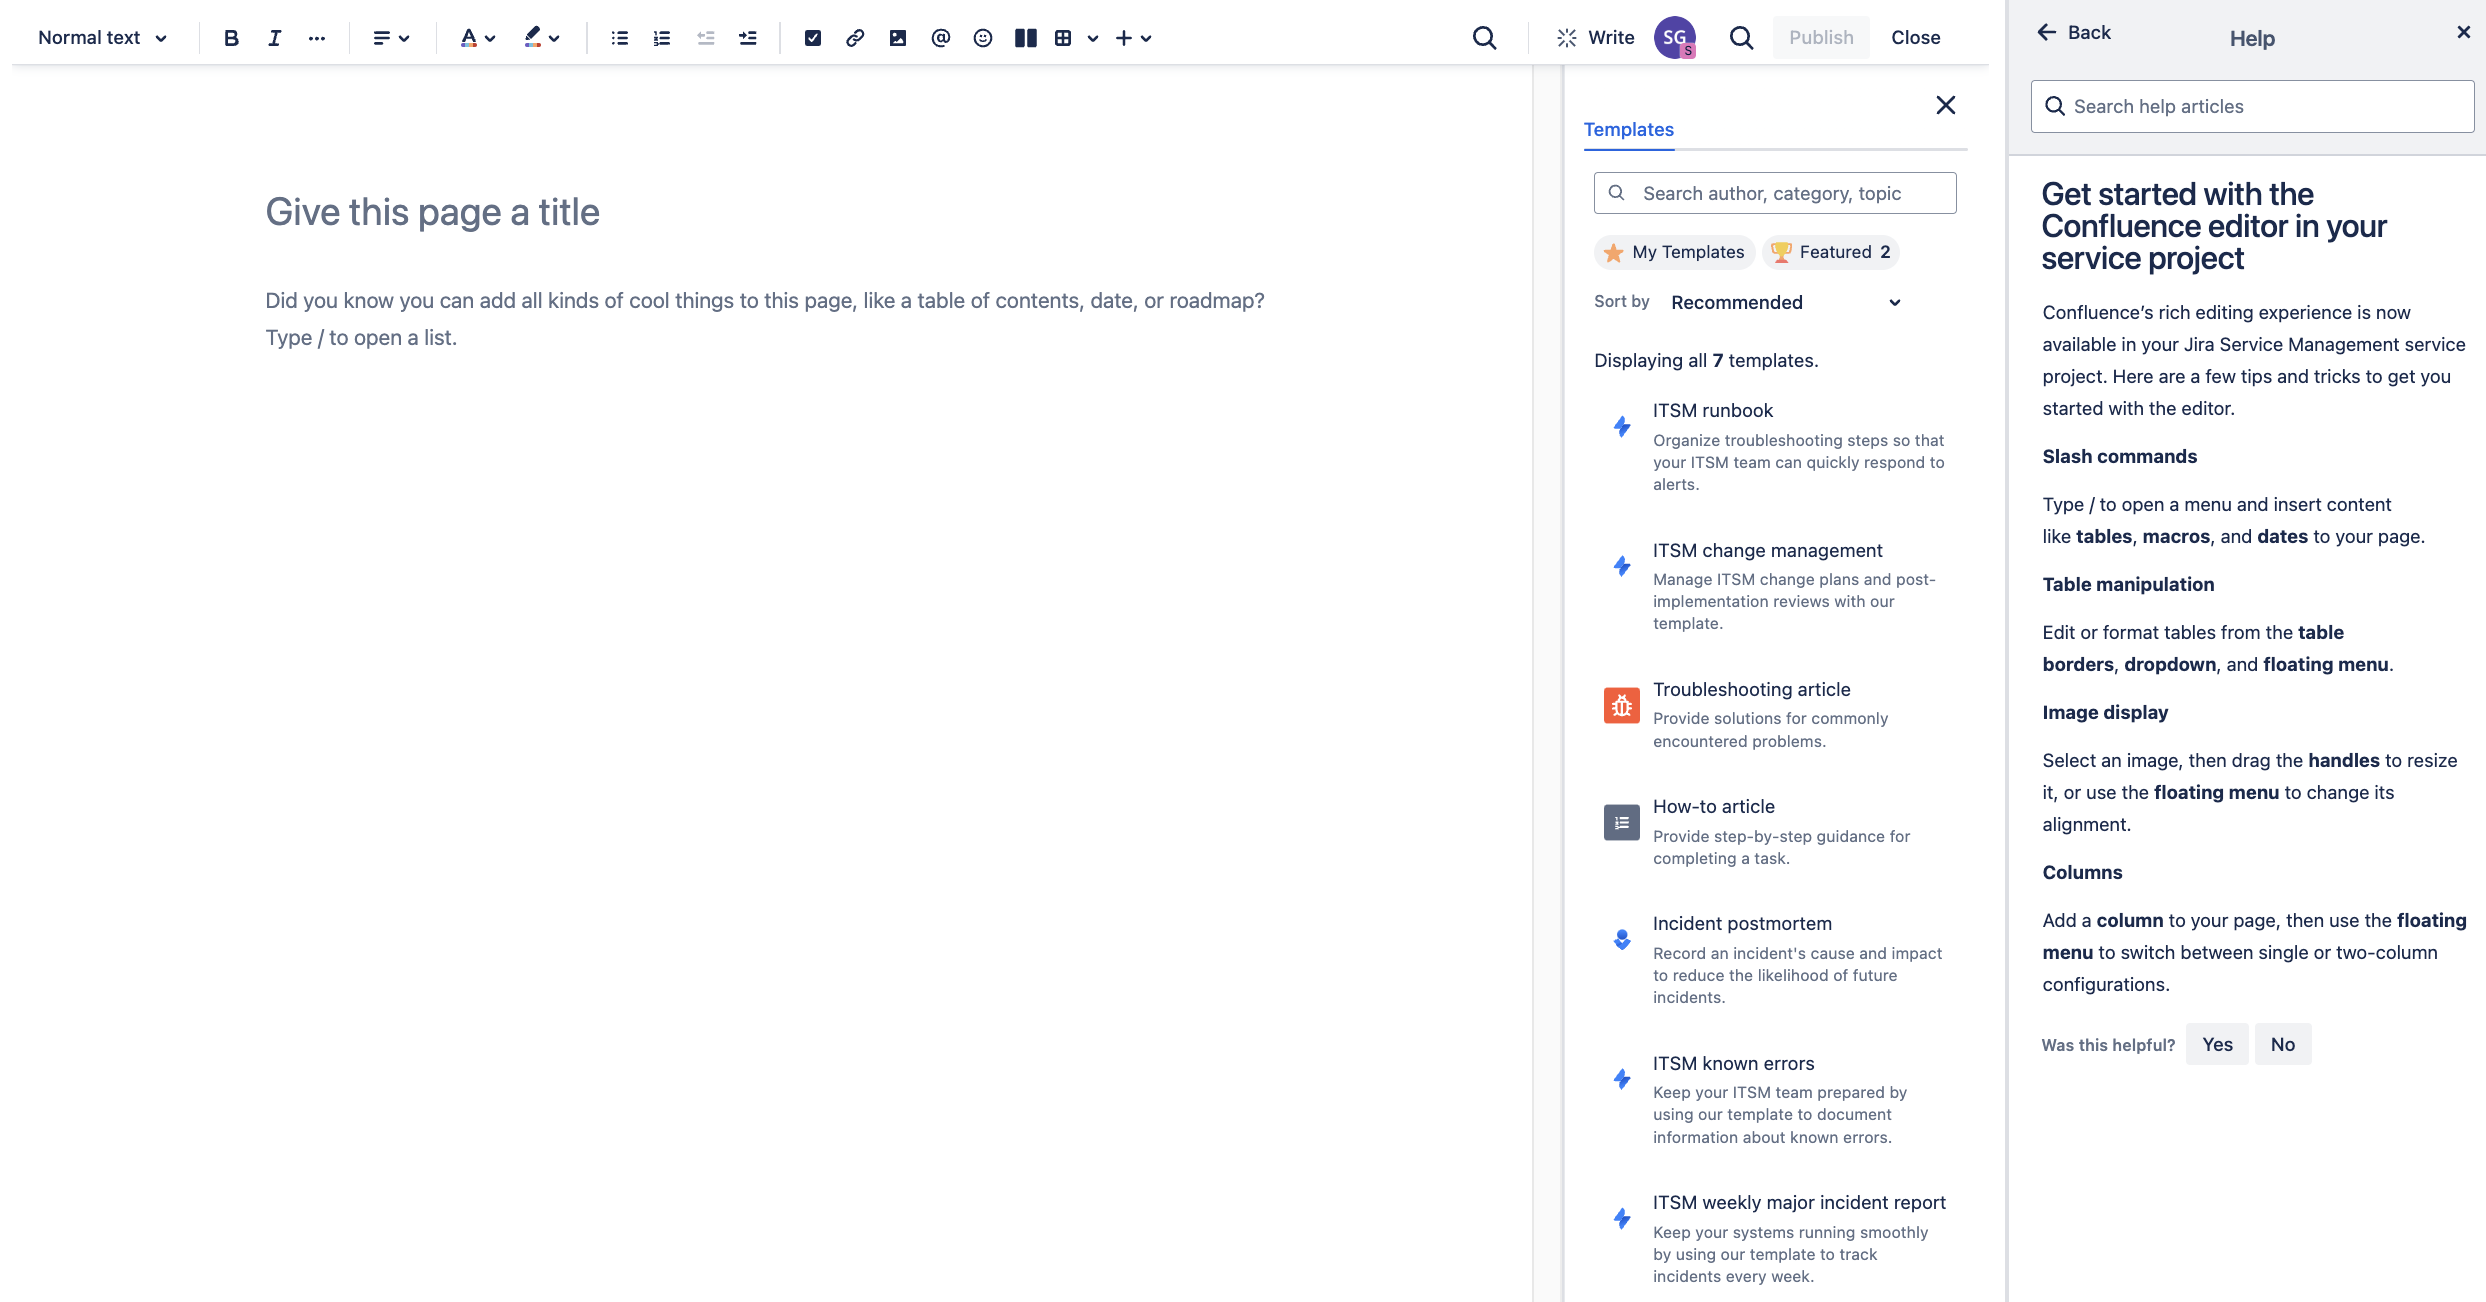
Simply click on the button and your will be taken to the article editor where you are ready to start creating insightful and engaging content. This is the WYSIWYG article editor that exists in Confluence.
Reports (Agent: R, Admin: CRUD)
This takes you to a set of predefined reports that you can use to track trends across your service desk e.g. SLA achievement, Work In Progress etc.
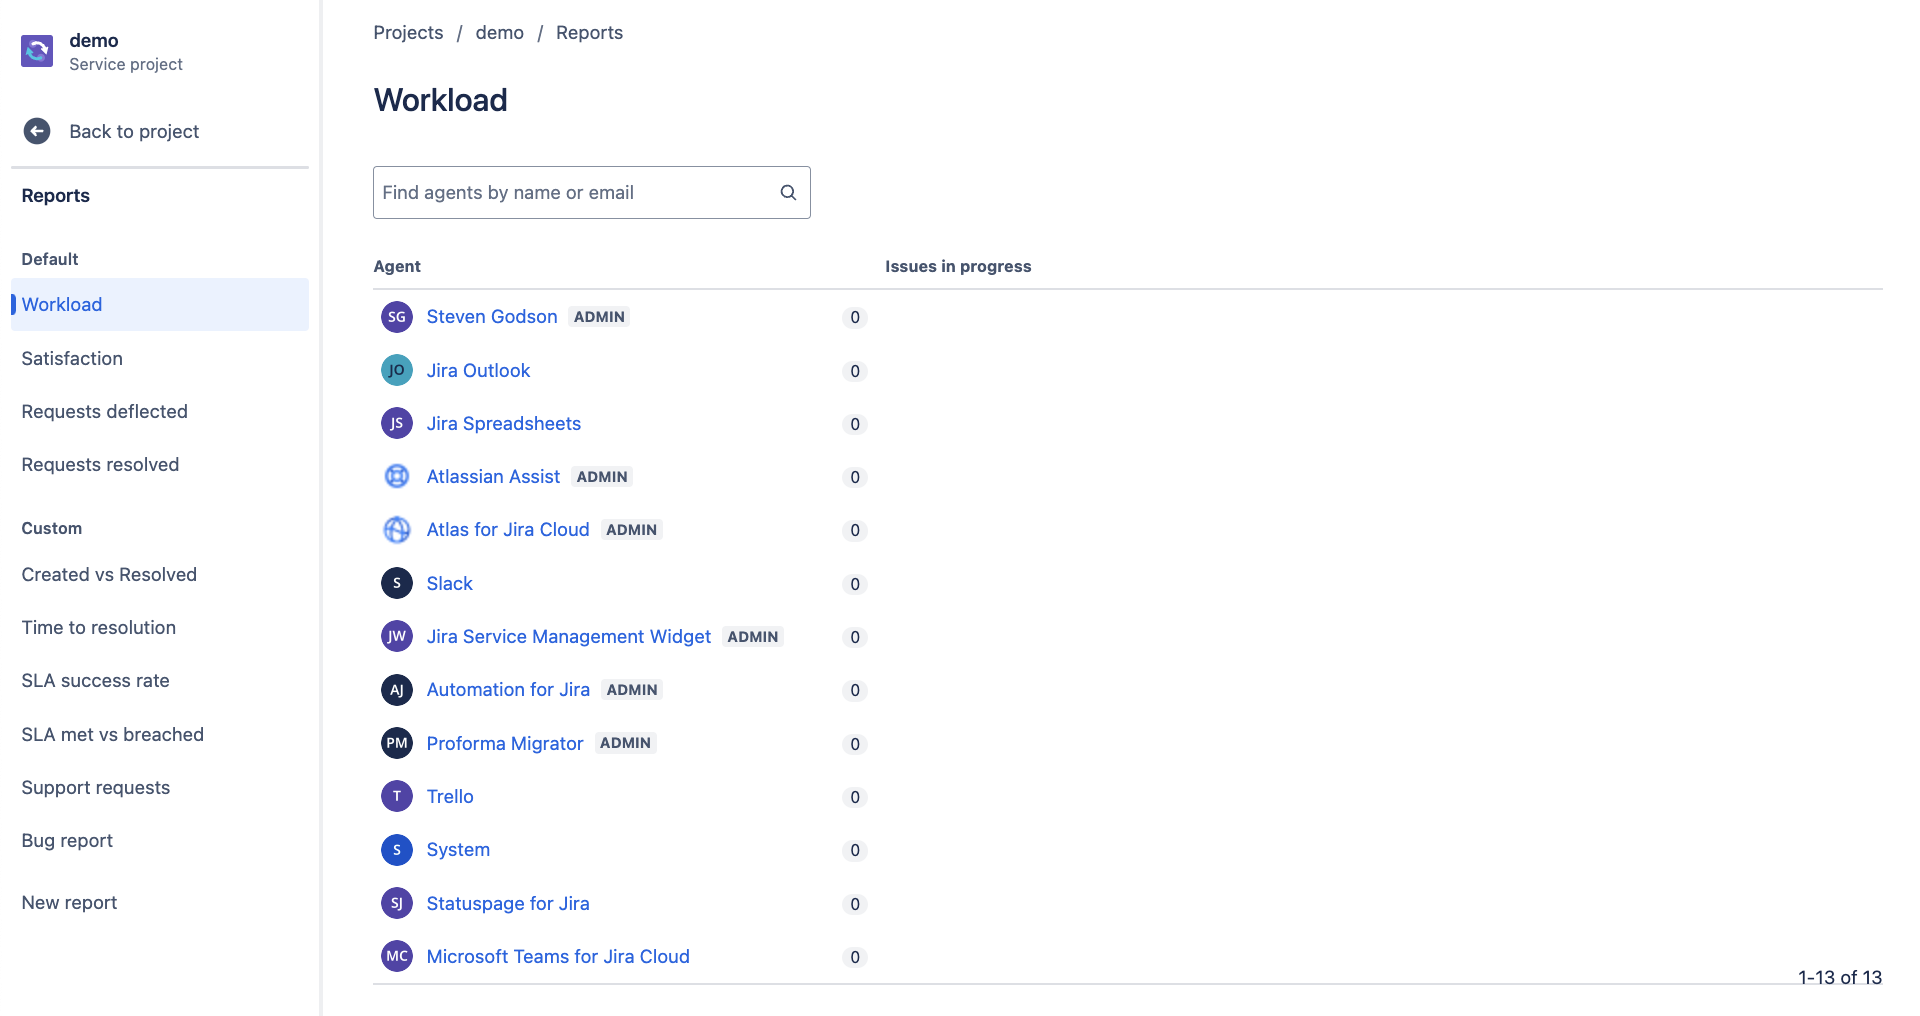
You can create your own reports by clicking on New Report at the bottom of the list.
Directory
Organisations (Agent: none, Admin: CRUD)

This functionality in JSM lets you define organisations, whether internal and / or external, against which issues and requests can be associate.
From this screen you can
- Manage the detail fields that will be used following the creation of editing an organisation
- Import details from a CSV file, possible an export from your CRM
- Import details using the API schema, again possibly from a CRM
- Create a new Organisation, by clicking on the Add organisation button, populate the names of the organisations that you want to create, and click on Add
The organisation(s) that you specified will be listed as shown below.
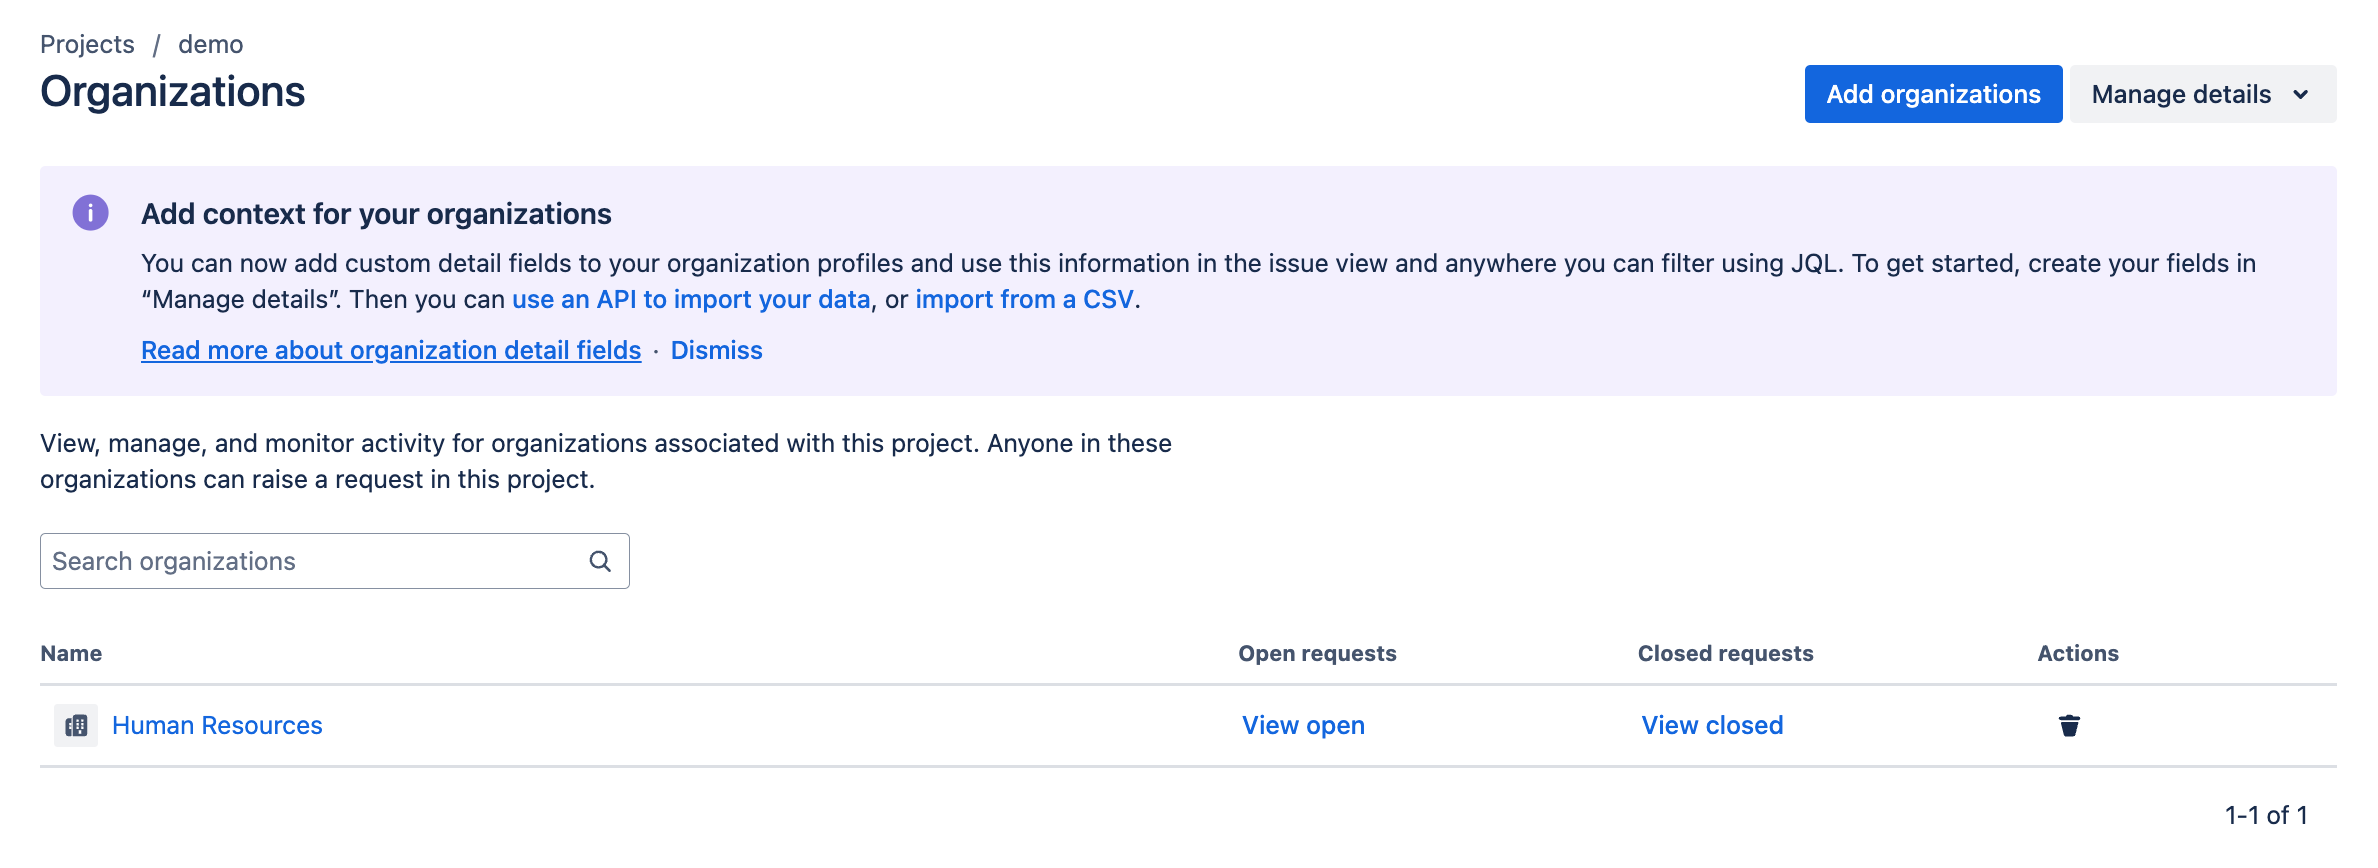
From this list you can
- View open and closed requests
- Delete an organisation
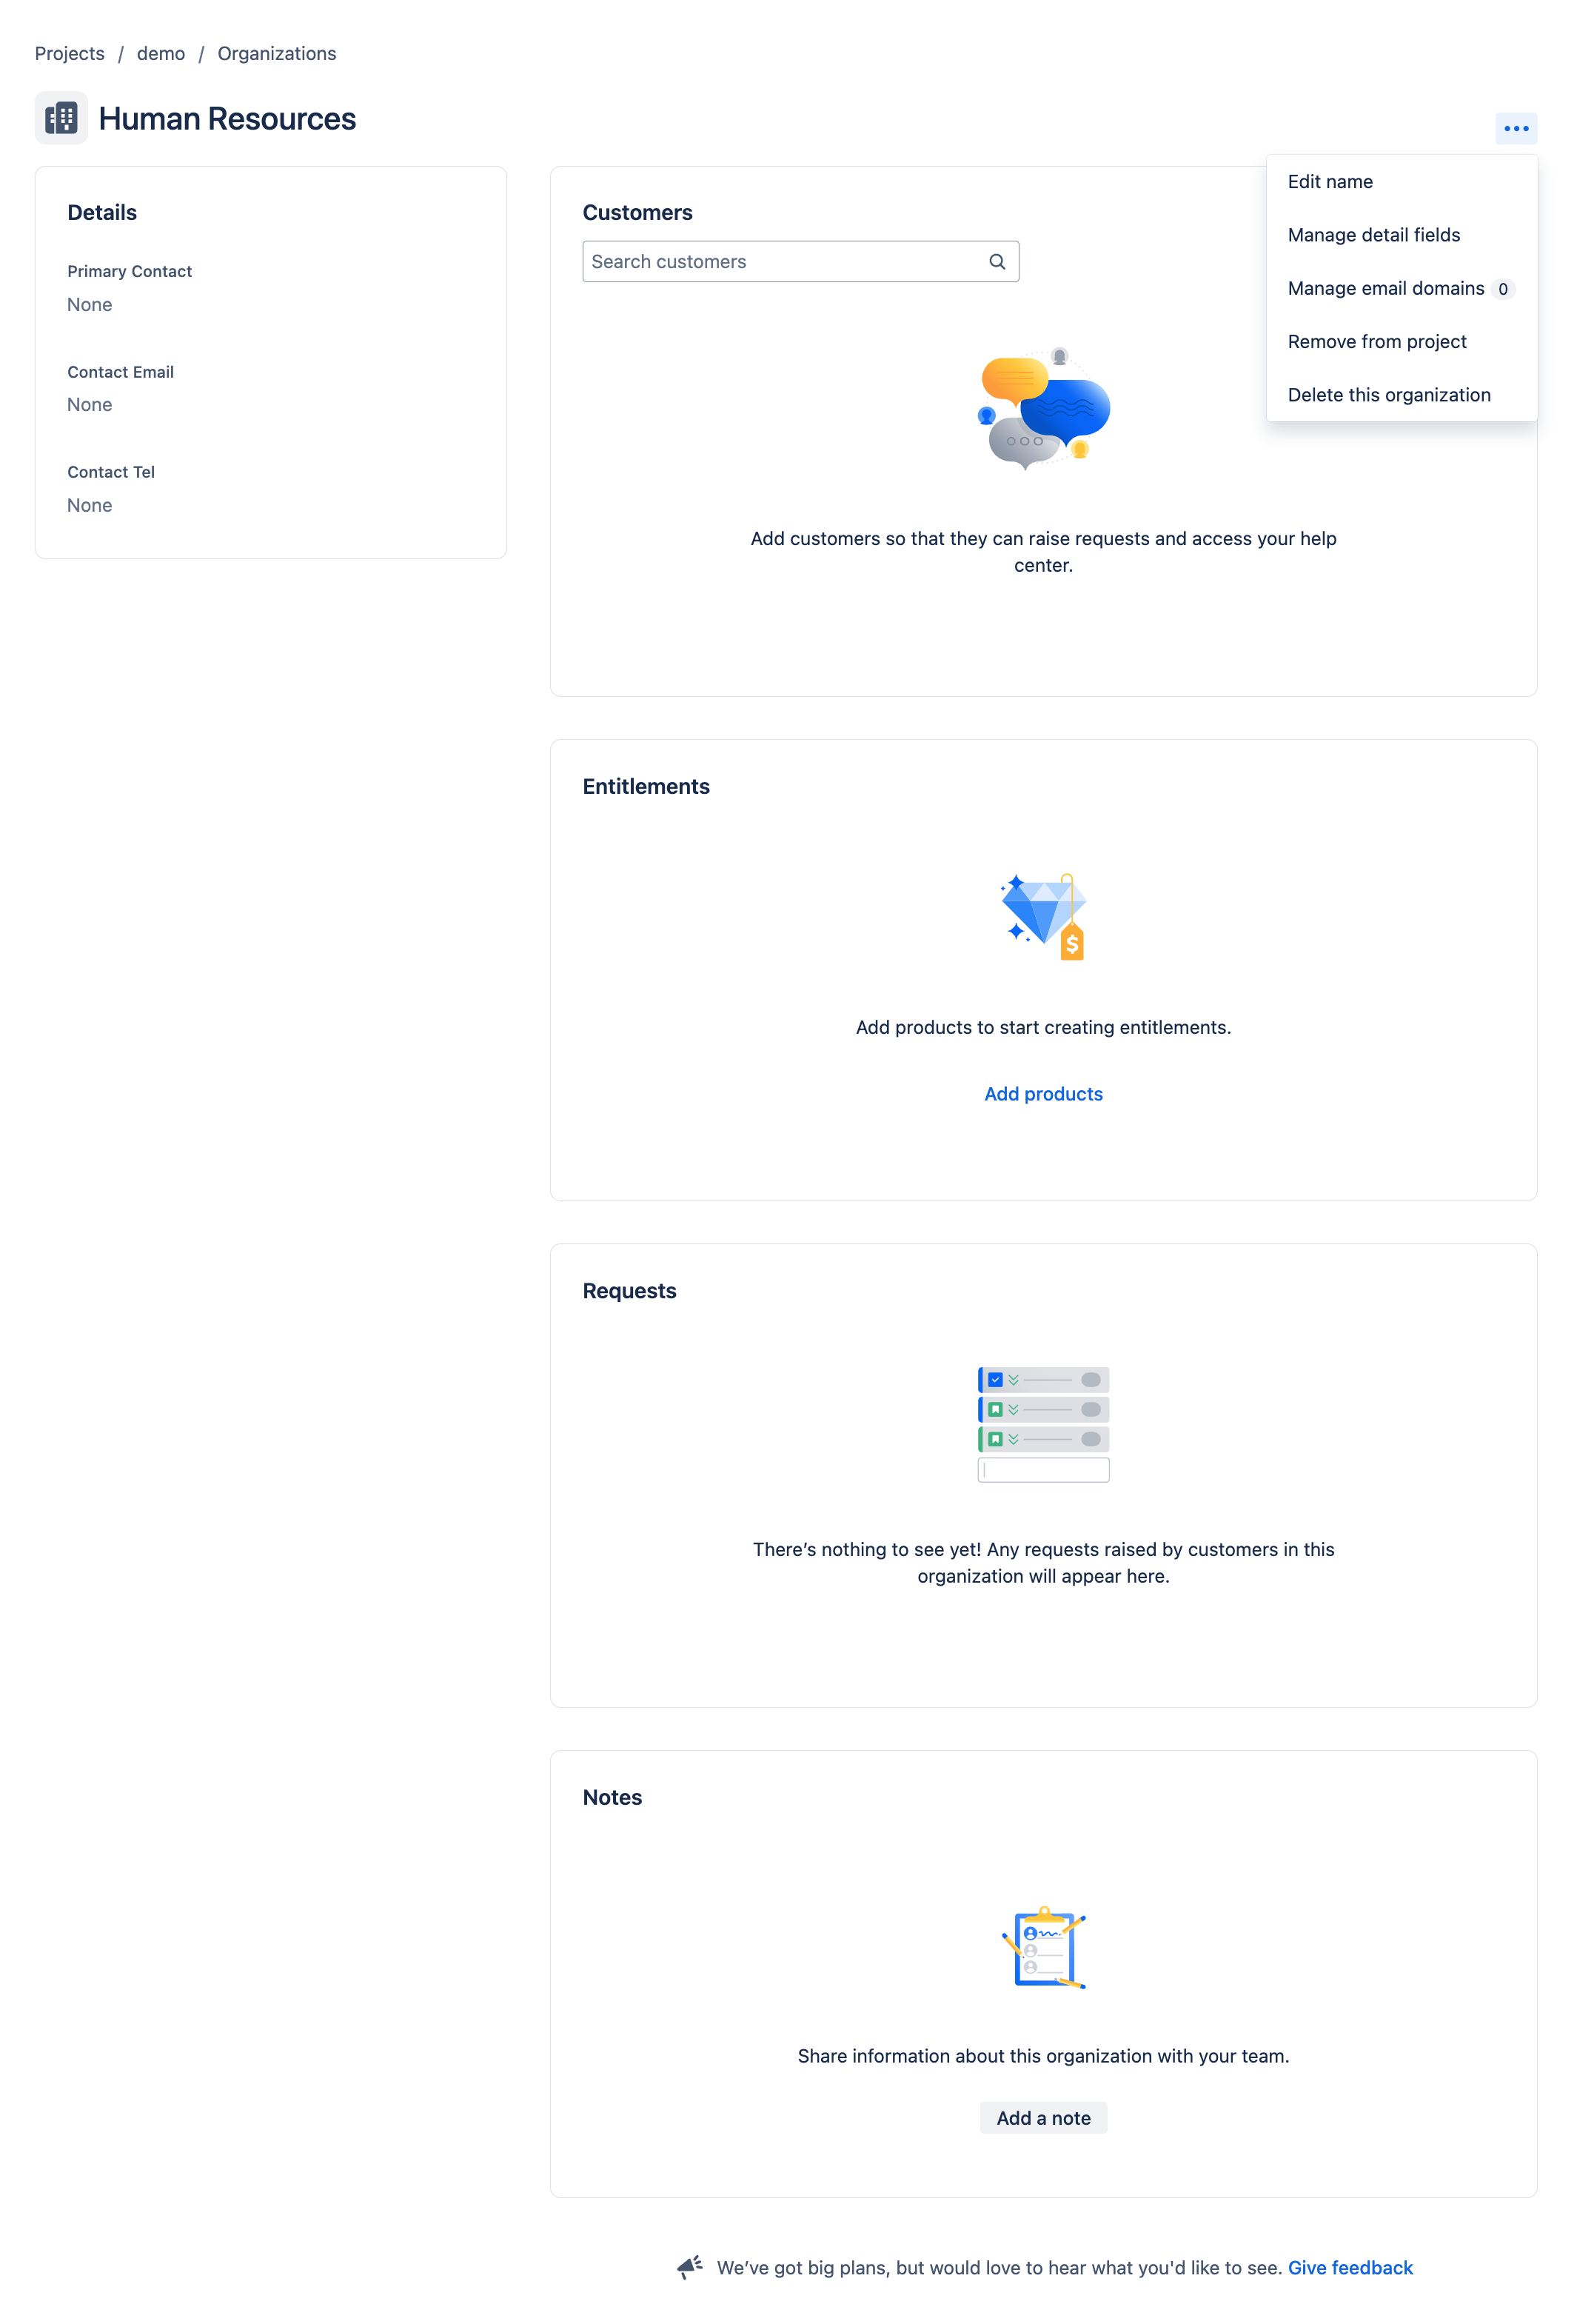
- Open the organisations record by clicking on the Name. You will see the following screen, from which you can
- Populate any custom Details fields that you have created (there are no field create as standard)
- Add Customers (People), Entitlements and Notes
- See a list of open Requests
- You can also
- Edit the name of the organisation
- Manage the fields that appear in the Details section
- Manage any associated email domains
- Remove the organisation from the project, t will remain visible to other projects
- Delete the organisation
Customers (Agent: none, Admin: CRUD)
The Customers area is very similar, in terms of general functionality, to Organisations with the following differences.
Adding a Customer
If, when adding a user, you associate then with an organisation they will not appear in the Customers list. Instead, they will appear under the Customers section of the Organisation record, and can be managed from there.

However, if you do not add the association, when adding a customer, they will appear in the main Customers list.

Managing a Customer record
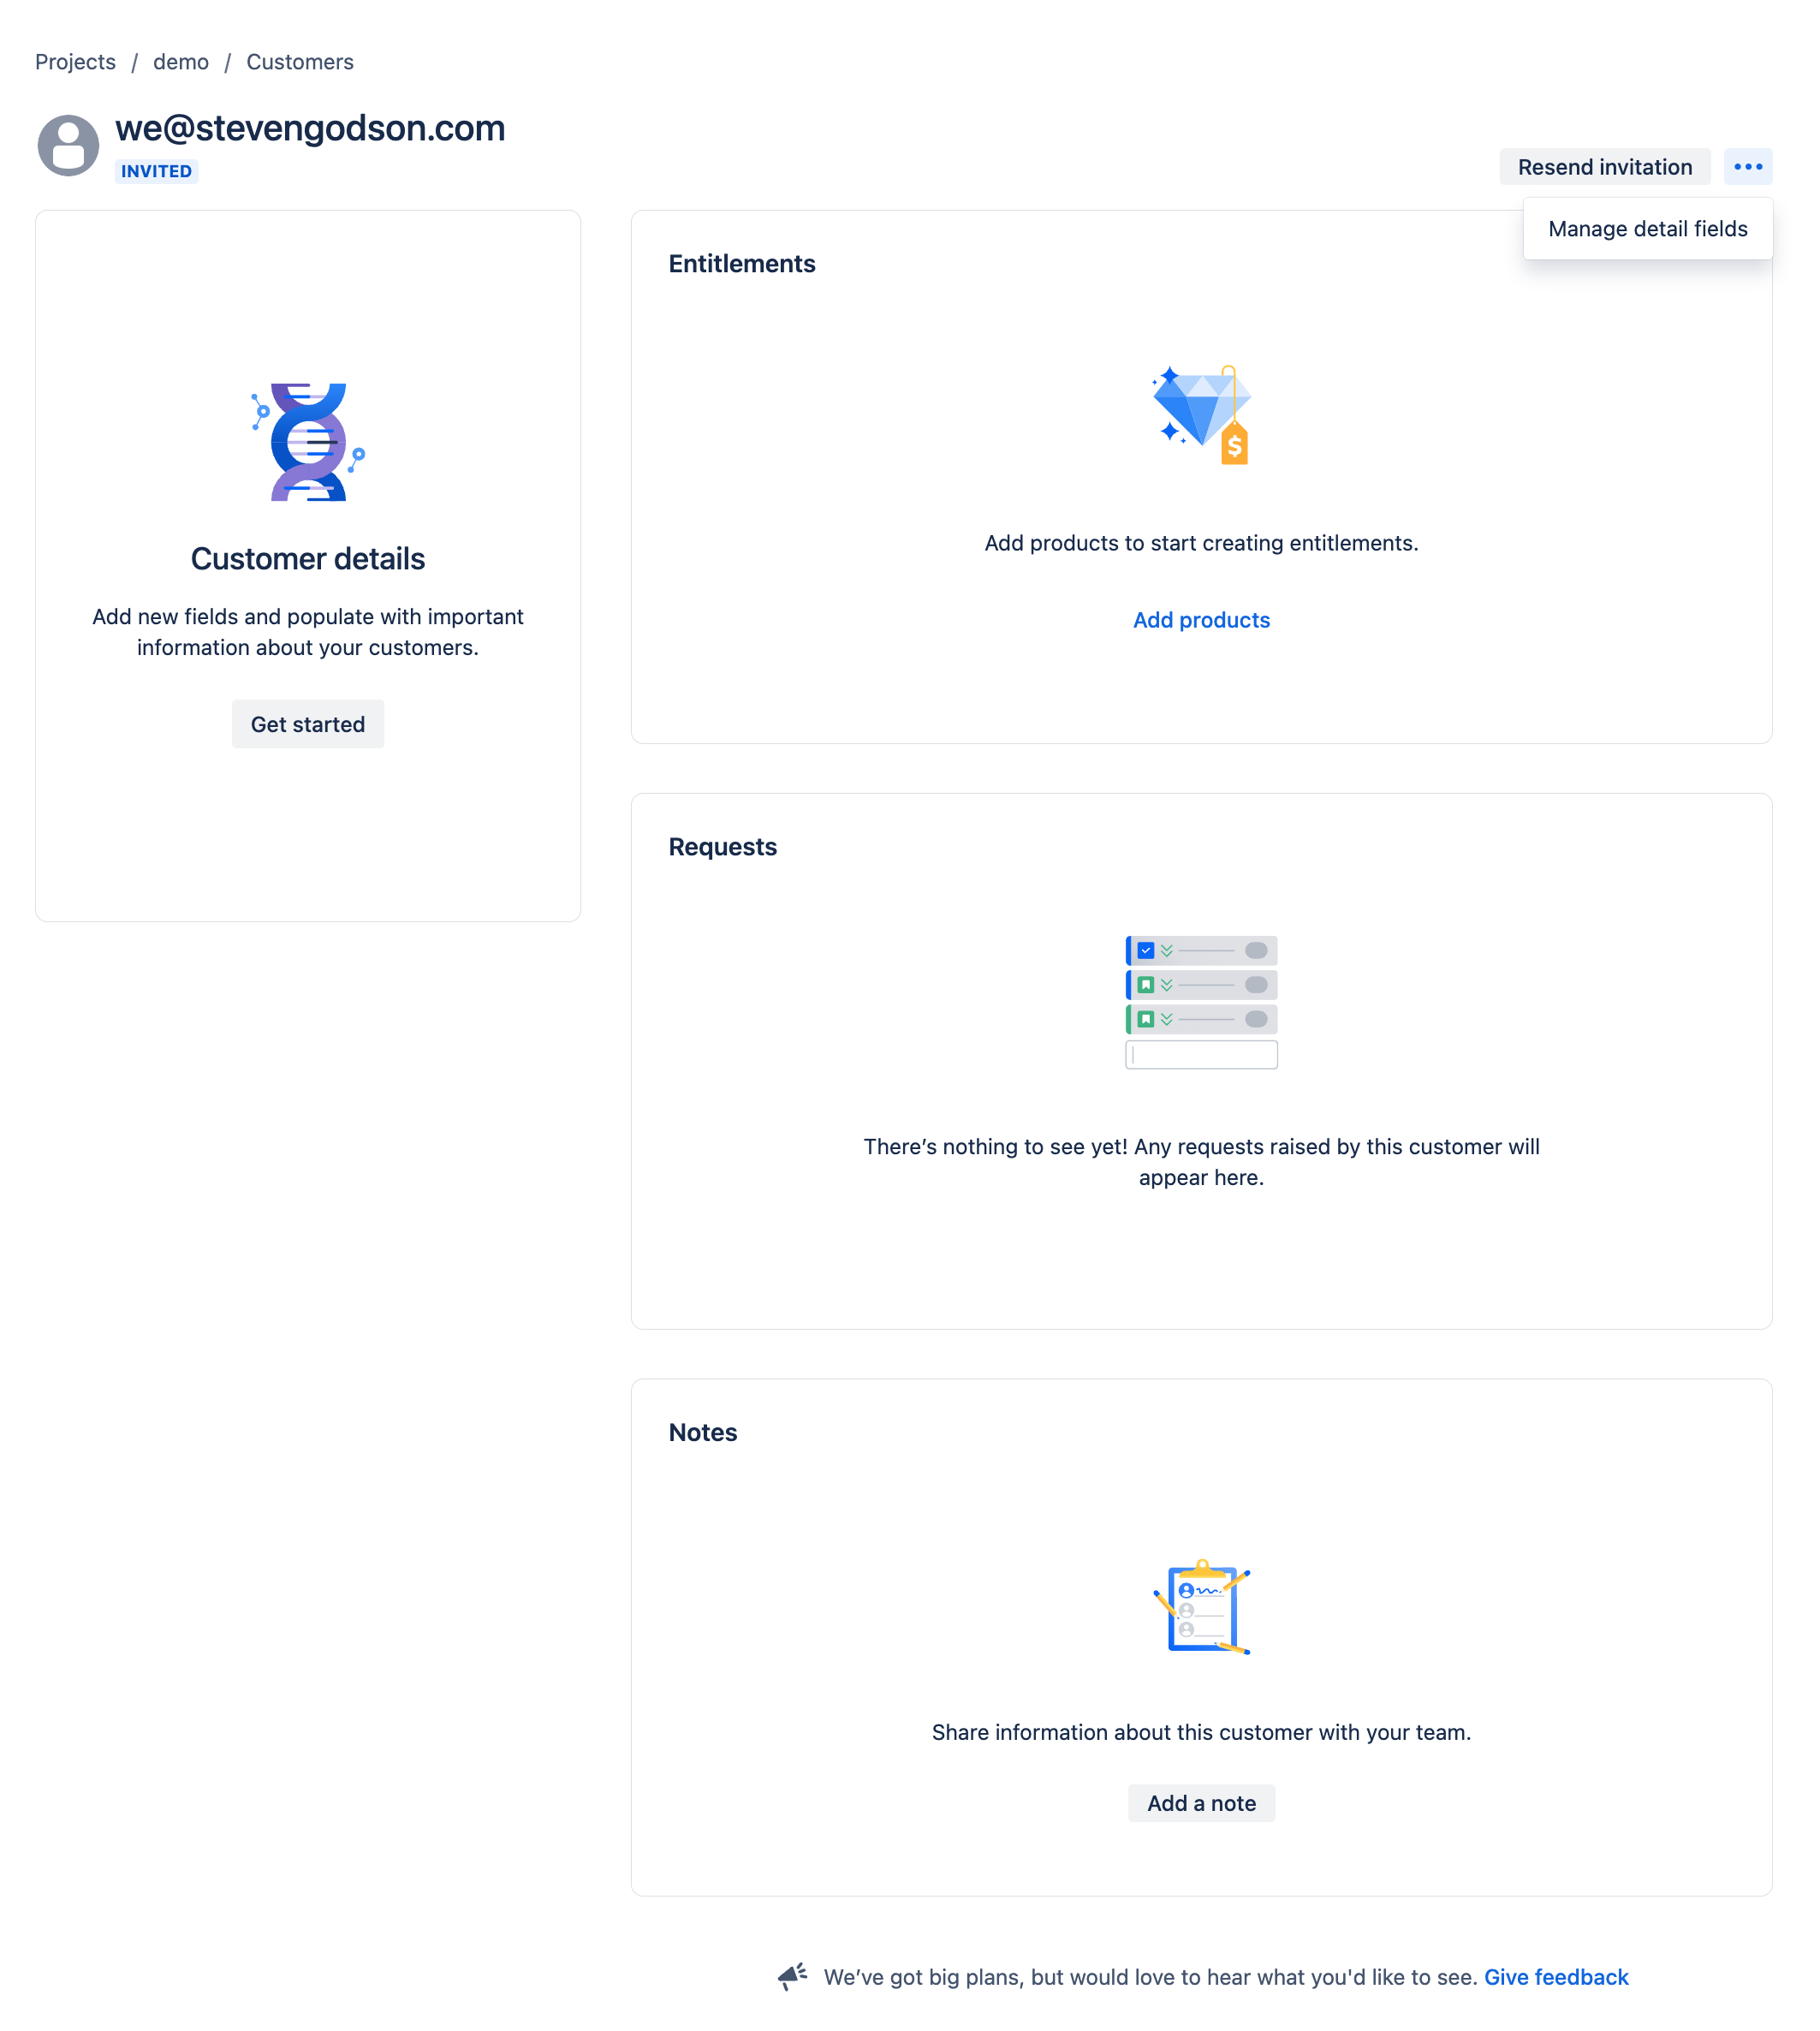
When managing a customers record, the screen lets you
- Add and populate custom fields
- Add entitlements
- See any requests raised by the customer
- Add note
Products (Agent: none, Admin: CRUD)
This is where you can create the Products against which Organisations can have their entitlement set against. From here you can
- Add a Product manually or import using the API scheme
- Manage the details fields
- Edit the Product Name
- Delete the Product

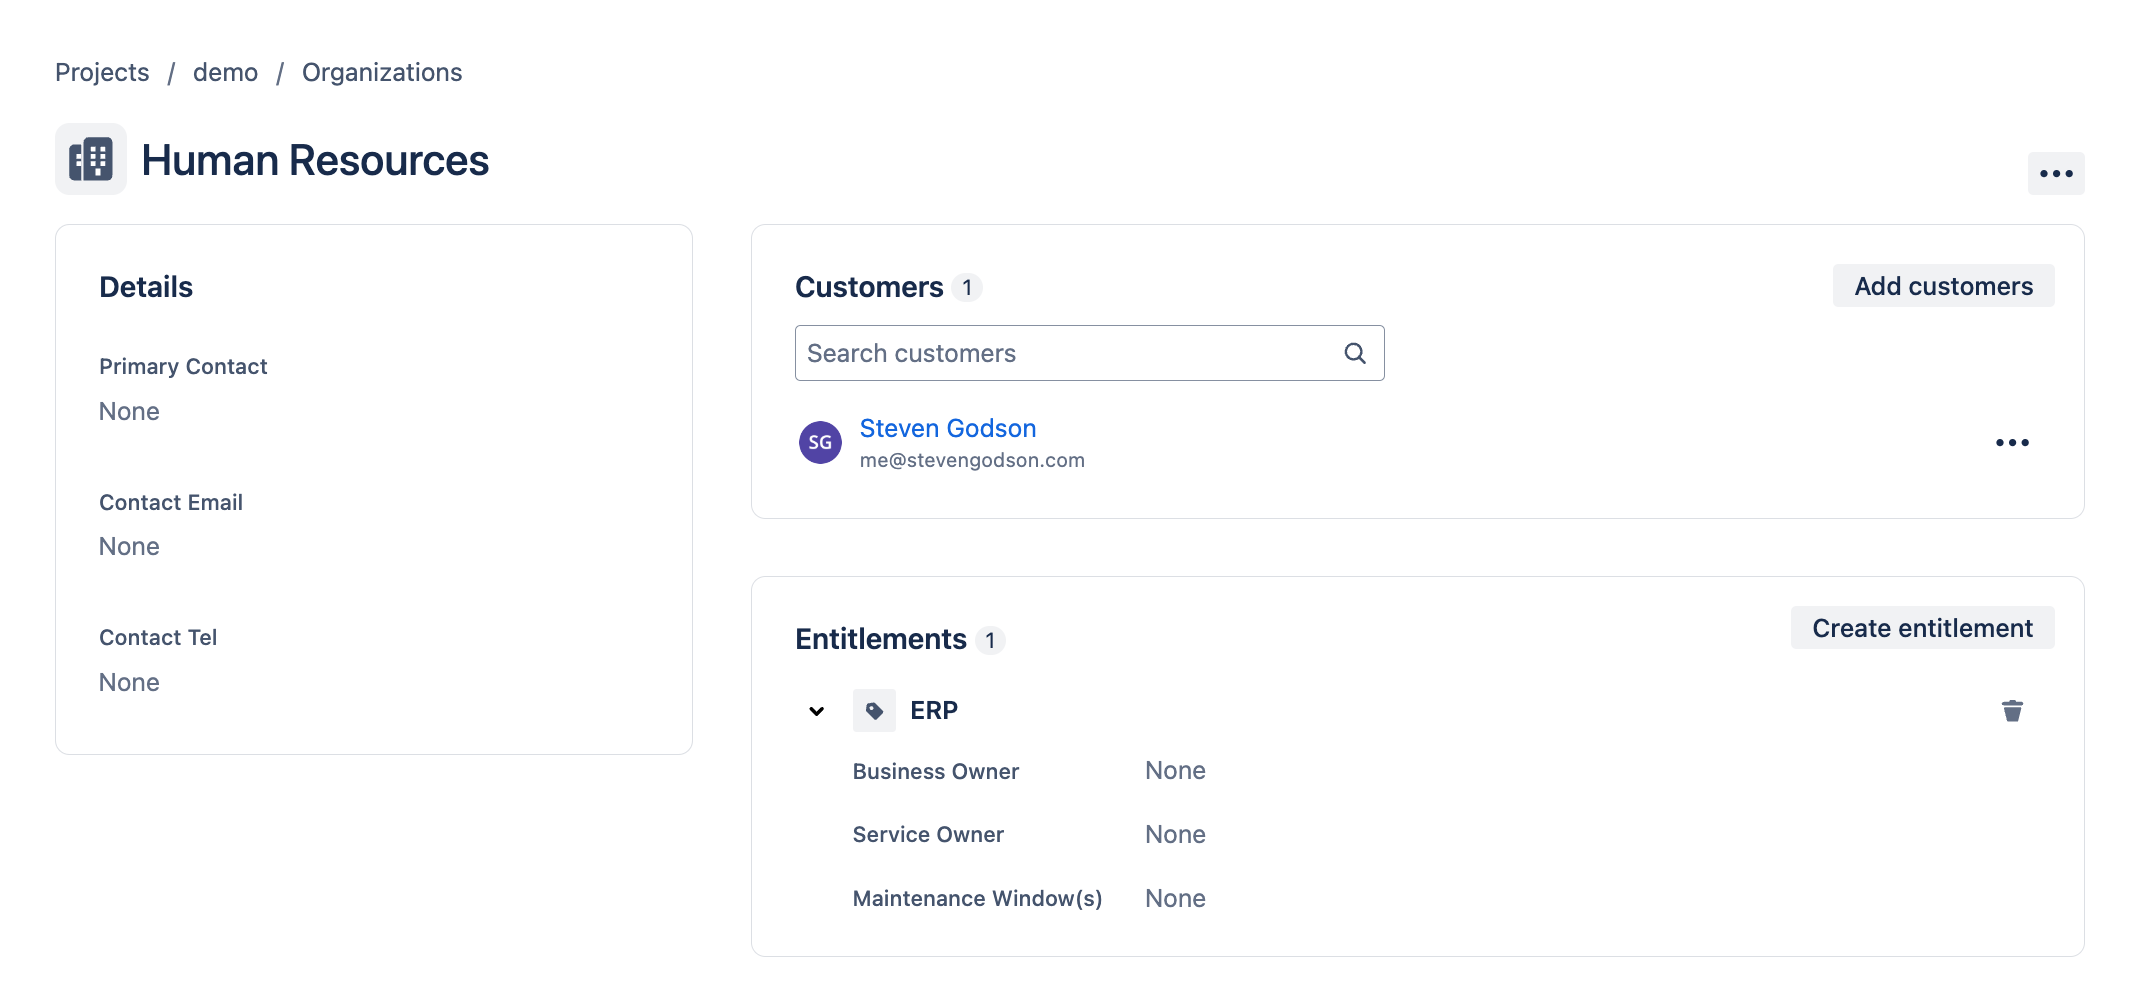
Once created you can assign the Product to an Organisation by opening up the organisations record, clicking on Create entitlement and selecting the product from the dropdown list.
Once you click on Create the entitle is listed and you can populate the Details field that you have set by expanding the product.
Channels
This link opens up a view of the status of available communications channels (Portal, MS Teams, Slack etc) and provides links to their configuration pages in the Project Settings menu.
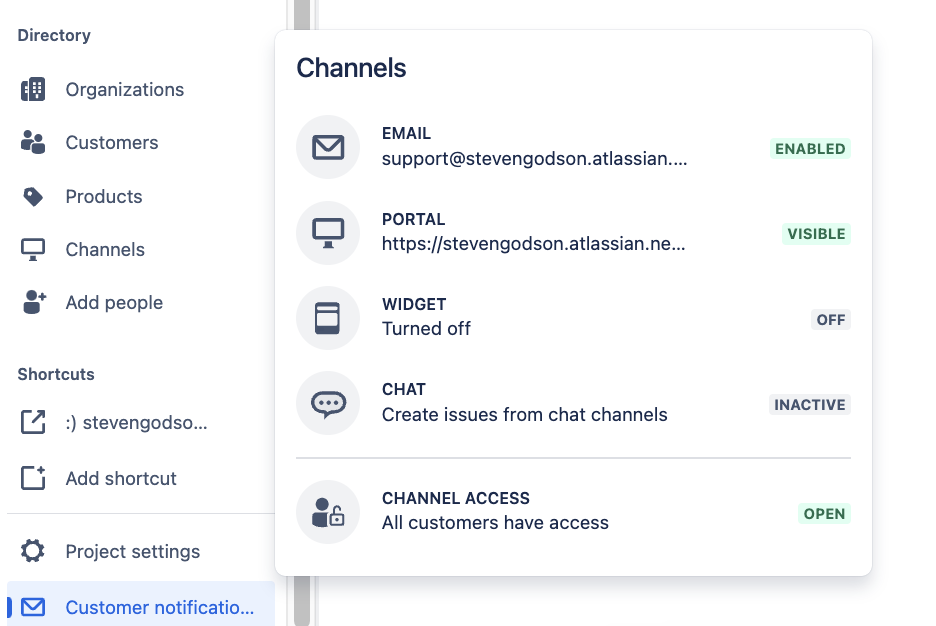
Further details on the configuration can be found in a previous article in this series. JSM Project Setting - Article 3.
Add People (Agent: R, Admin: CRUD)
Adding users to the project was covered in the fifth article of this series on JSM. JIRA Service Management - User Access Management
Shortcuts (Agent: R, Admin: CRUD)
Created by pro admin Team visibility
This section of the Main Menu is where links to useful resources or tools can be listed so they are visible to all service desk agents with access to the JSM project.
To create a link, simply click on Add Shortcut, populate the form that appears and click on Add.
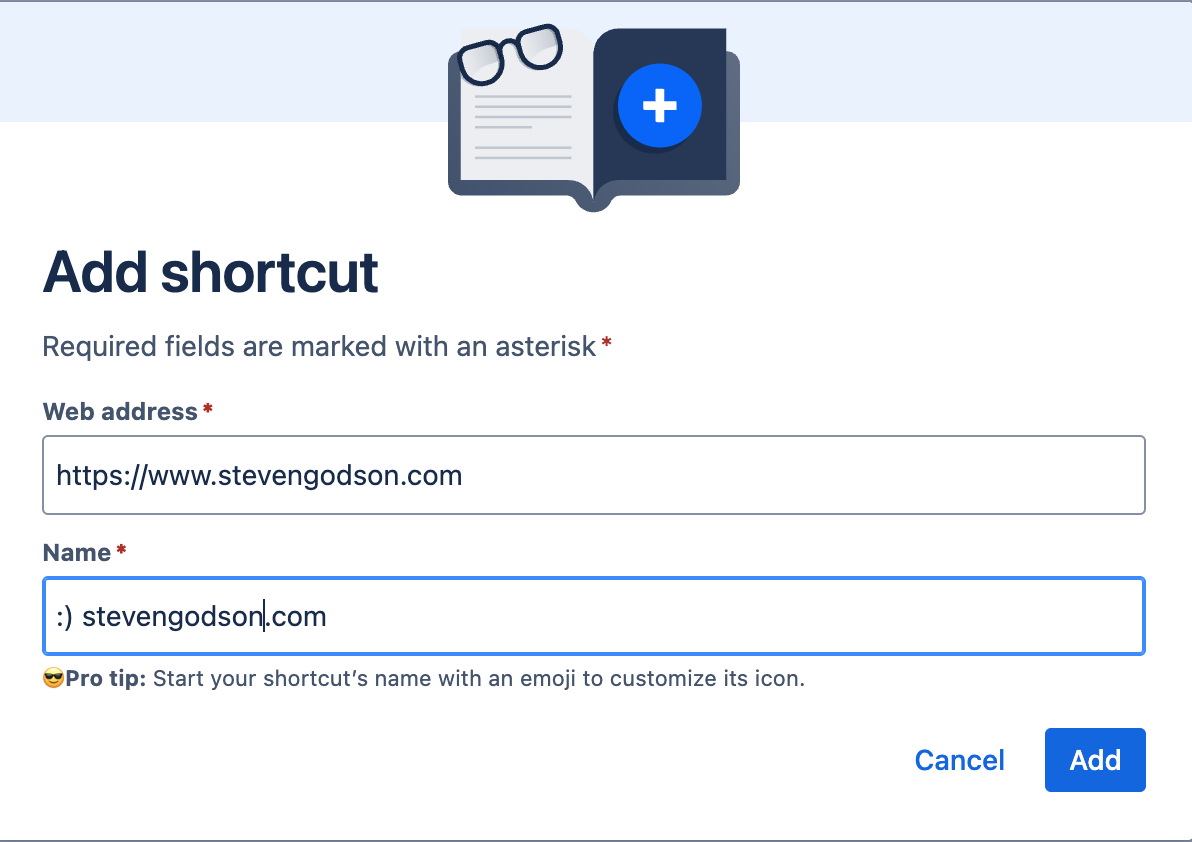
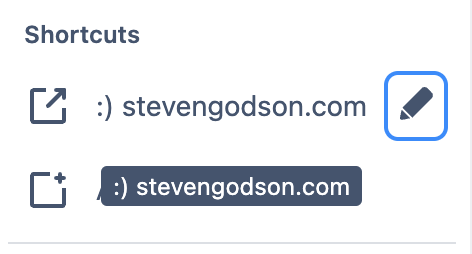
The new link is now shown in the Shortcuts section, from where it can be edited by clicking on the pencil icon.
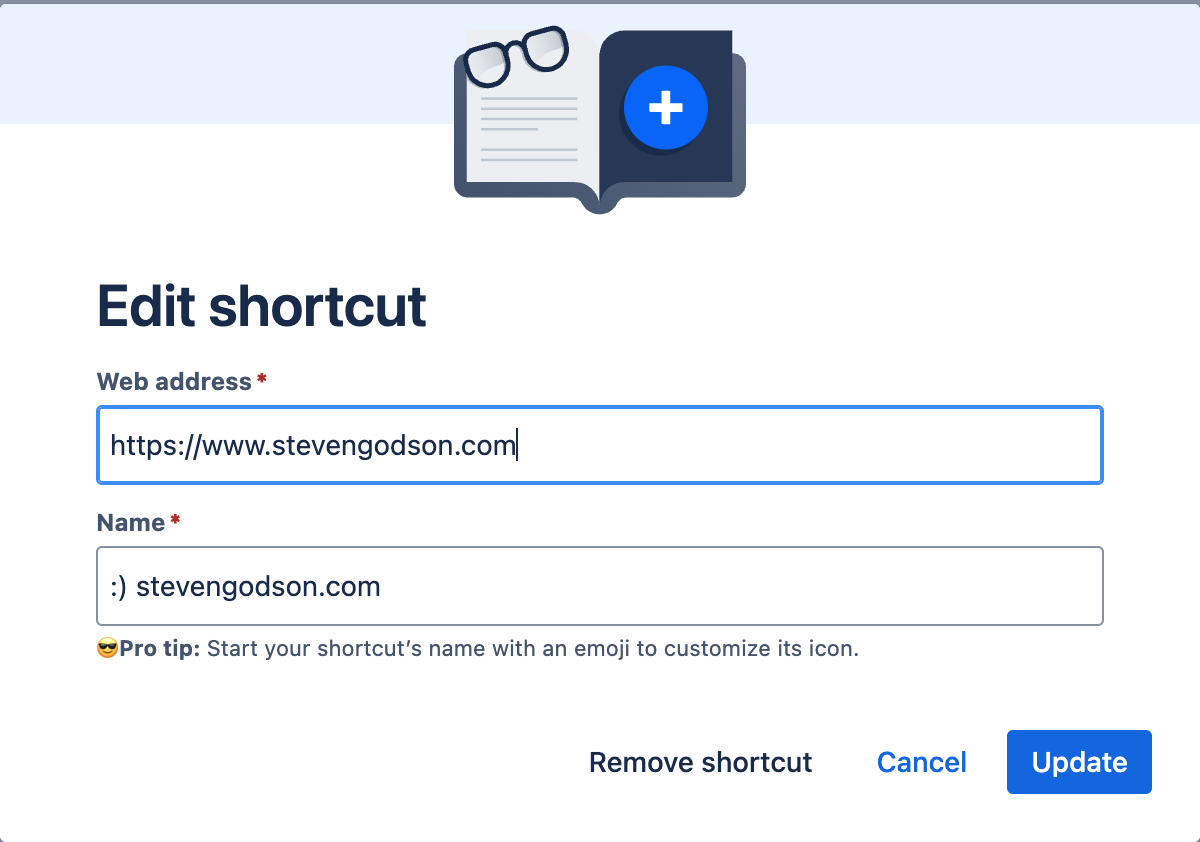
From here you can
- Delete the shortcut
- Amend the link and / or its label
Project Settings (Agent: No Access, Admin: CRUD)
The Project Setting functionality was covered in the second, third and fourth articles of this series on JSM.
Customer Notification Logs (Agent: R, Admin: R)
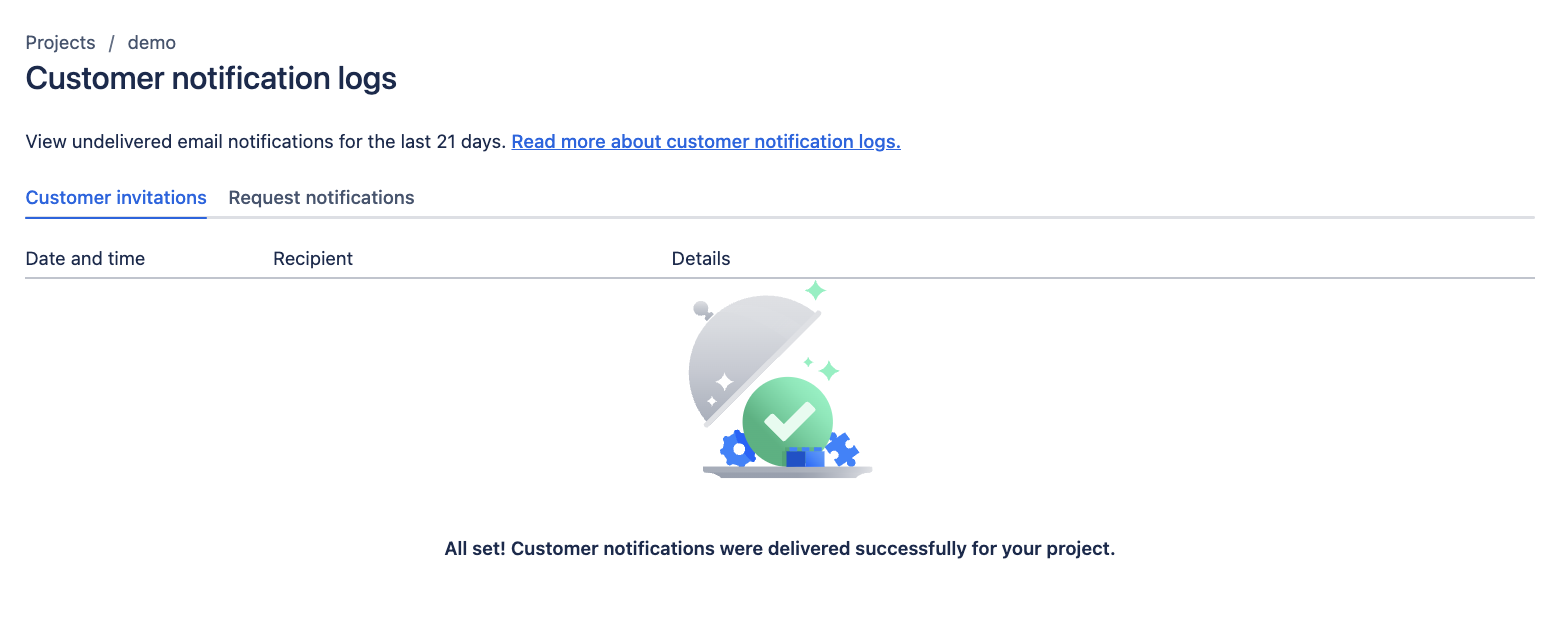
This link takes you to a screen with two views.
The first shows any undelivered email invitations from JSM to customers.
The second shows any undelivered email updates about requests that JSM has sent to customers. See the section on setting up these notifications in a previous article. JSM Project Setting - Article 3
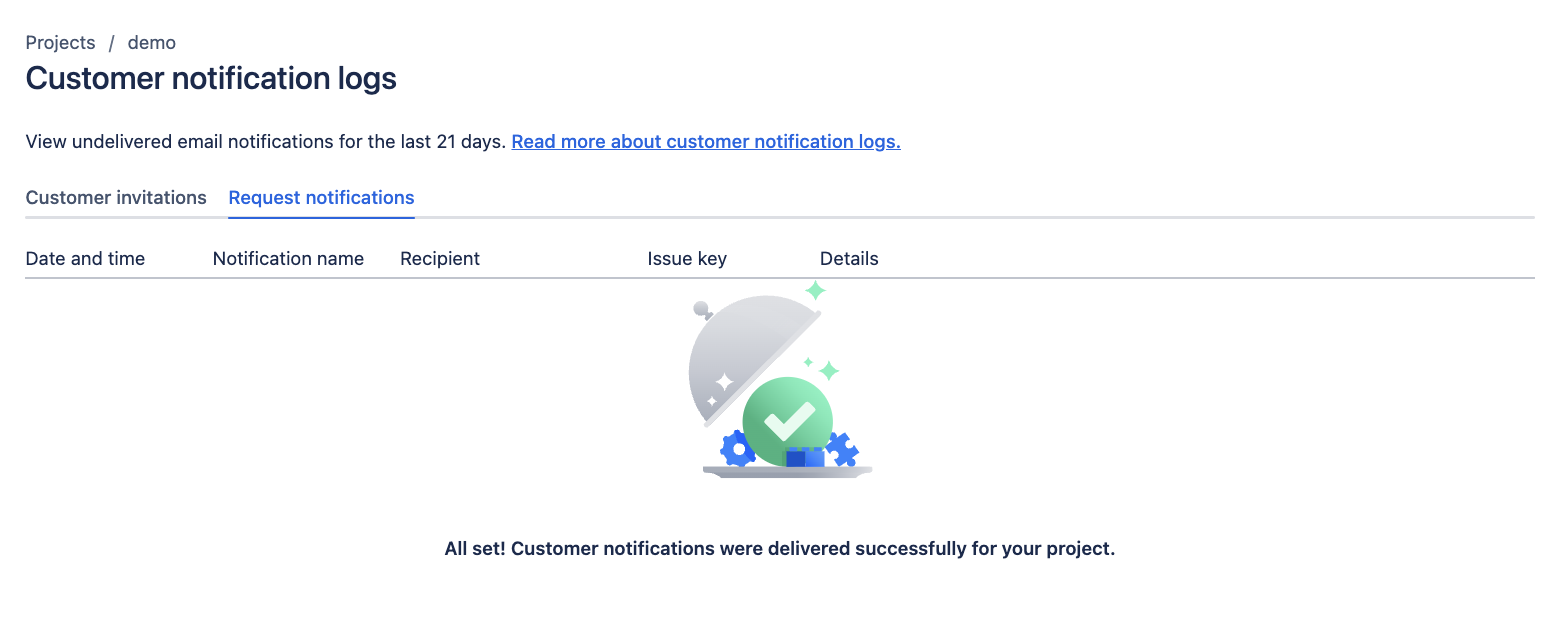
Both of these are useful audit trails on customer comms and indicators of where you may have outdated contact information.
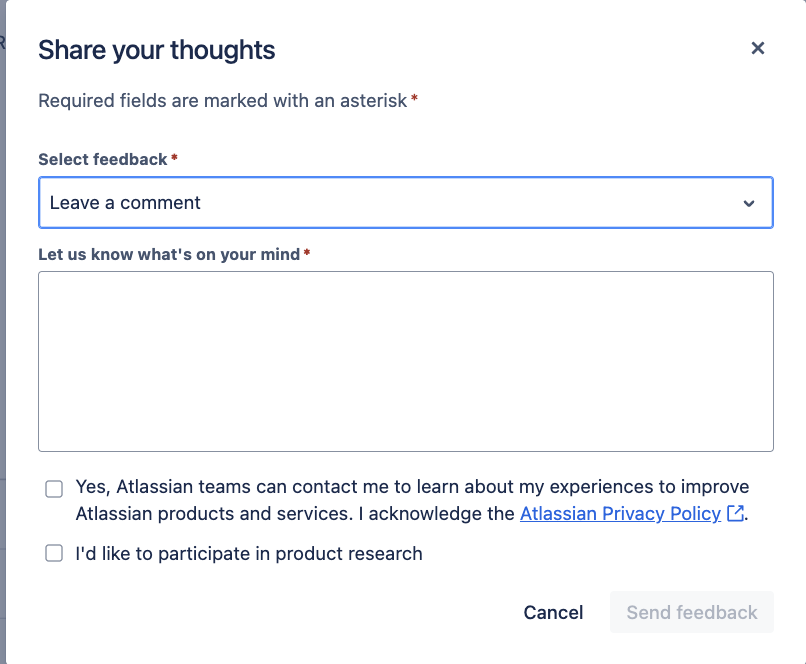
Give Feedback (Agent: R, Admin: R)
This link opens a form, through which you can provide feedback to Atlassian on JSM.
JIRA Menu
Your Work (Agent: R, Admin: R)
This useful feature lets you see, at a glance, whether you have any requests etc assigned to you.
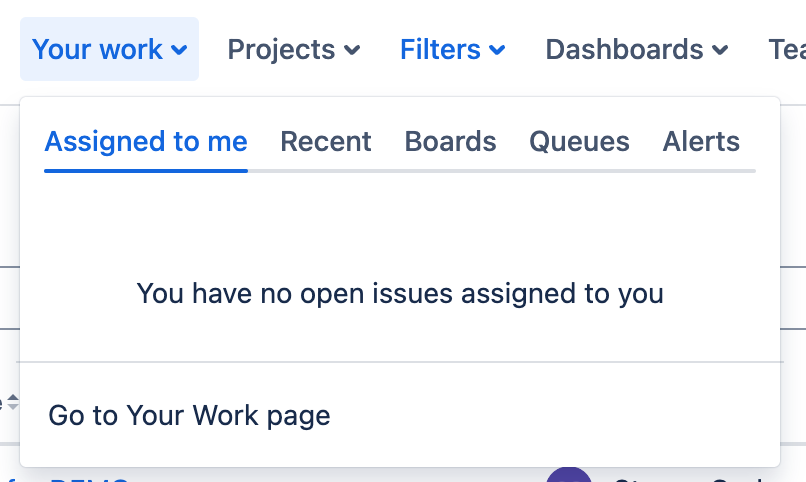
It also has links to
- Recent activity
- Boards
- Queues
- Alerts
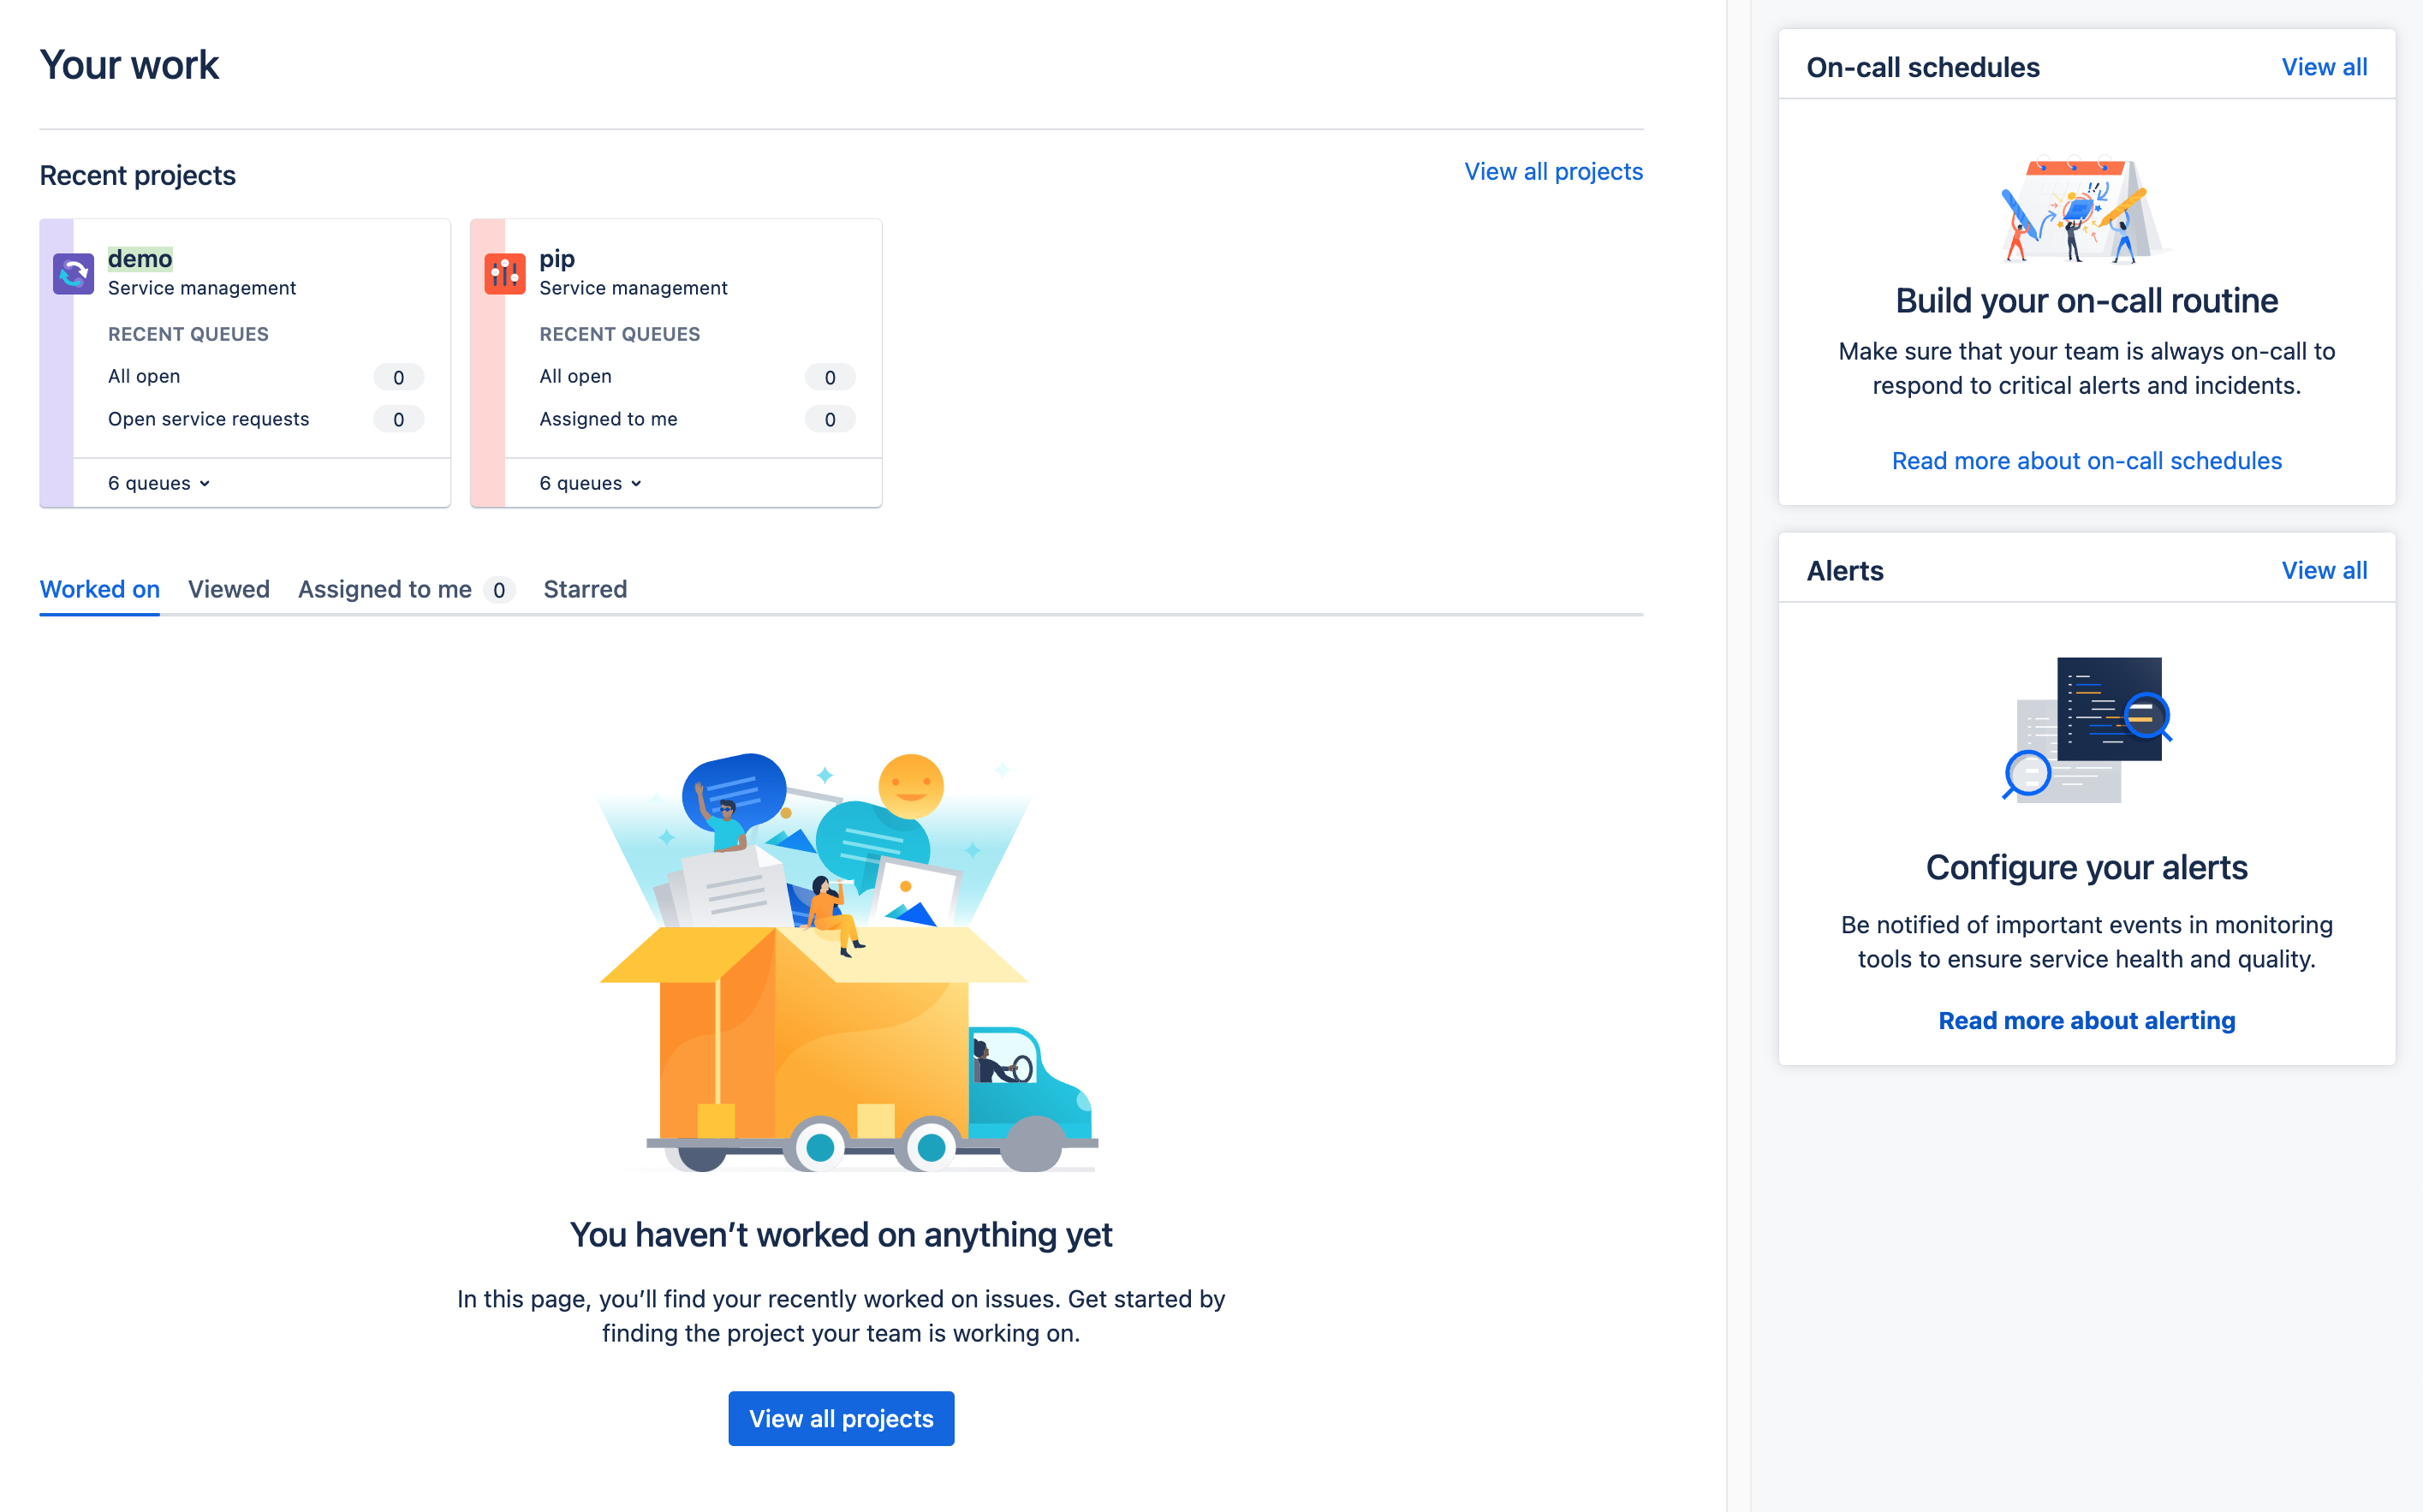
- Your Work Page, which takes you to the following screen where you can see all your workload, across all JSM projects that you have permissions to
Projects (Agent: R, Admin: R)
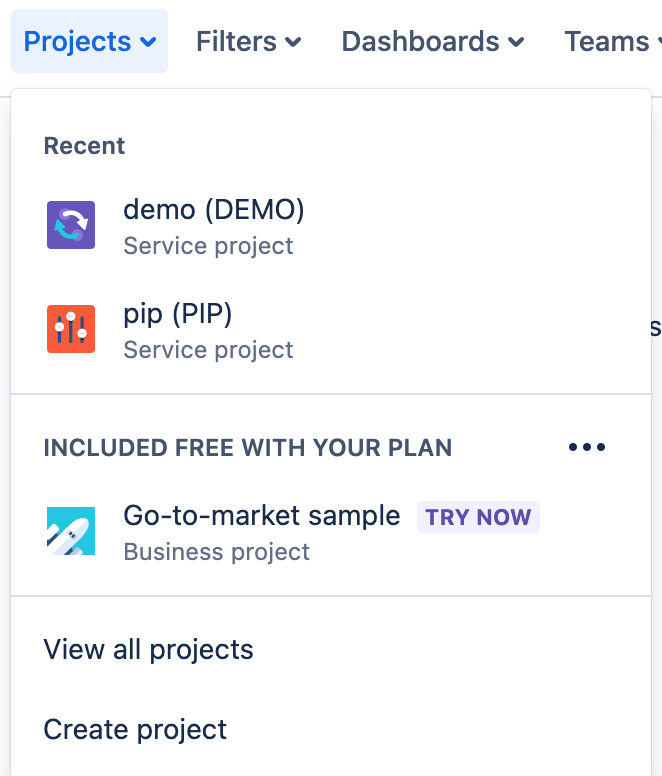
This menu item lists the JSM projects that the logged in user has membership of within the organisation that they are currently in.
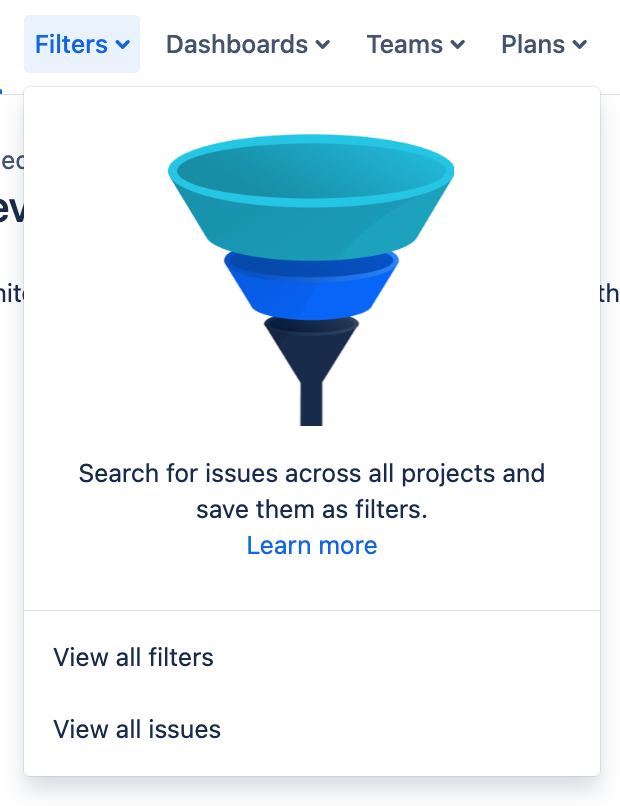
Filters (Agent: R, Admin: CRUD)
This menu item lists the filters that you have created as well as viewing all available filters and all issues.
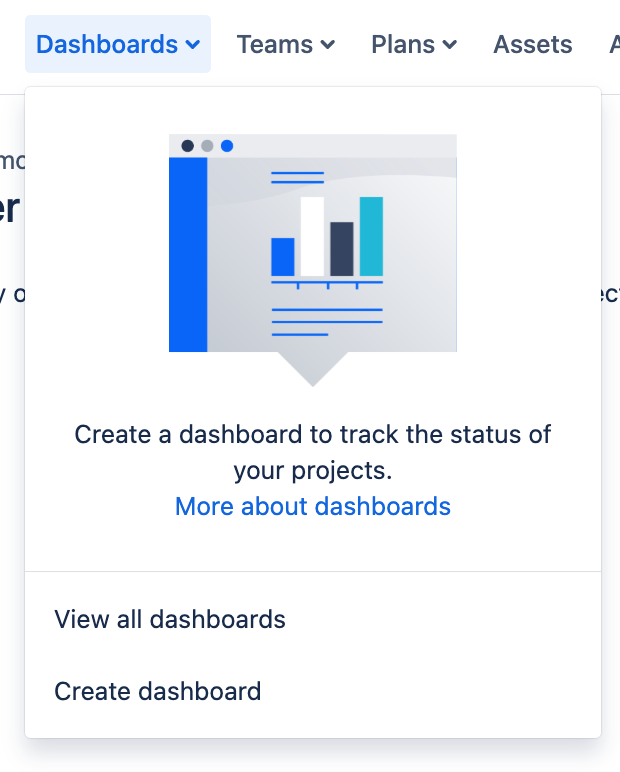
Dashboards (Agent: R, Admin: CRUD)
This menu item lists the dashboards that you have created as well as viewing all available dashboards and create a new dashboard. I will be going into the detail of reporting and dashboards in an article later in this series.
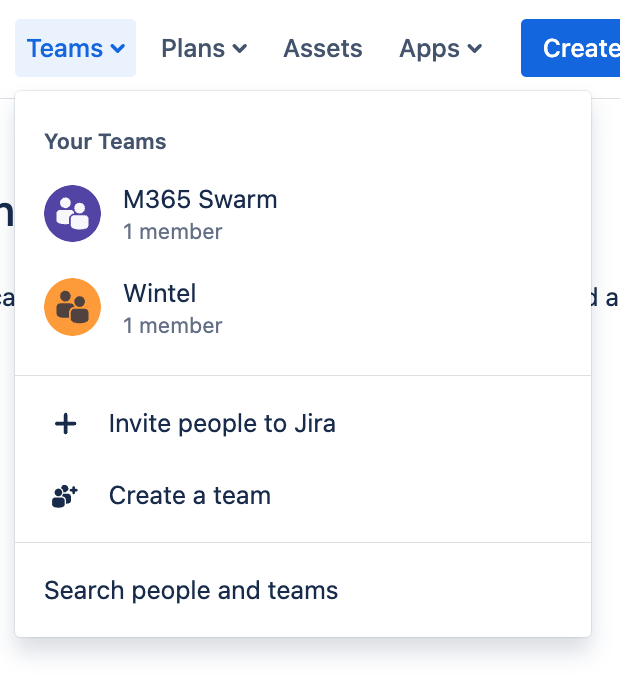
Teams (Agent: R, Admin: CRUD)
This menu item provides the following
- A list of the Teams that you are a member of, so you can quickly switch between Teams
- Invite a user into JIRA
- Create a mew team, which is described earlier in this article
- Search for people and teams
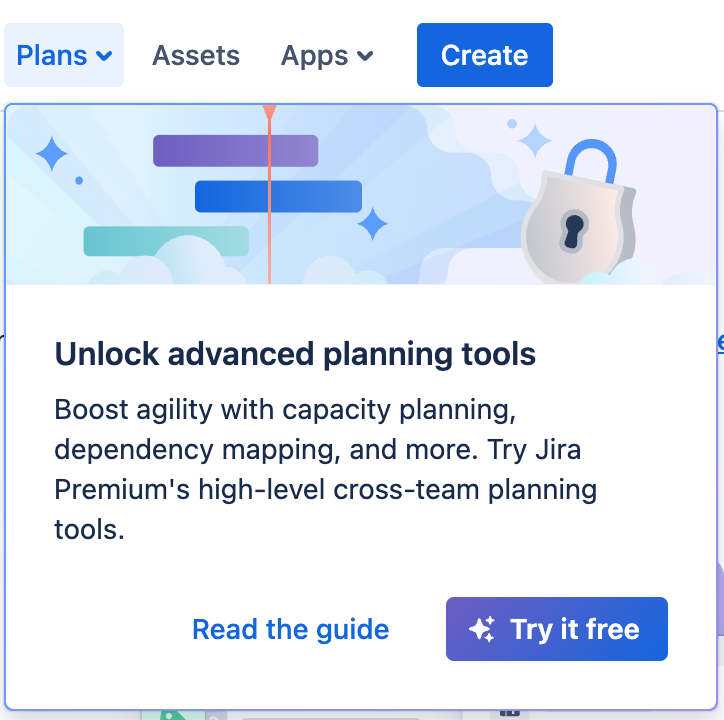
Plans (Agent: R, Admin: CRUD)
This link takes you to the JIRA planning tool. This is a Premium item and therefore out of scope for this article. I may cover this in a later article, so keep your eyes open.
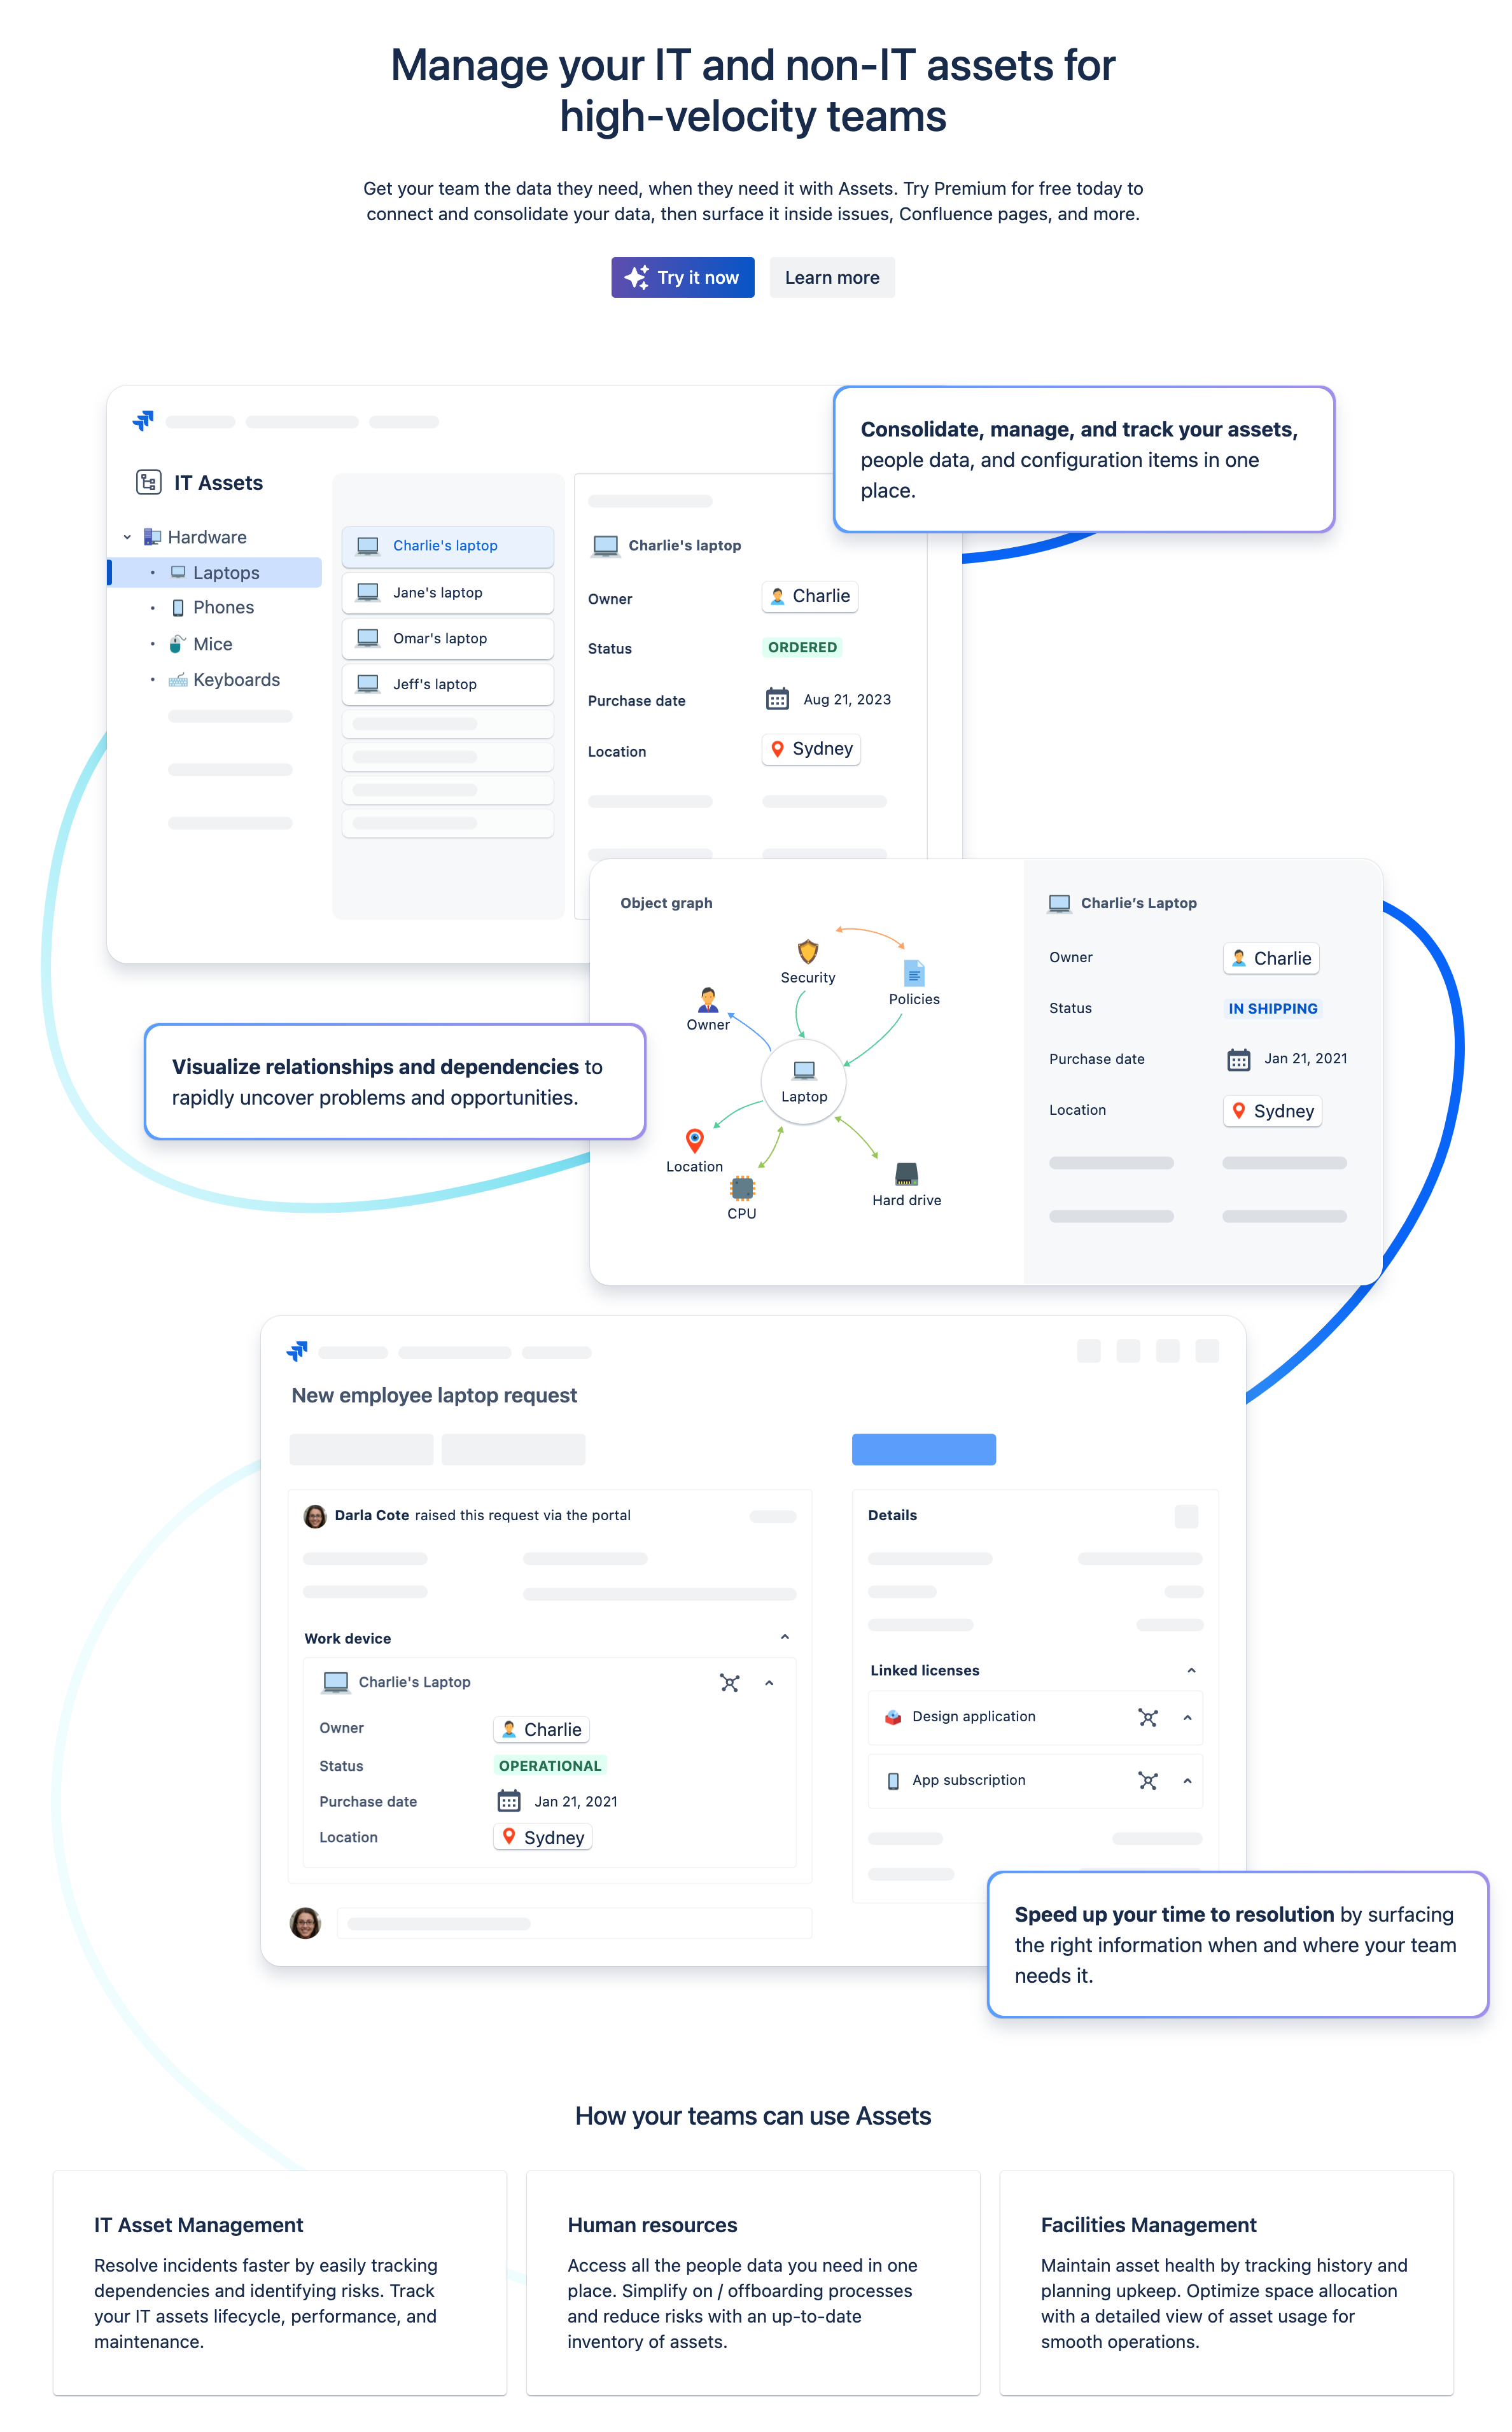
Assets (Agent: R, Admin: CRUD)
The Asset Management functionality requires a Premium or Enterprise plan. As such it is out of scope for this article, but will be covered in a dedicated article at some point in the future.
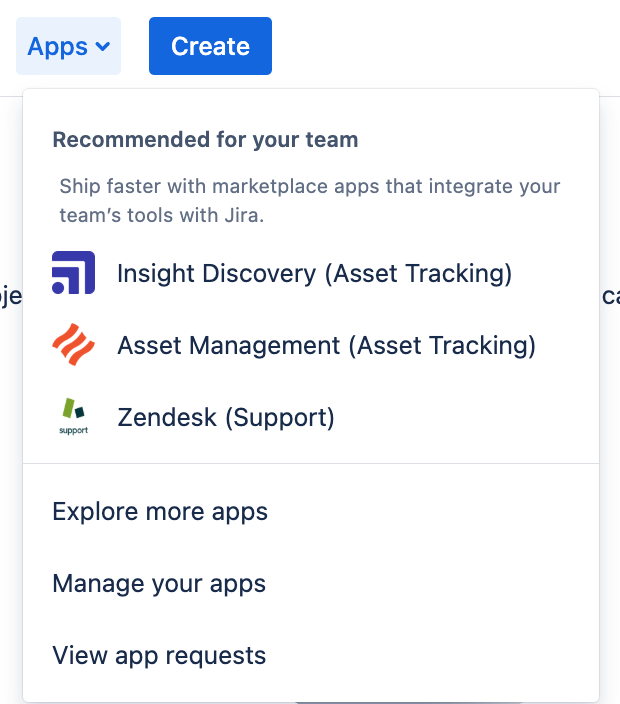
Apps (Agent: R, Admin: CRUD)
This menu item shows
- The Atlassian Marketplace apps that have been deployed to your JSM project or, if none have been deployed, a few recommendations
- How to explore the Atlassian Marketplace
- Where to manage the apps that have been deployed from the Atlassian Marketplace
- Where to view and manage app requests that have been raised your users
Conclusion
We have come to the end of the sixth article in this series. We have explored the User Portal and its menus within JSM.
In the next article we will go through the Premium features that are available and how they can enhance the service desk.
Hopefully this has been useful to you and I wish you well on your ITSM journey…