
JIRA Service Management
JIRA Service Management - Project Settings (Part 1)
Series: JSM, Post #2
First posted: Dec 30 2024
Read time: 30 minutes
Written By: Steven Godson
Greetings!
In this article, the second in my series on JIRA Service Management (JSM), I will be exploring the Project Settings available in a JSM project. Due to the numerous options, and level of detail, available in Project Settings I am splitting this article into three as follows.
This article will cover
- Details
- Summary
- Features
- Access
The second article will cover
- Request Management
- Automation
The third article will cover
- Channels & self-service
- Operations
- Notifications
- Language support
- Apps
- Versions
- Components
In my previous article I setup a basic JSM project using the ‘out of the box’ functionality and the Customer Service Management template. Now we will go deeper into the available configuration options and discuss what is possible.
It is worth noting that, where additional functionality can be added as part of a paid subscription or license upgrade, I will be covering these in later articles.
Key Principles
The following are a few examples of areas that should be considered, ideally as part of your design for JSM as discussed in the initial article of this series, when planning for the configuration of a JSM project.
- Is your Service Desk going to be managing processes other than Incident Management and Request Management e.g. Problem Management, Change Management or Asset Management?
- What information needs to be captured for each process, both at the initial creation of a record and through its lifecycle?
- Are there existing process templates that can be used for the data capture and workflow?
- What queues and views are needed by the teams?
- How many customers are being supported and is there a need to split the data by customer?
- What integrations are needed? JSM can integrate with
- Collaboration tools e.g. MS Teams and Slack
- Enterprise Management tools e.g. DataDog
- Email integration for a more seamless service experience
Project Settings
We will now go through the sections of the Project Settings menu and see what each sub element lets us configure.
This is accessed from the link shown below, you must have Admin permissions to see this link.
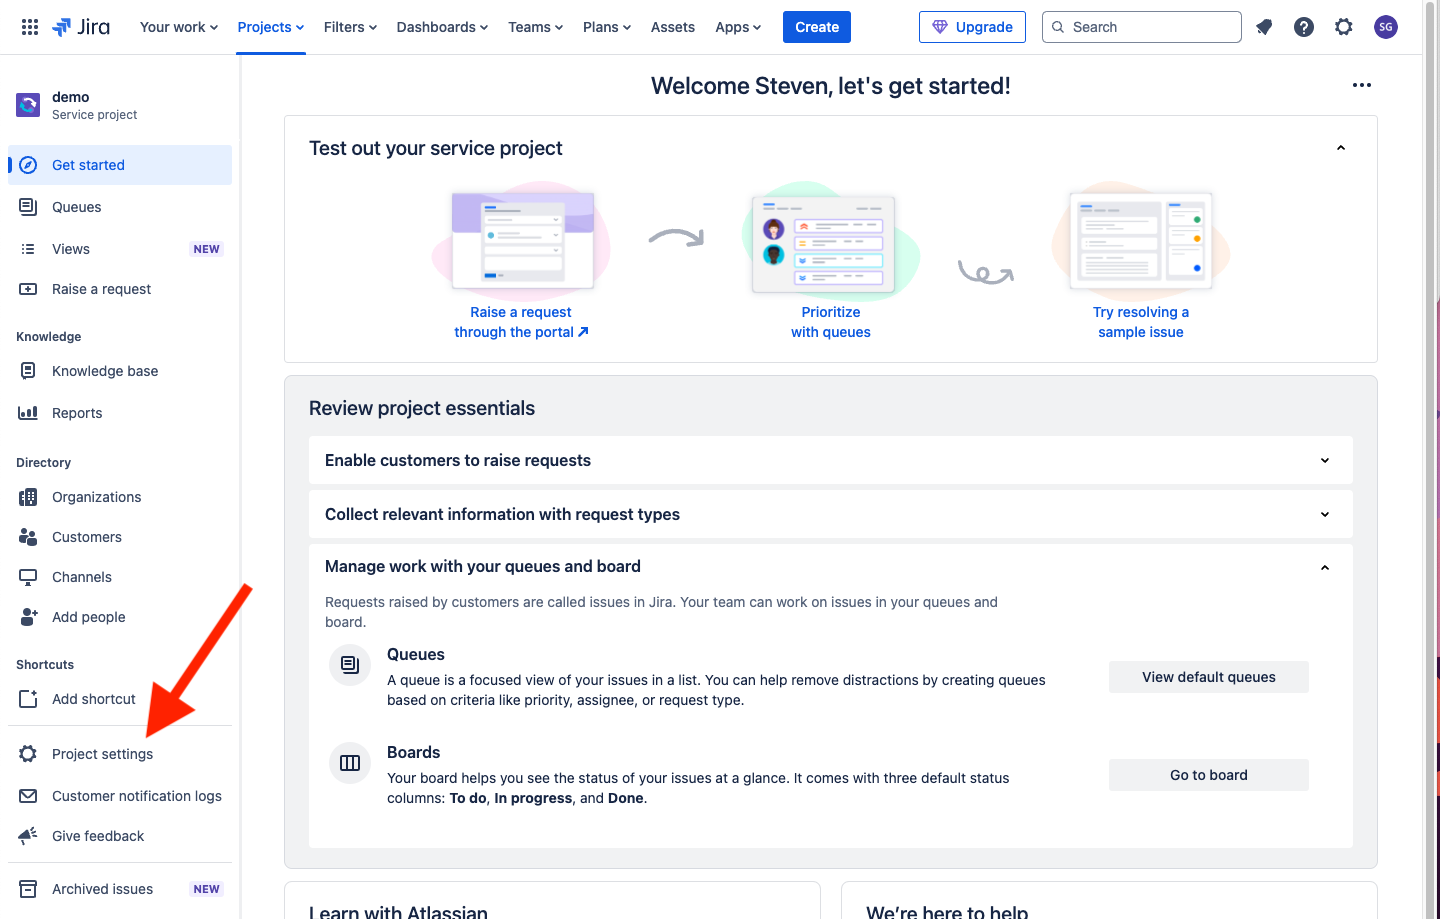
Details
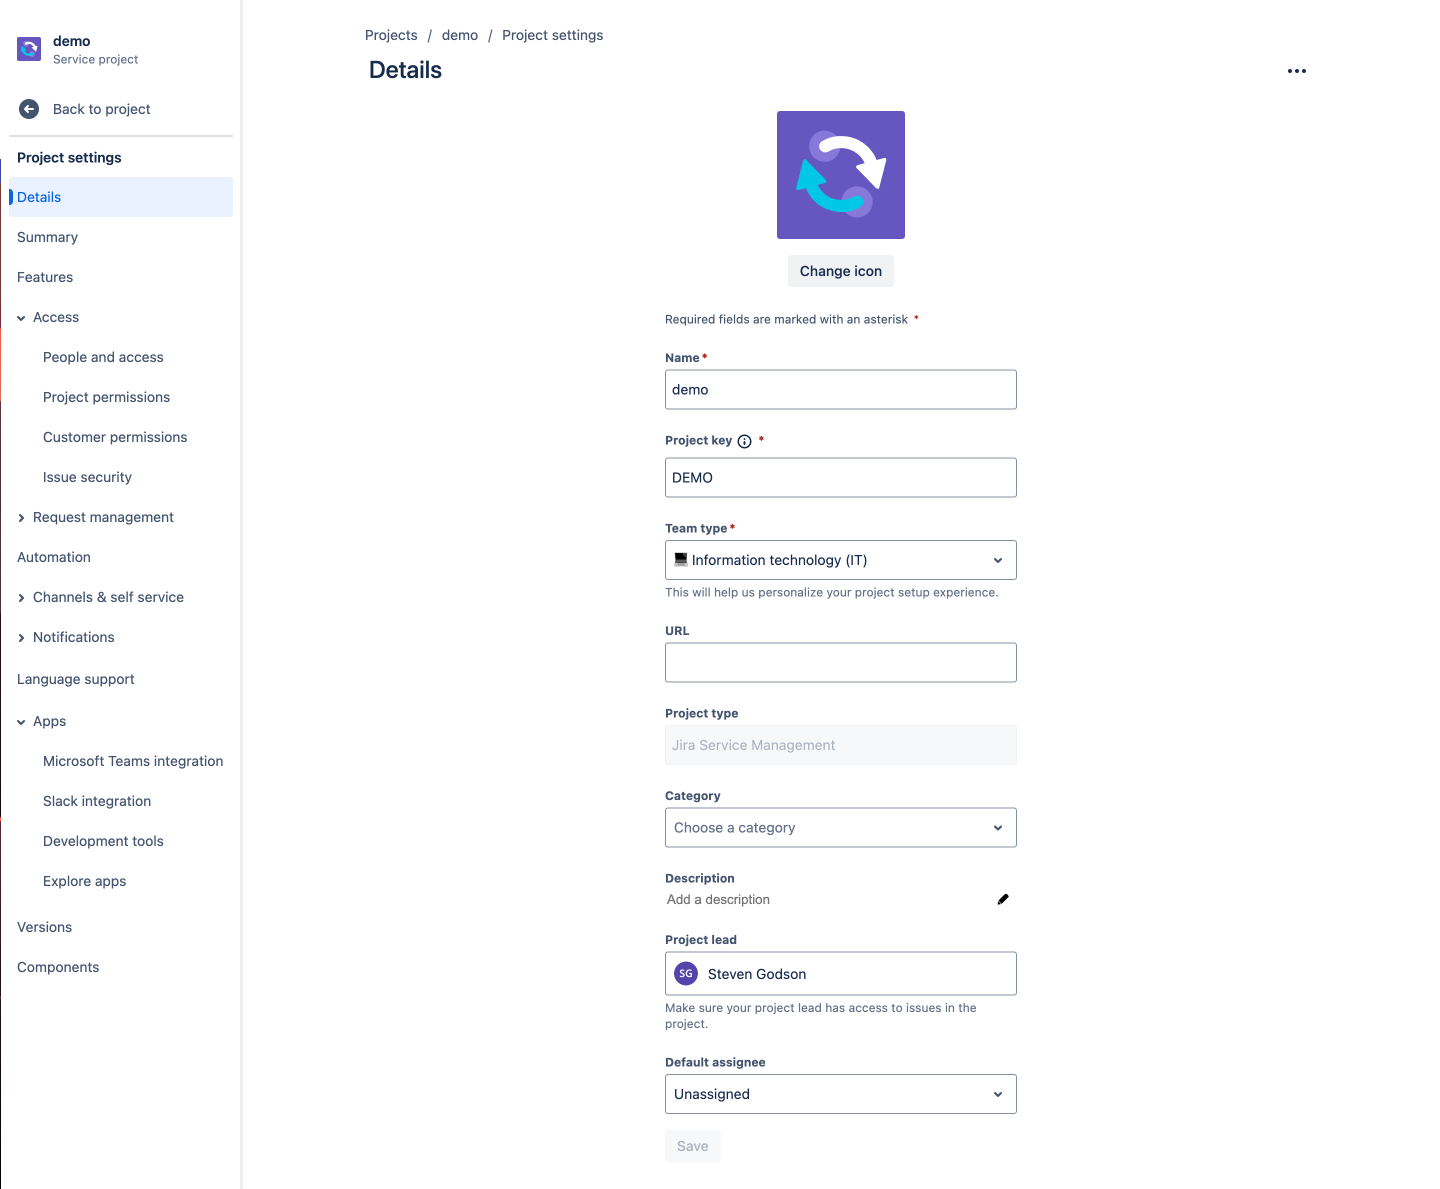
The first section of Project Settings is Details. This allows you to
- Change the icon that appears in the top left-hand corder of the project screen
- Change the name of the project
- Change the project key, which is the unique prefix to the various record types
- Change the team type to more closely match how you are using JSM and get more tailored recommendations from Atlassian
- Add a URL
- Choose a category, assuming you have some configured
- Add a project description so that users can clearly understand when the JSM project is being used for
- Change the Project lead, typically to the Service Desk Manager/Team Lead or the owning Service Delivery Manager
- Add a default assignee, so tickets are automatically assigned when raised. This can be useful if you have a single person or role that initially triages tickets
Summary
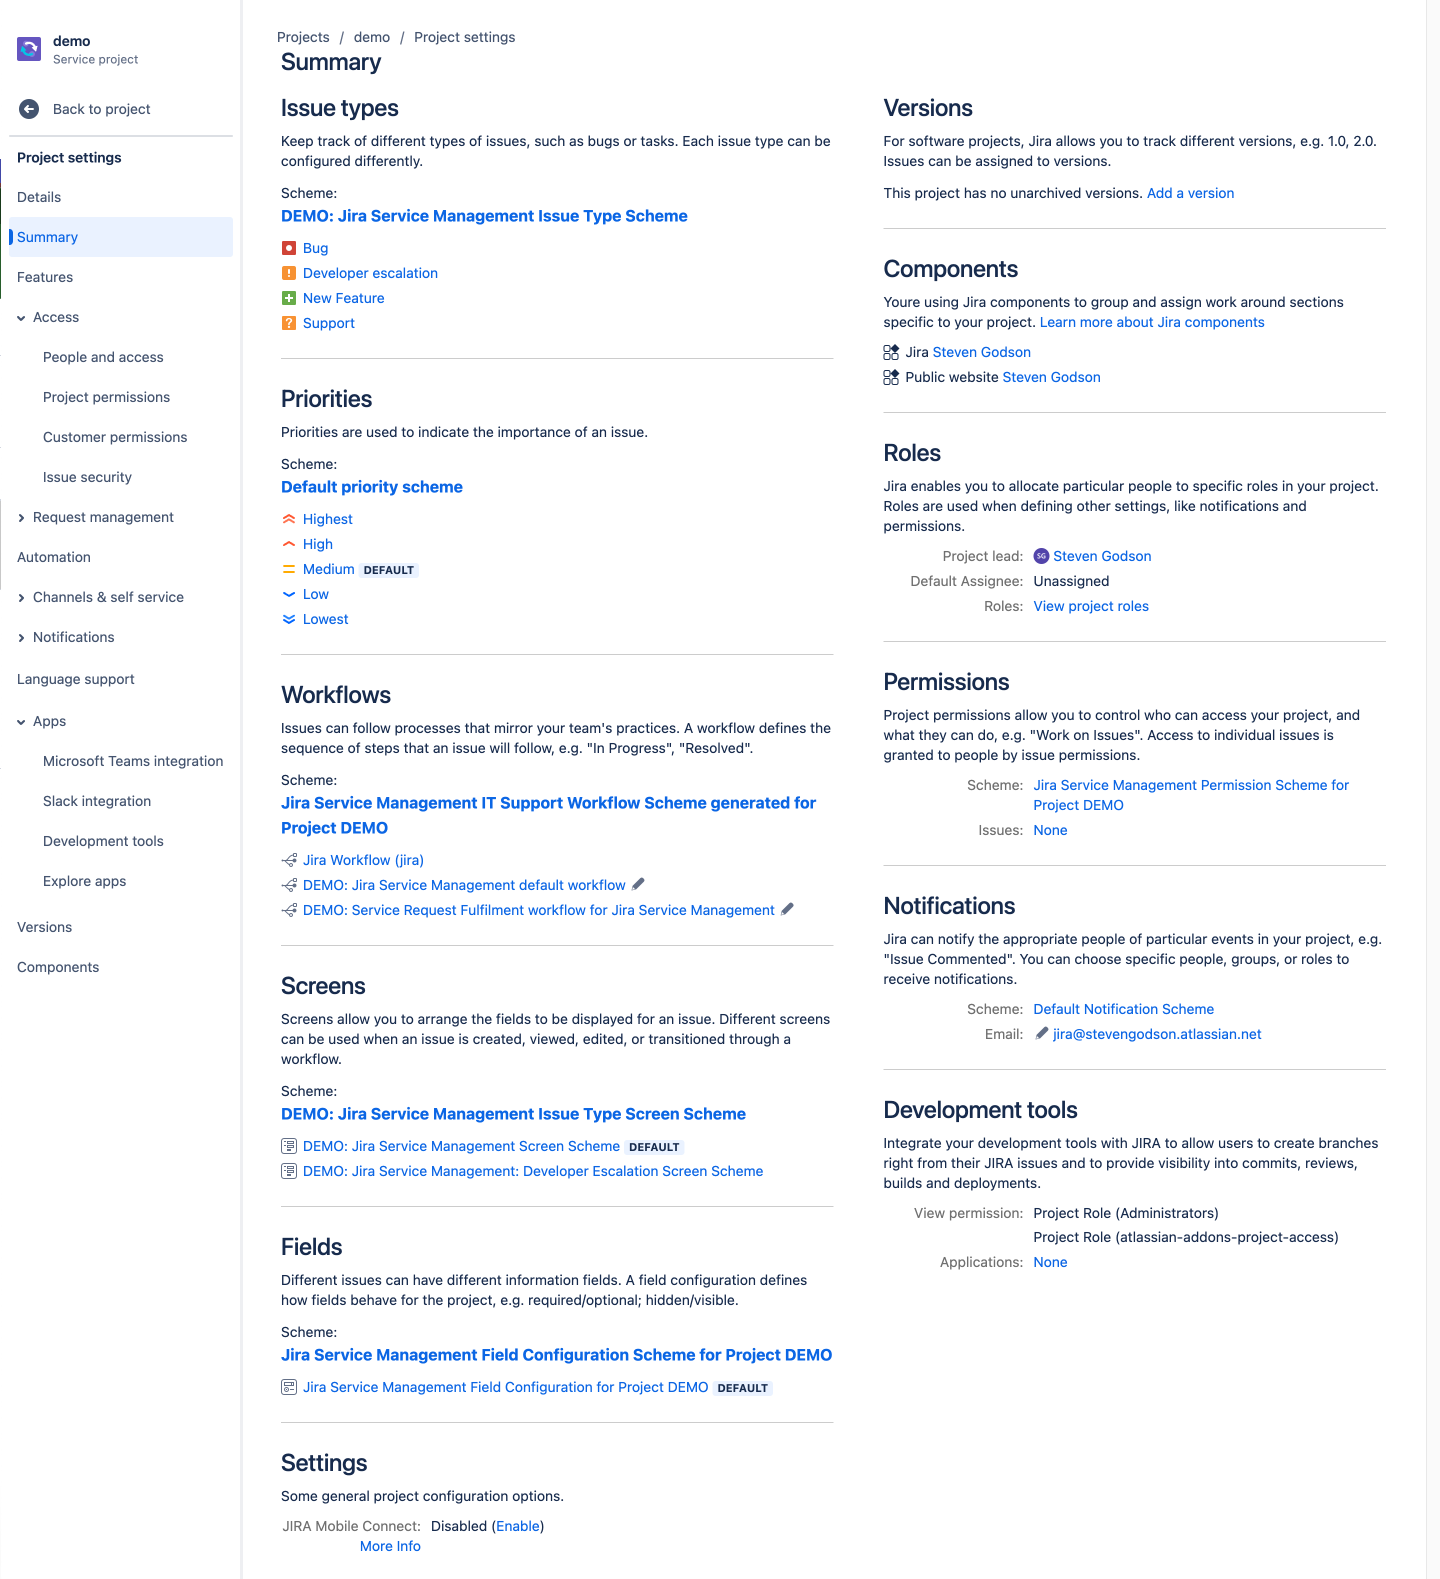
This section is a one-stop shop to see the key configuration options that are in JSM, whether the defaults or ones that have been configured is subsequent sections.
Features
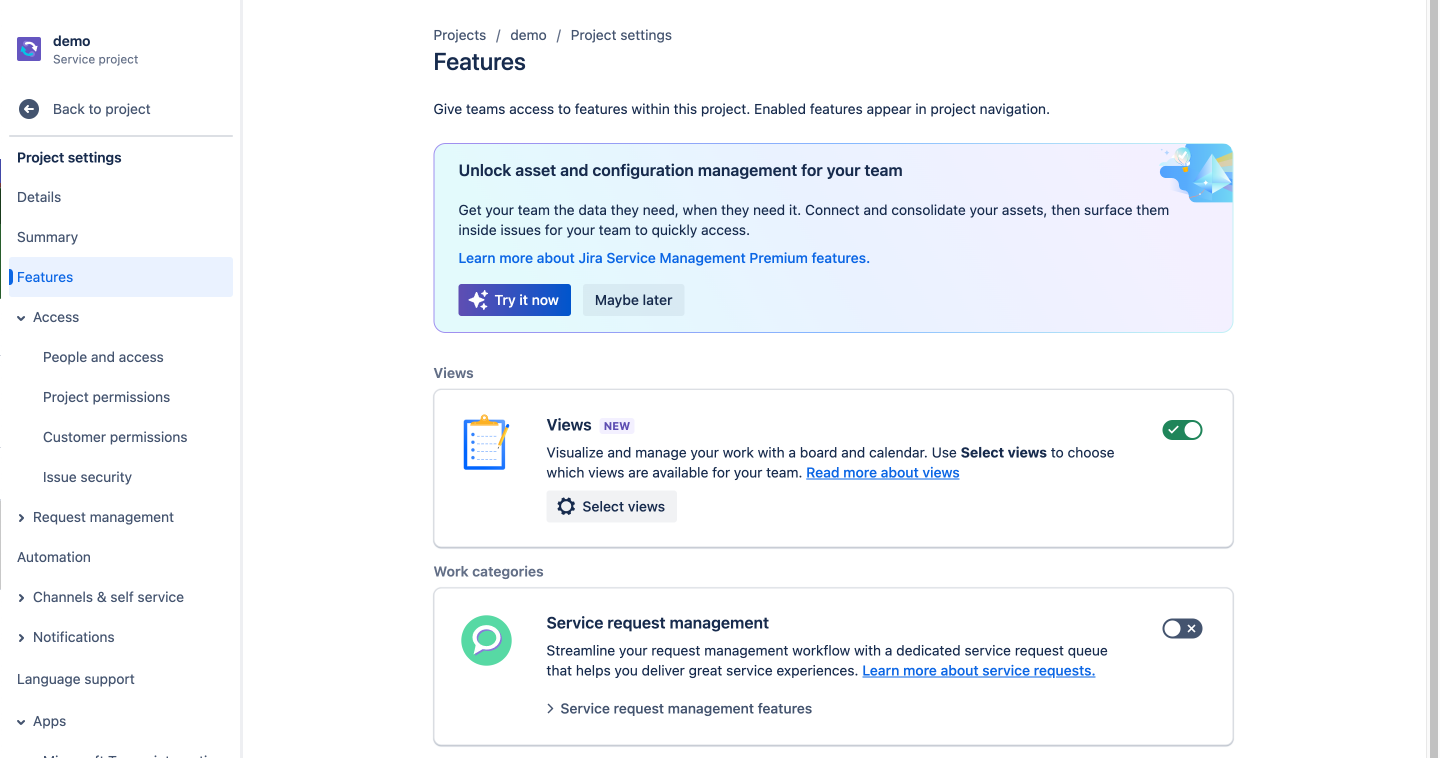
The Features section is where you switch on or off, and start top configure additional functionality. There are two tiers of features
- Standard, which can be accessed trough the base JSM license charge, and
- Premium, which incurs an uplift to the license charge and gives you access to a range of use features
In this article I will be covering the Standard features only, with the Premium ones being covered later in the series.
Views

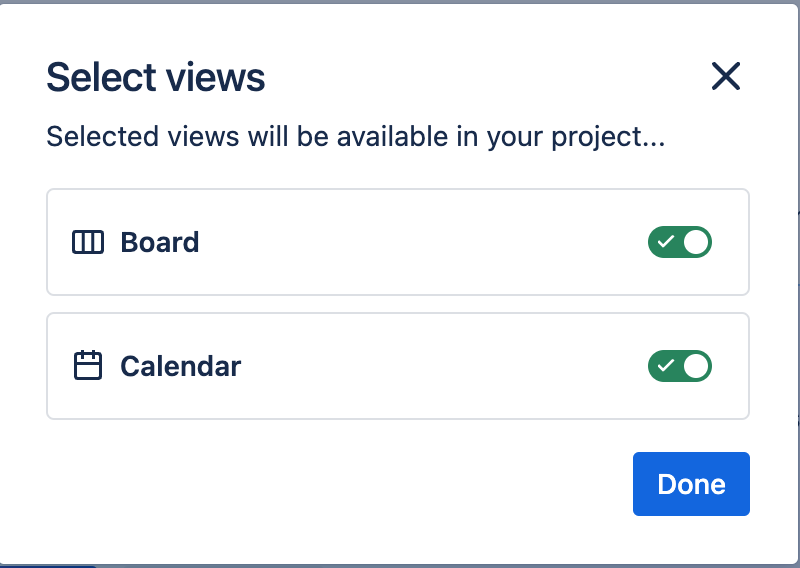
Clicking on the Select views button opens a pop-up where you can select / de-select which of the available view types the service desk agent role can see and use in your JSM project.
Work Categories
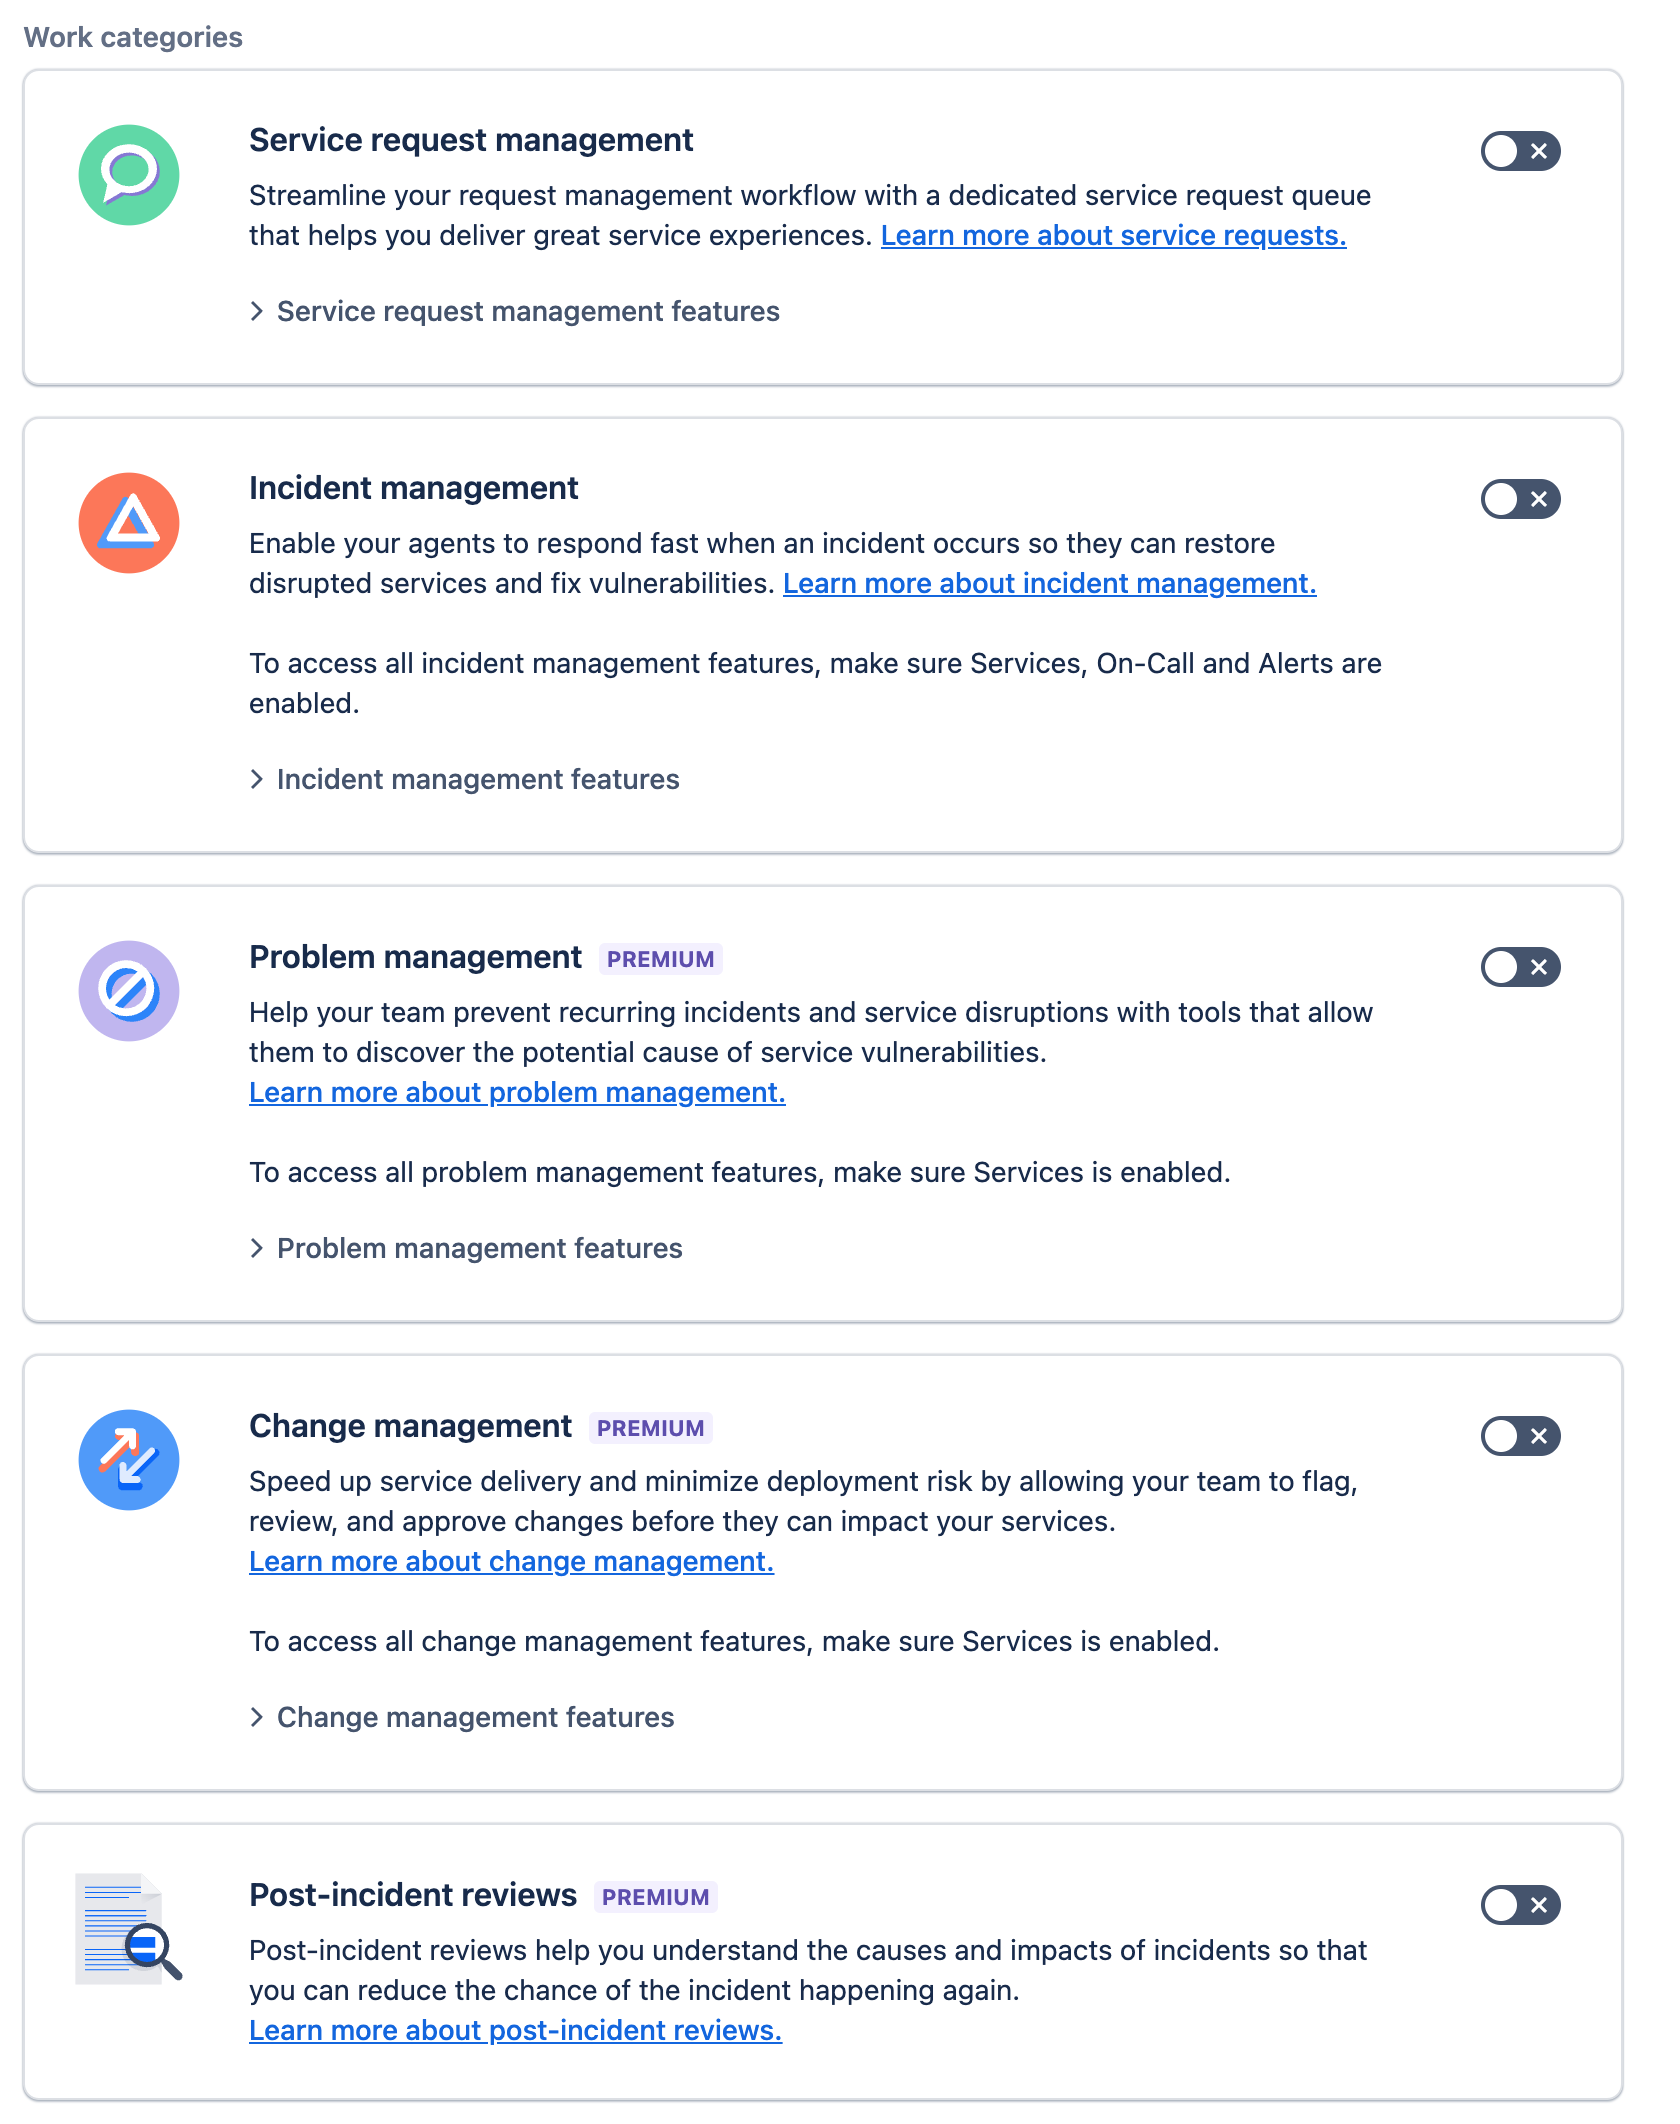
Service request management
Enabling this feature provides you with a dedicated Service requests space, that can be accessed from the main project side menu, where you can see, raise and manage all service request records, that haven been created, in dedicated queues.
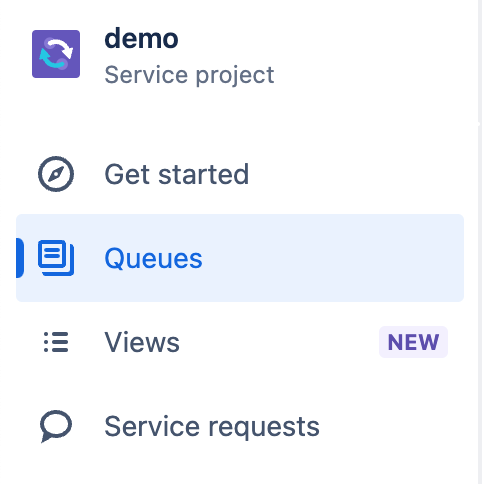
Incident Management
Enabling this feature does a couple of things.
Firstly, as with service request management, you get a dedicated area in the main project side menu.
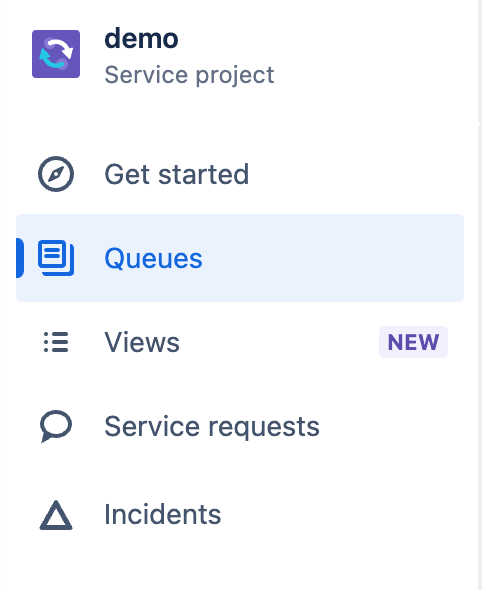
It also creates a new Operations section in the Project settings menu, which we will come to later in this article. However, it is essentially a consolidation of guides and links to other areas of Project Settings that relate to the creation and management of Incidents.
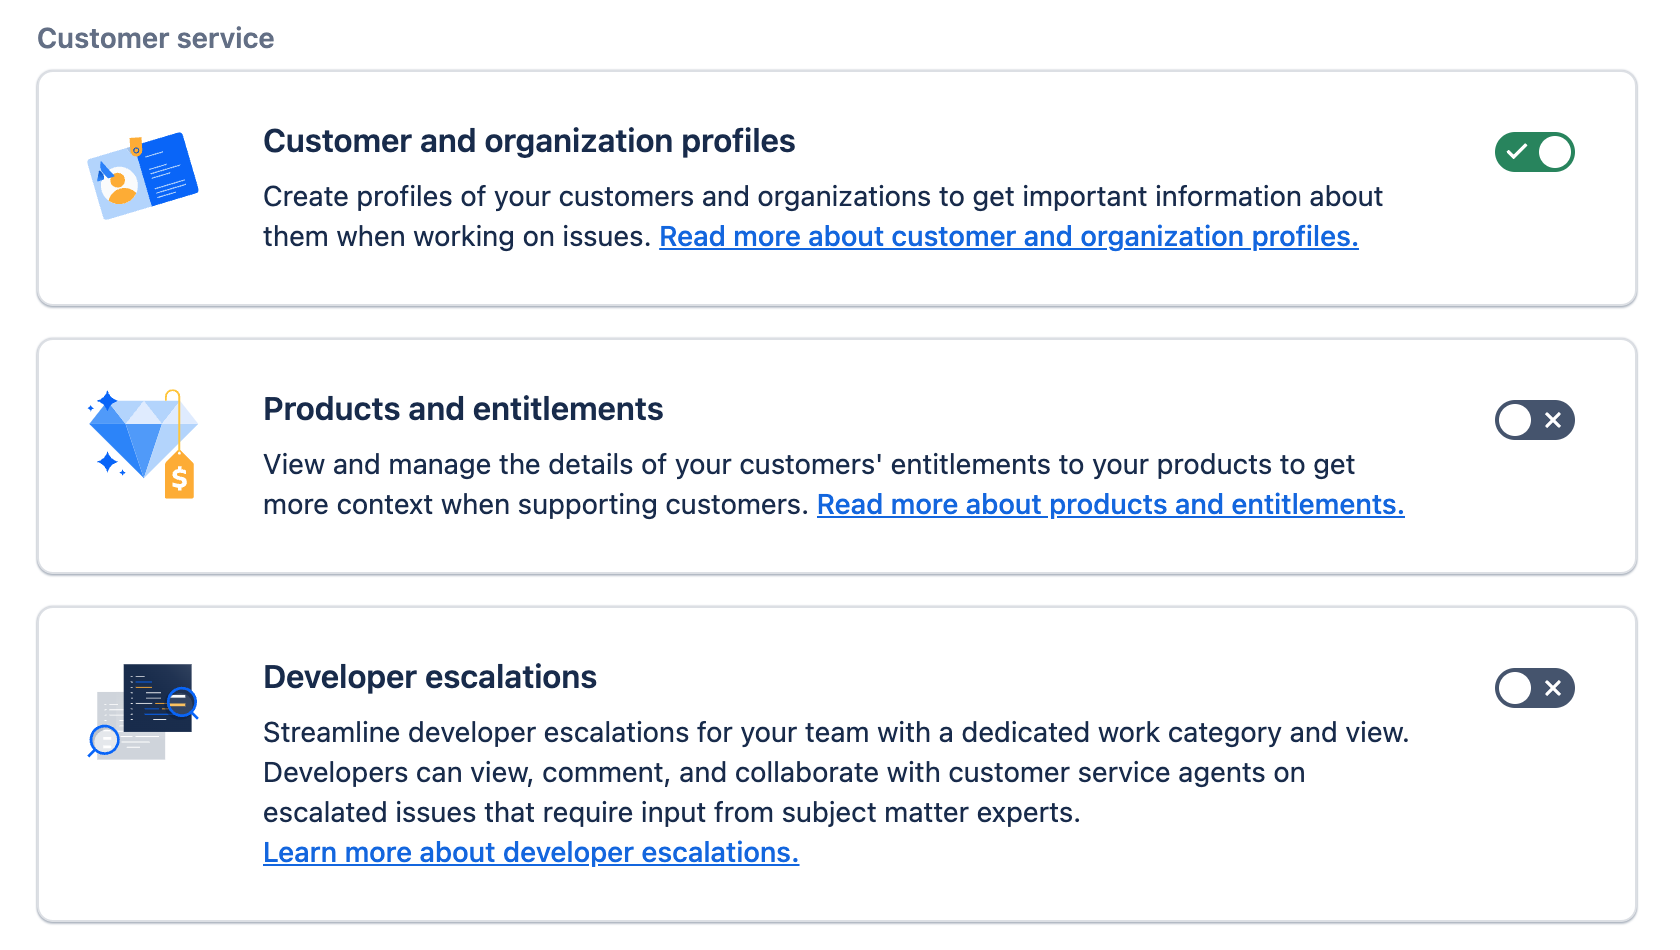
Customer Service
Customer and organisation profiles
Enabled by default, this features allows the creation of customer and / or organisation profiles from the Directory section of the main left-hand side project menu. These are great for holding information of customers that can be pre-populated in a record, information on key contacts, service entitlement information etc.
Products and entitlements
If enabled, this features allows the creation of Products profiles from the Directory section of the main left-hand side project menu. You can set specific fields for data capture and define who can see the information. There is also the facility to import data, from external sources e.g. a CRM, using an API.
This feature is useful if you need to hold details of entitlement to support for the products that your organisation sells.
Developer escalations
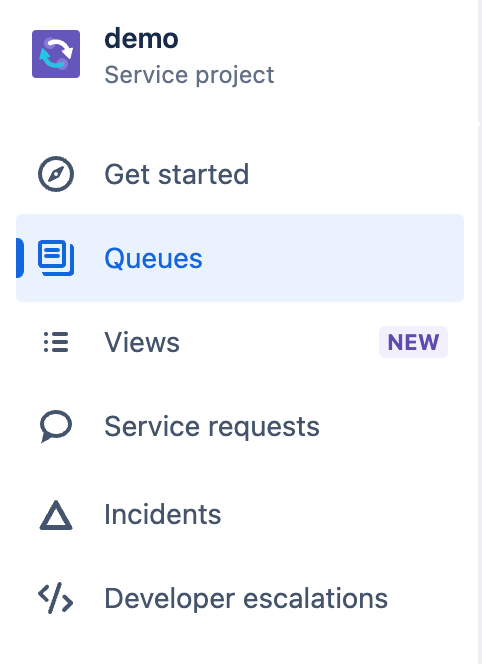
Similar to Incident and Service request, enabling this feature gives a dedicated section under Queues in the main left-hand menu of the project. From this area you can add or create specific request types for Developer escalations that will be visible in this queue.
Operations
Services
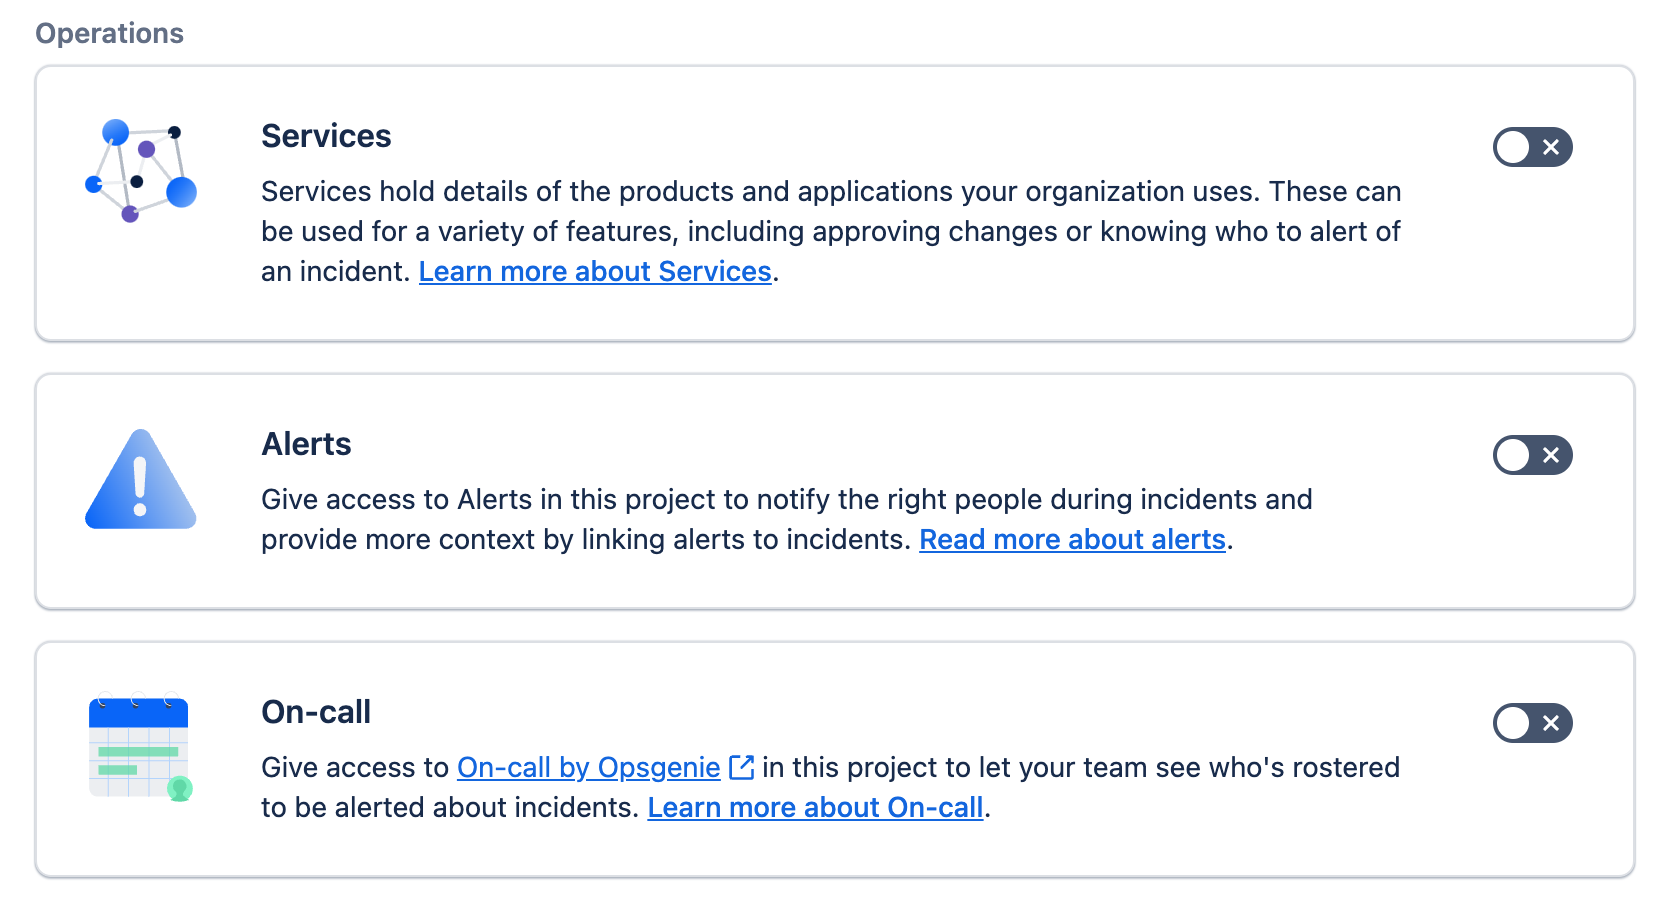
Enabled by default this feature provides the functionality to create a representation of the services that you are supporting, using JSM, and the linkages between them. A good place to start when trying to work out what needs to represented is your Enterprise Architect or ITSM Architect as they should have clear visibility of the service ties, inter-linkages and how best to represent them.
The menu to access this functionality sits in the Operations group in the main left-hand menu on the project itself. I will be covering the detail of these in a separate article, but creating a Service allows you to specify
- Name
- Type
- Tier
- Service Owner(s)
- Change approver(s)
- Responders
- Stakeholders
- Repository (BitBucket)
- Description
All of this is invaluable in managing services through their lifecycle.
Alerts
Enabled by default this feature provides the functionality to manage IT alerts. The menu to access this functionality sits in the Operations group in the main left-hand menu on the project itself.
Coupled with JSMs ability to interface with Enterprise Management tools, such as DataDog, and the process automation functionality that exists in Atlassian products, you can monitor alerts coming in from your services, perform an action(s) dependent on the data in the alert and auto-assign to resolvers and / or initiate escalations.
On-call
Enabled by default this feature provides the functionality to integrate with OpsGenie to manage your on-call rotas for support start and automate ticket assignment and notification outside of your core support hours.
OpsGenie is separate to JSM and incurs additional charges to use. As such it is out of scope of this article.
Issue view
Suggestions
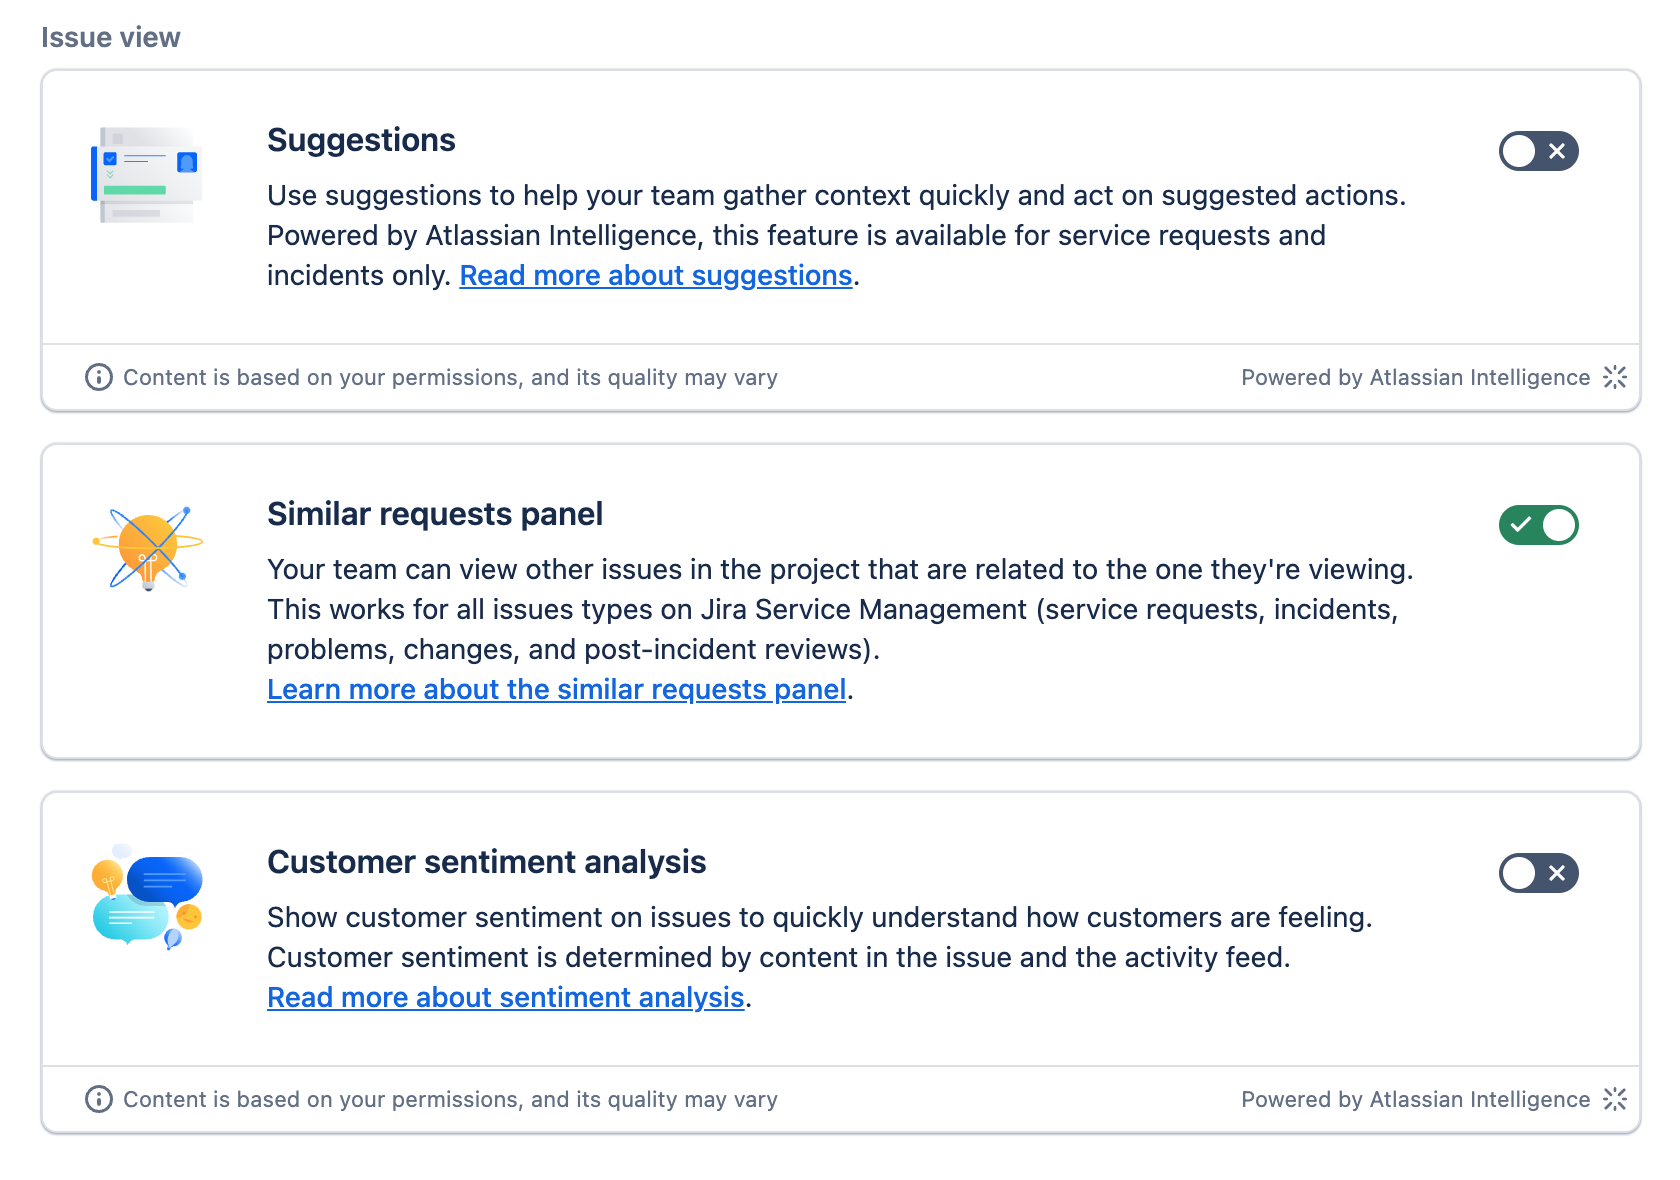
If enabled this provides your service desk agents with an AI assistant, for Incidents and Service Requests only, that will provide summarised insight into a ticket and suggested actions that can be followed.
It is automatically enabled for Premium and Enterprise plans in JSM.
Similar requests panel
Enabled by default this feature provides the functionality provides your service desk agents with a view on similar records, within a type e.g. Incidents.
This visibility is great as it allows agents to identify and escalate trends or major incident scenarios earlier on that just waiting for dashboards to update. It also maximises efficiency as it reduces the need to “re-invent the wheel”, thus giving your customers a better experience.
Customer sentiment analysis
This feat is only available for Premium or Enterprise plans, so is out of scope for this article but will be covered in a later one.
I will highlight though that this kind of user sentiment capture and analysis can be a great way to get a balanced view for Experience Level Agreements (XLAs), which I take a look at in a two part series on them.
Feature Lab
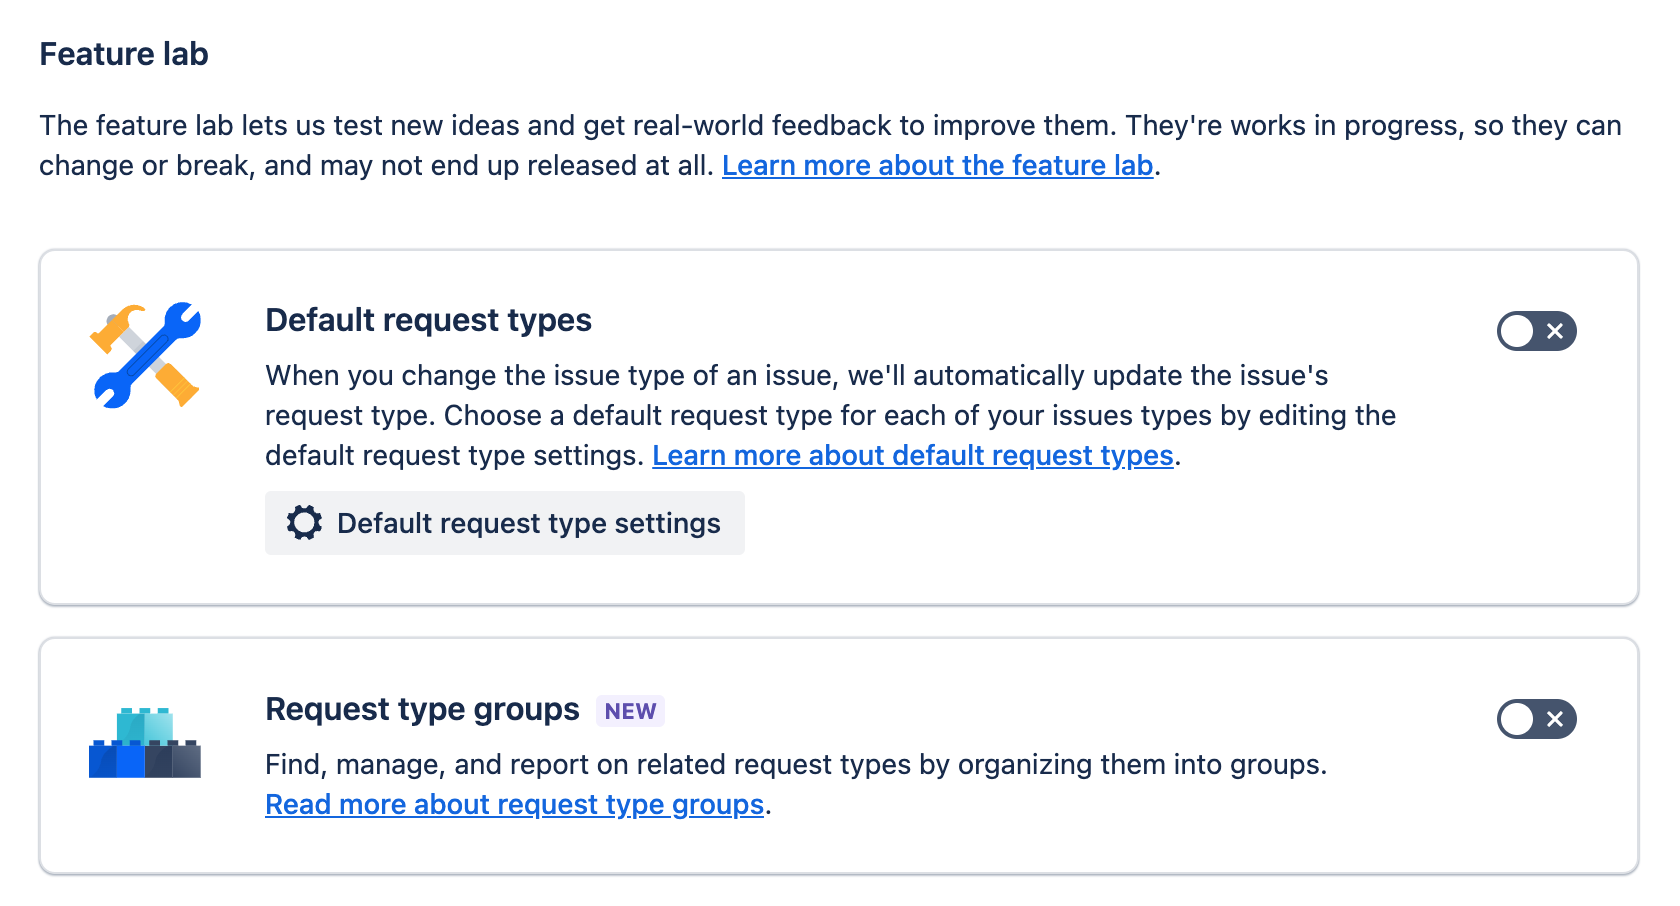
Default request types
If enabled this functionality lets you assign one of your selected request types as a default for certain issue types. Simply click on the Default request type settings button and the following modal will appear, from which you can assign the defaults.
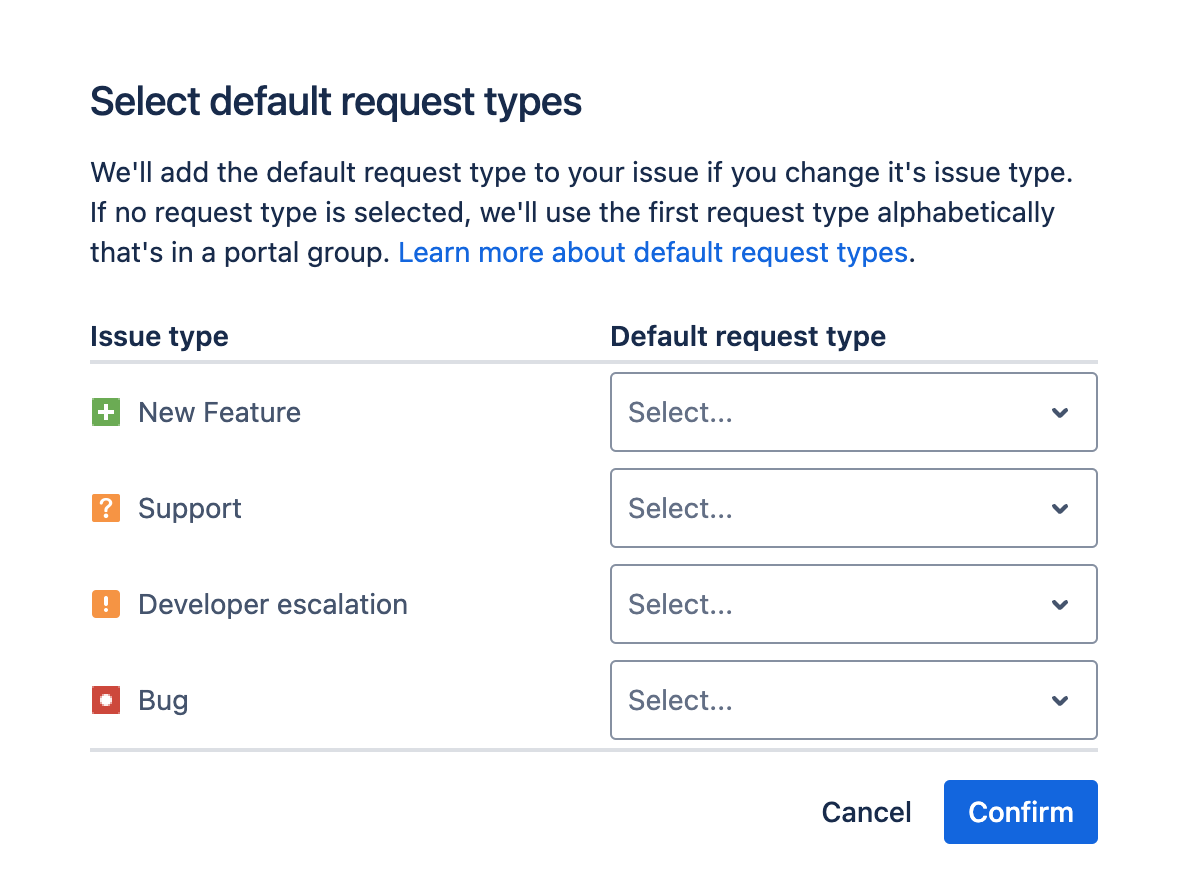
This functionality takes some of the guess work away from the service desk agents and ensure that requests will be raised in a consistent manner,
Request type groups
Enabling this feature allows you to create and add groups that request types can be assigned to. These can be functional, logical, organisational groupings that help your service desk agents provide a more effective service to your customers.
Once enabled, navigate to the Request types section in the main left-hand menu and select on of the options.
Click on the ellipsis under Actions for the request type that you want to change and select Edit under request type group.
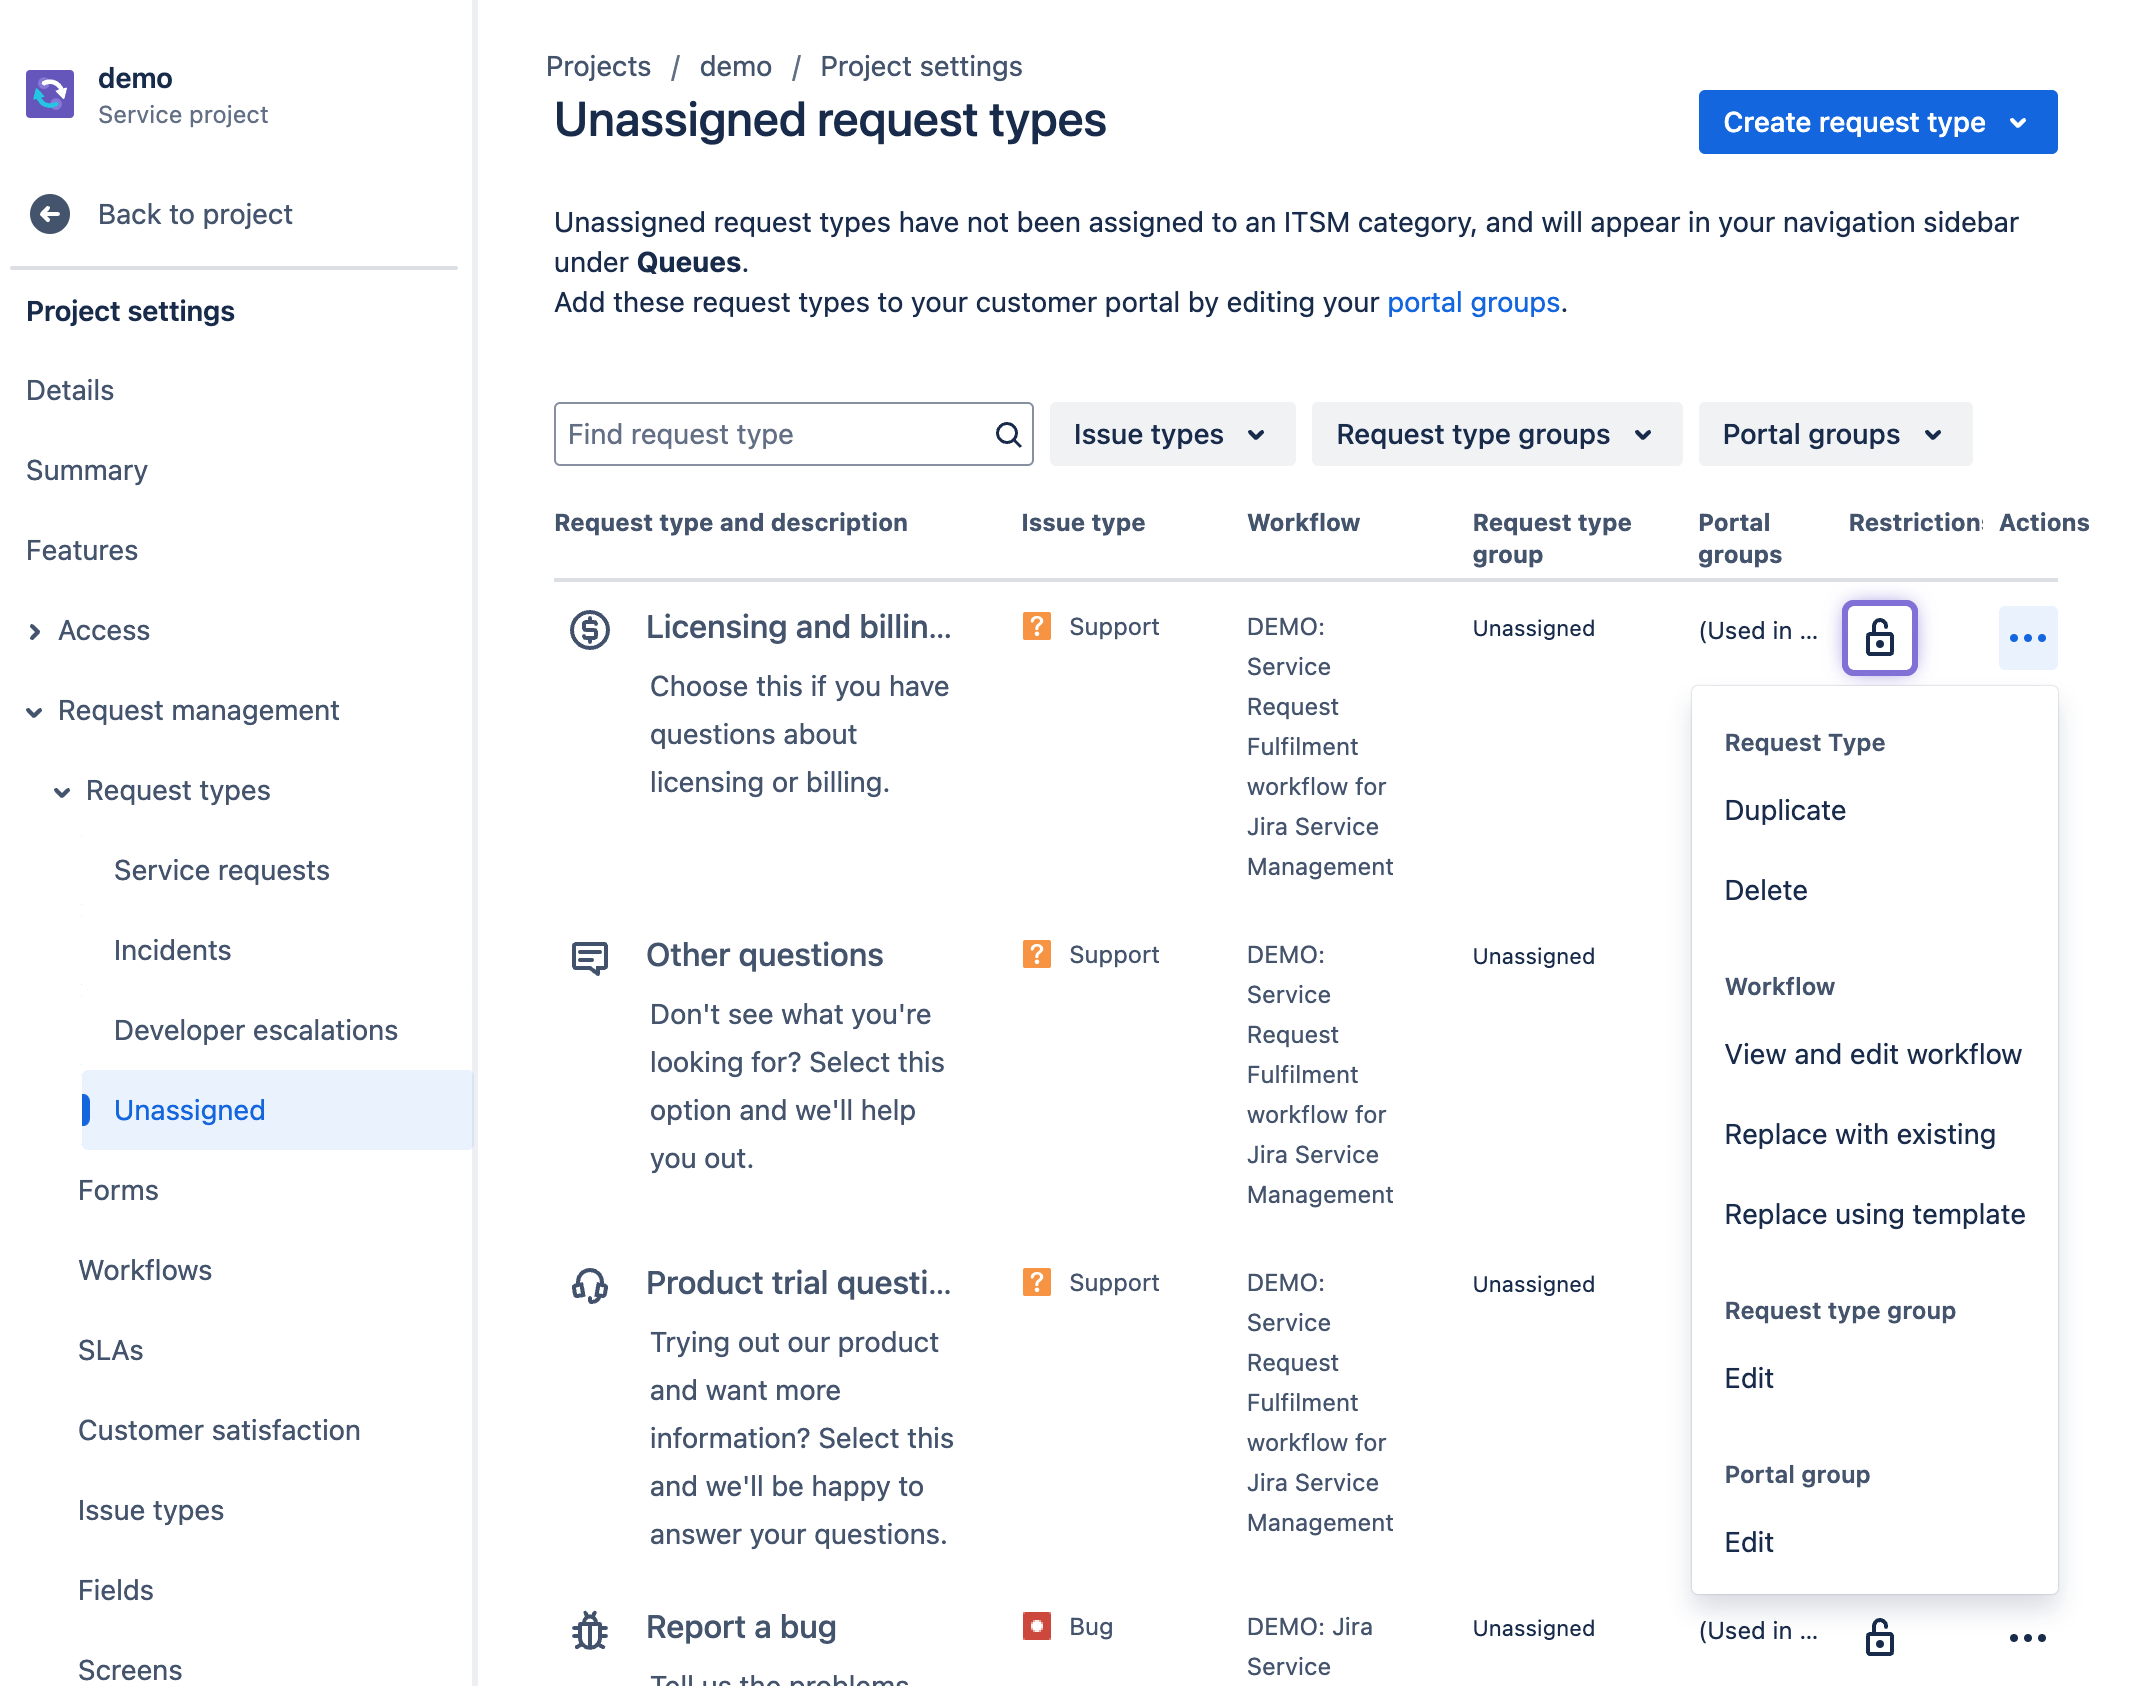
Then either select the group that you want to assign to the request type from the Assign to group tab.
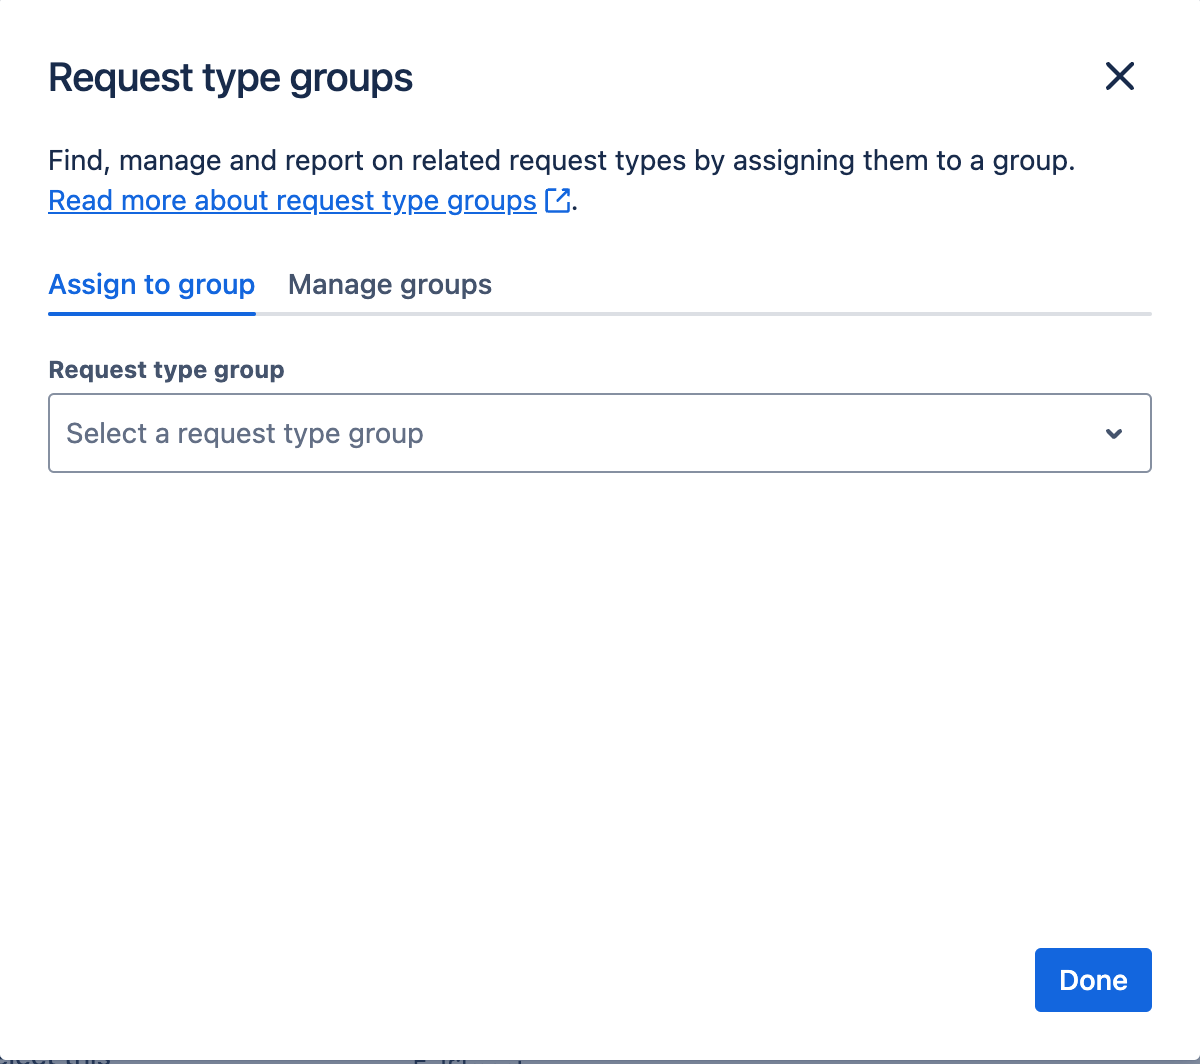
Or, go to the Manage groups tab, click on Create group and, once created, go back to the Assign to group tab to assign it to the request type.
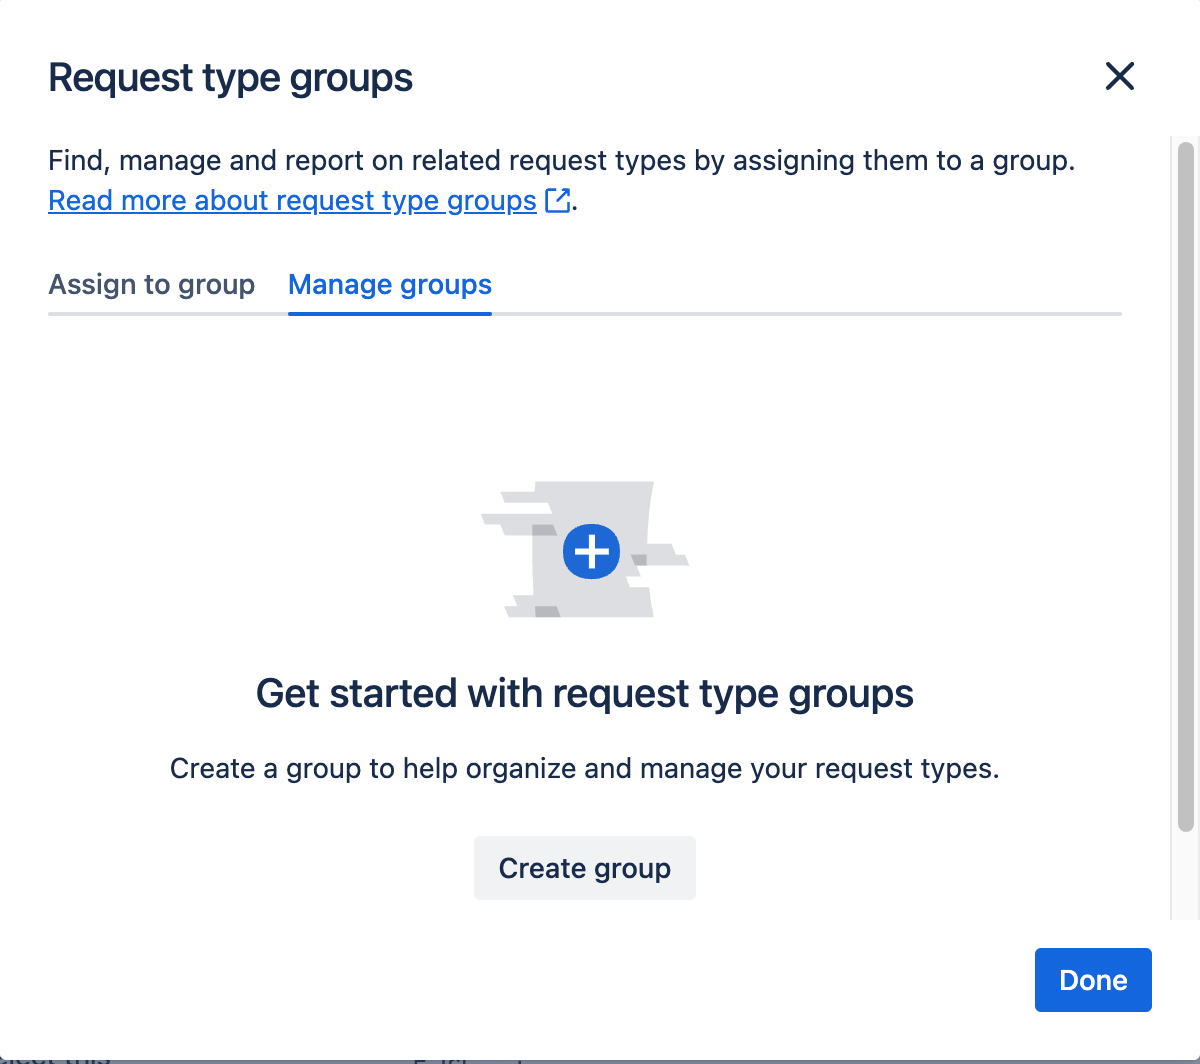
If you then go back to the Request types menu, you will be able to filed your request types by the grouping that you have added.

Access
In this section we look at the Access management options that a JSM Project Admin can see in the Project Settings. These are not the only options available and the next article in this series will look at the options available to an Organisational Admin in the Atlassian settings menu.
People and access
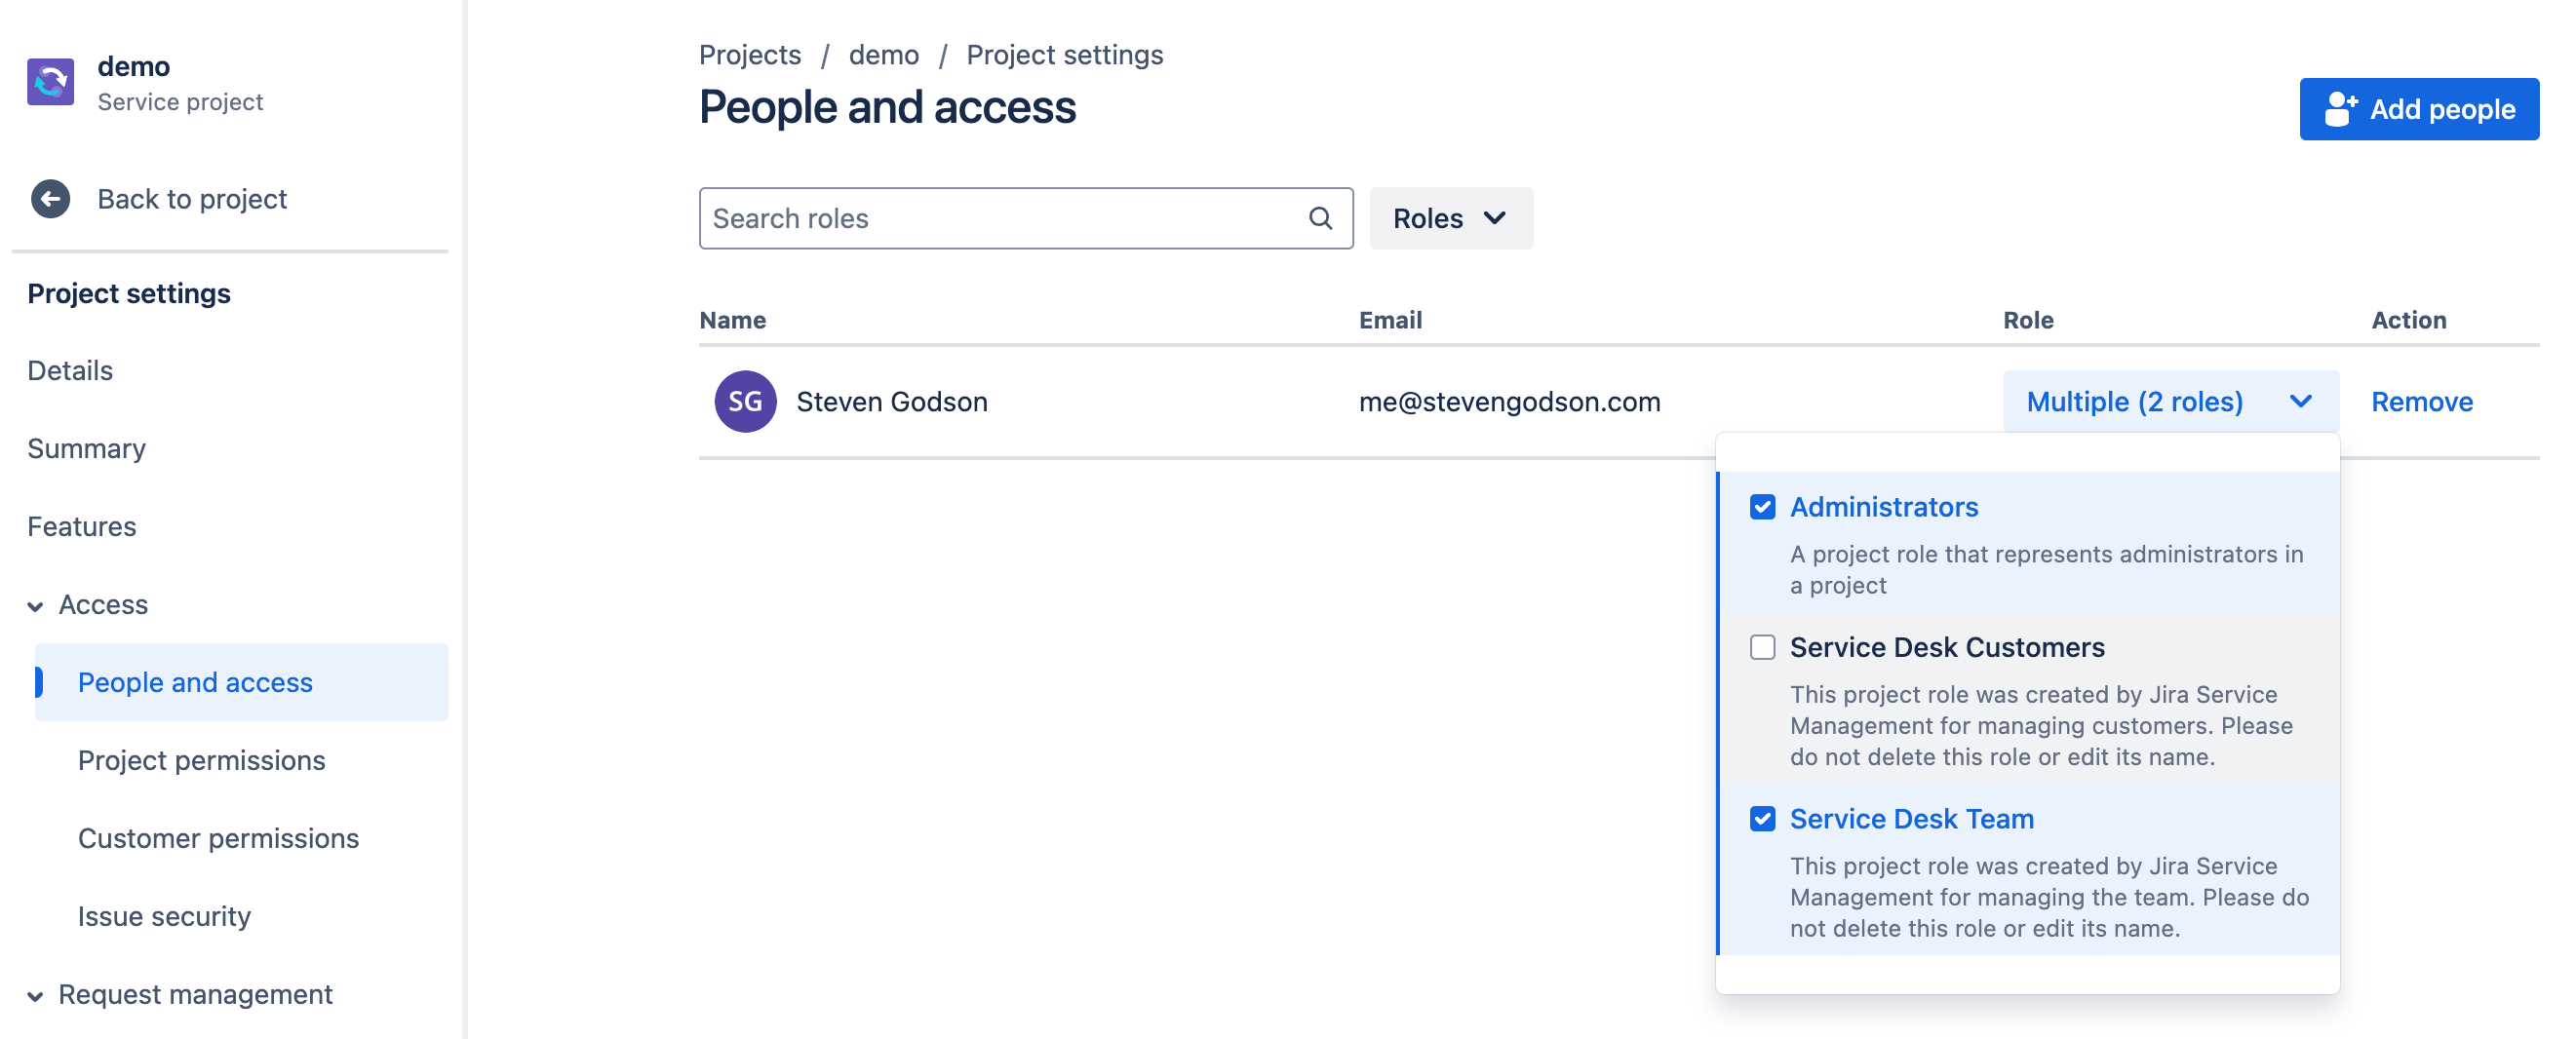
The People and access screen is where users of the JSM project can be managed. From this screen you can
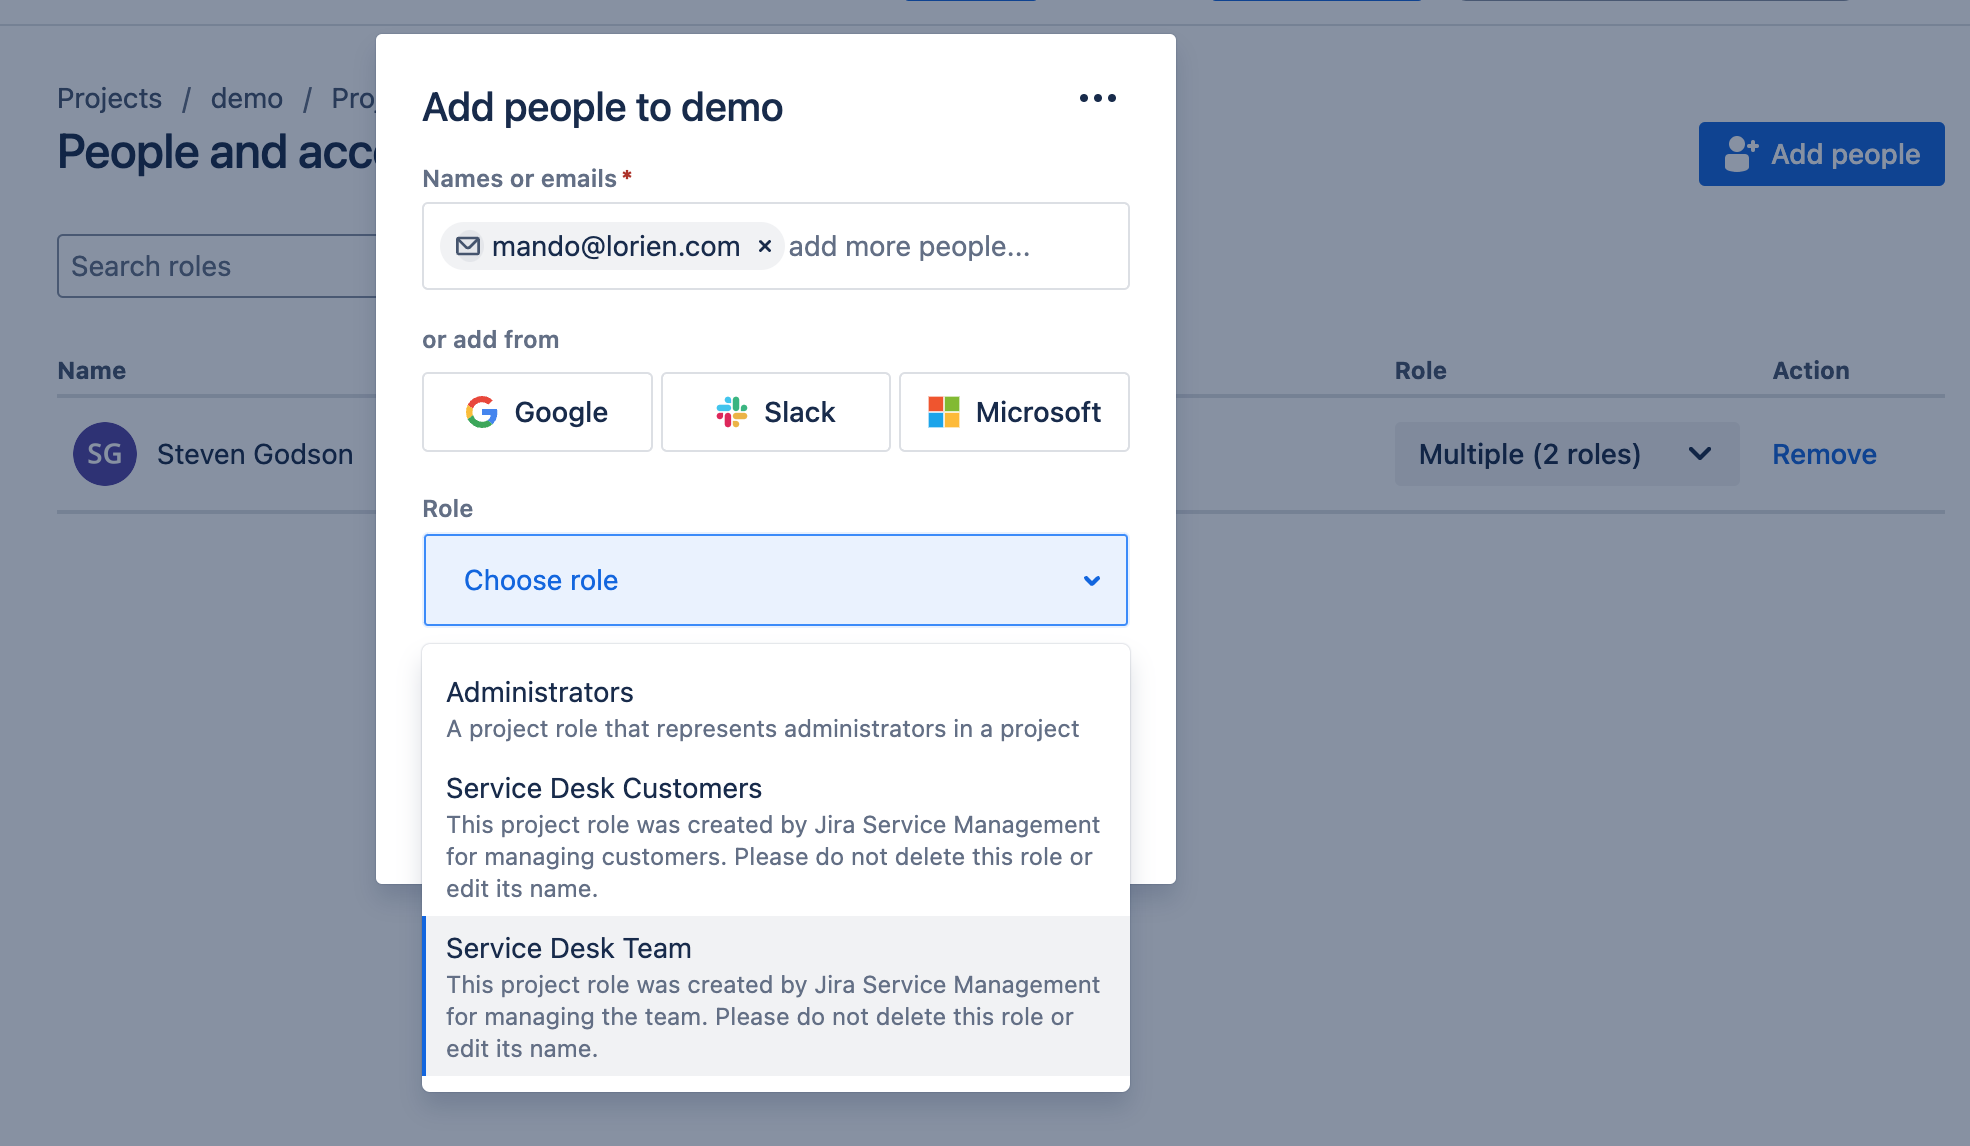
- Add users to the project by
- Clicking on the Add people button
- adding the email of the users you want to give access to OR add from Google, Slack or Microsoft
- Choose the role that you want them to have
- Click on Add
- Remove users
- View users by file using the Roles filter
- Search for specific users in the Search roles field
Project permissions
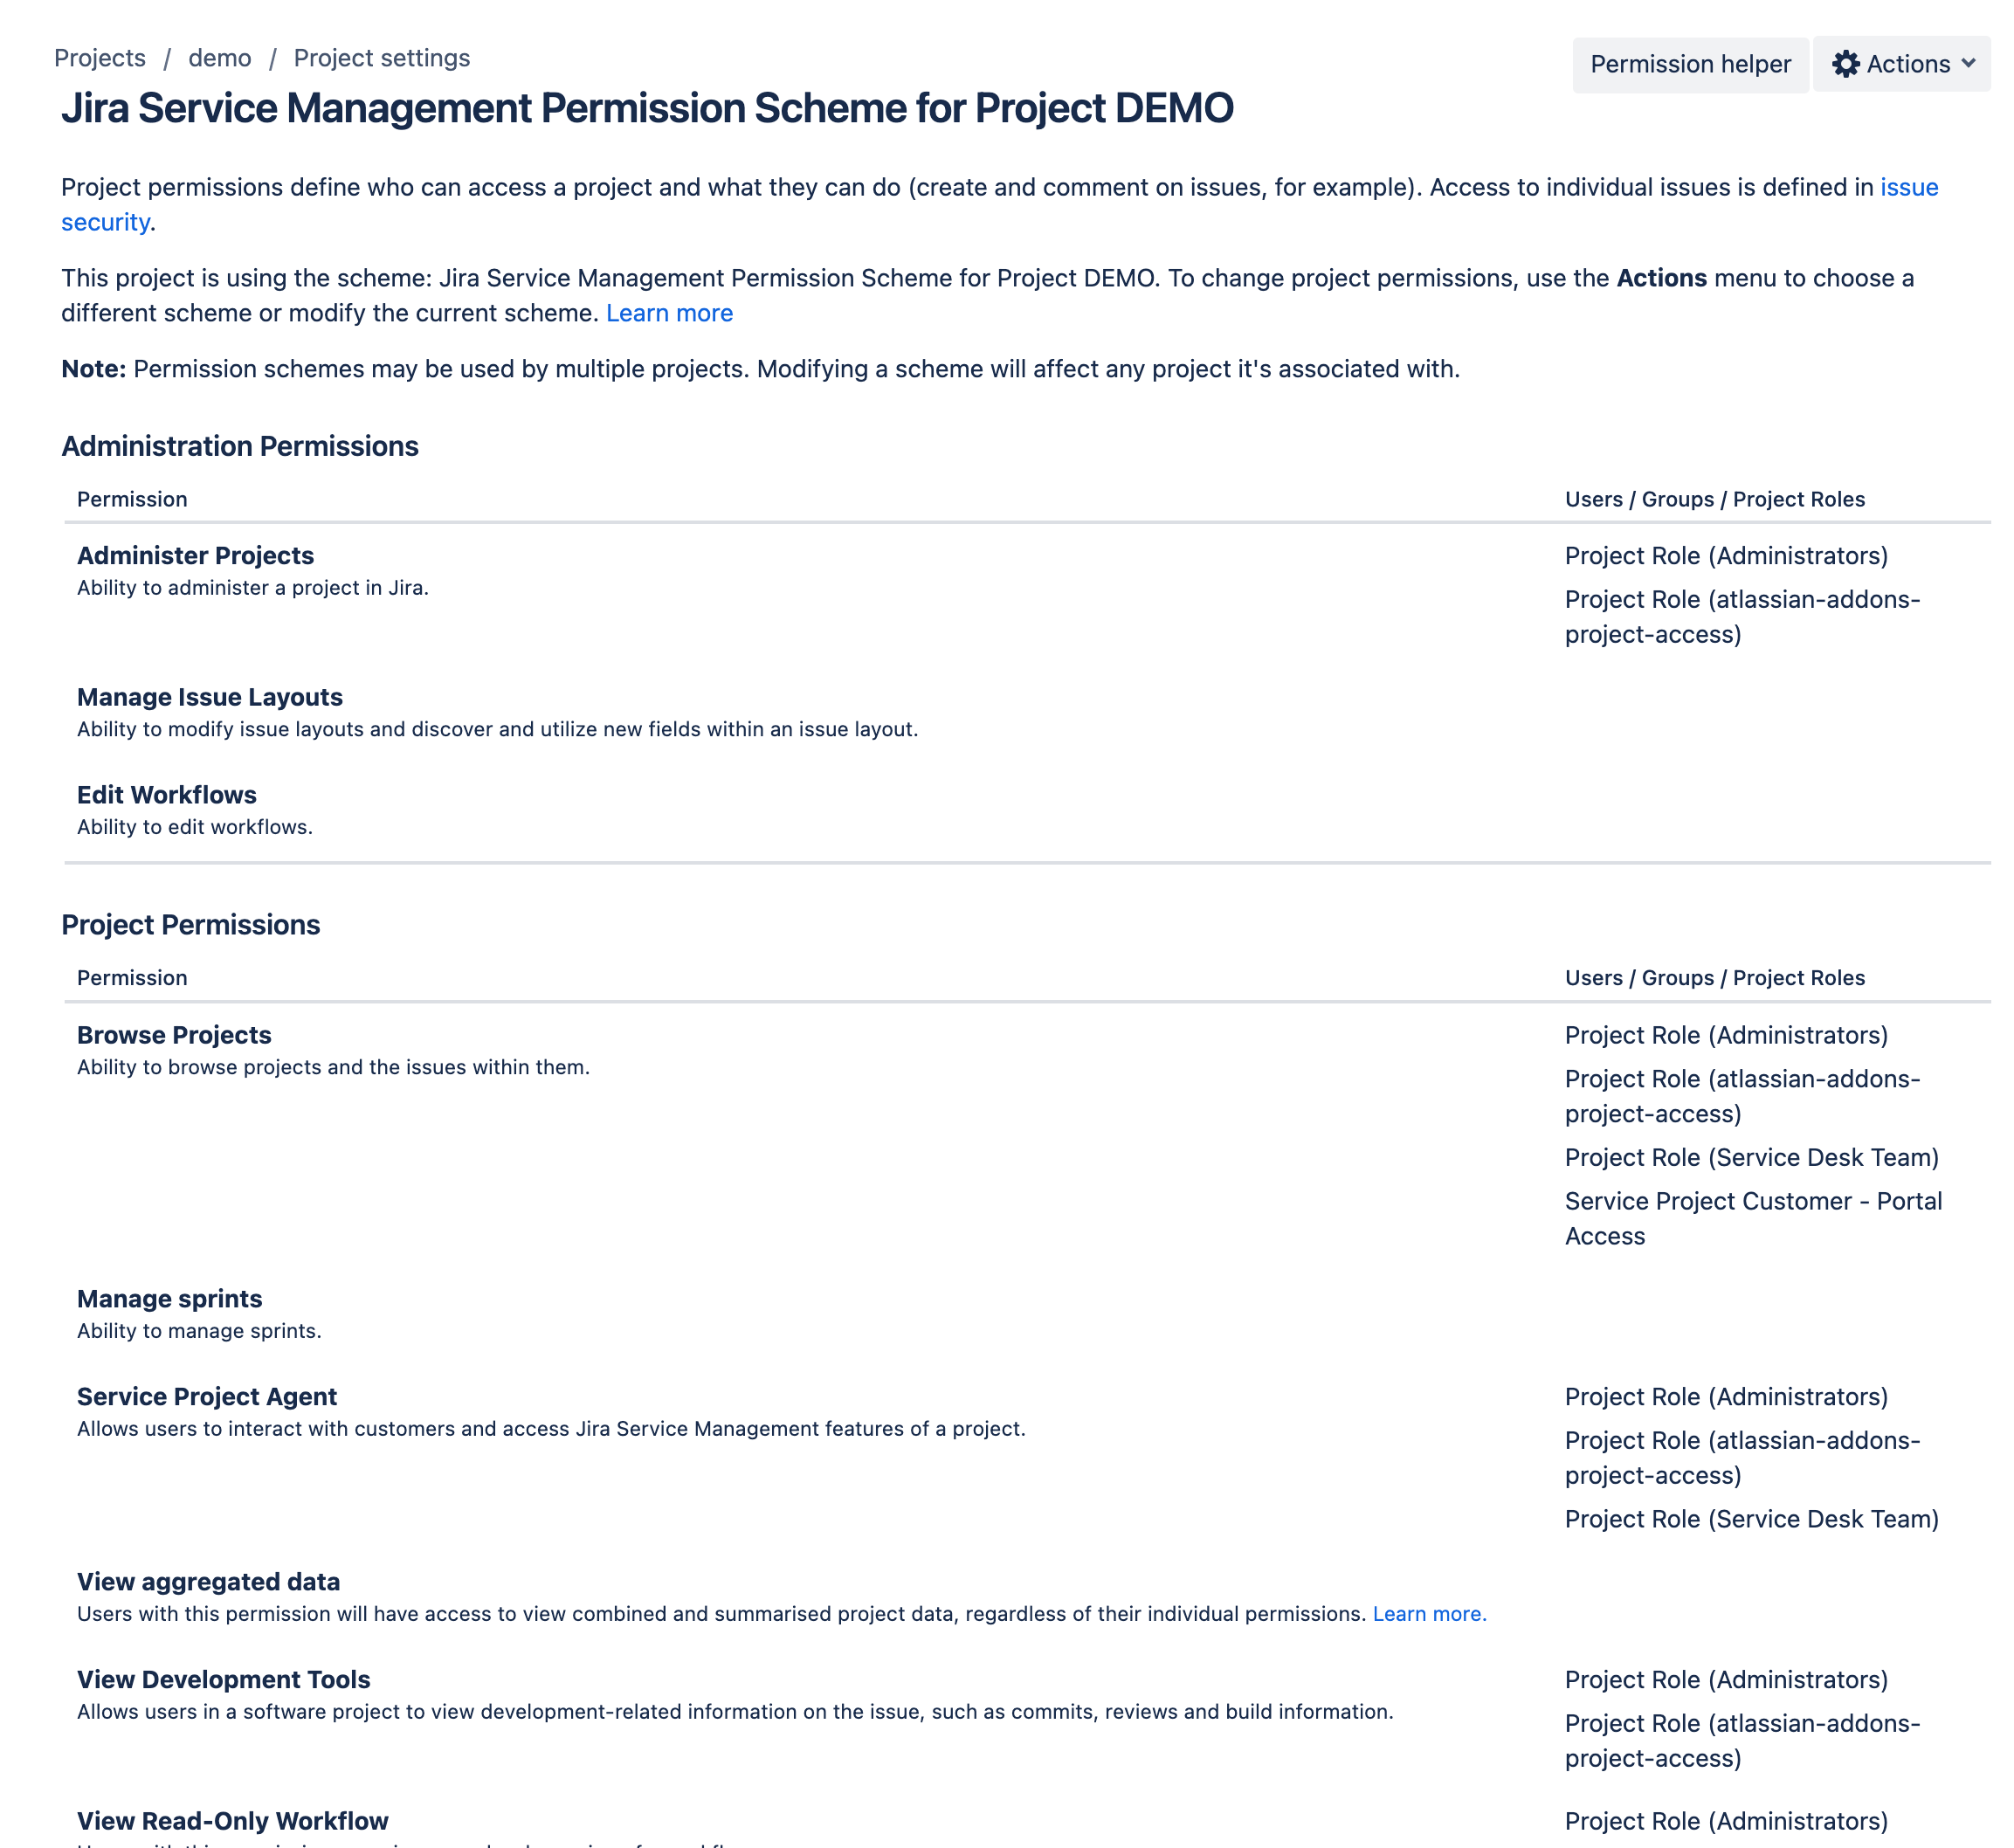
The Project permissions page shows all of the permissions available in JSM and what has been assigned to which Project Roles in your instance.
These can be adjusted to meet your organisational and security policy requirements. Click on the Actions button and select Edit permissions. The following screen will appear, from which you can Update or Remove assigned permissions.
Note: caution should exercised with this to ensure you don’t accidentally break your service desk operation
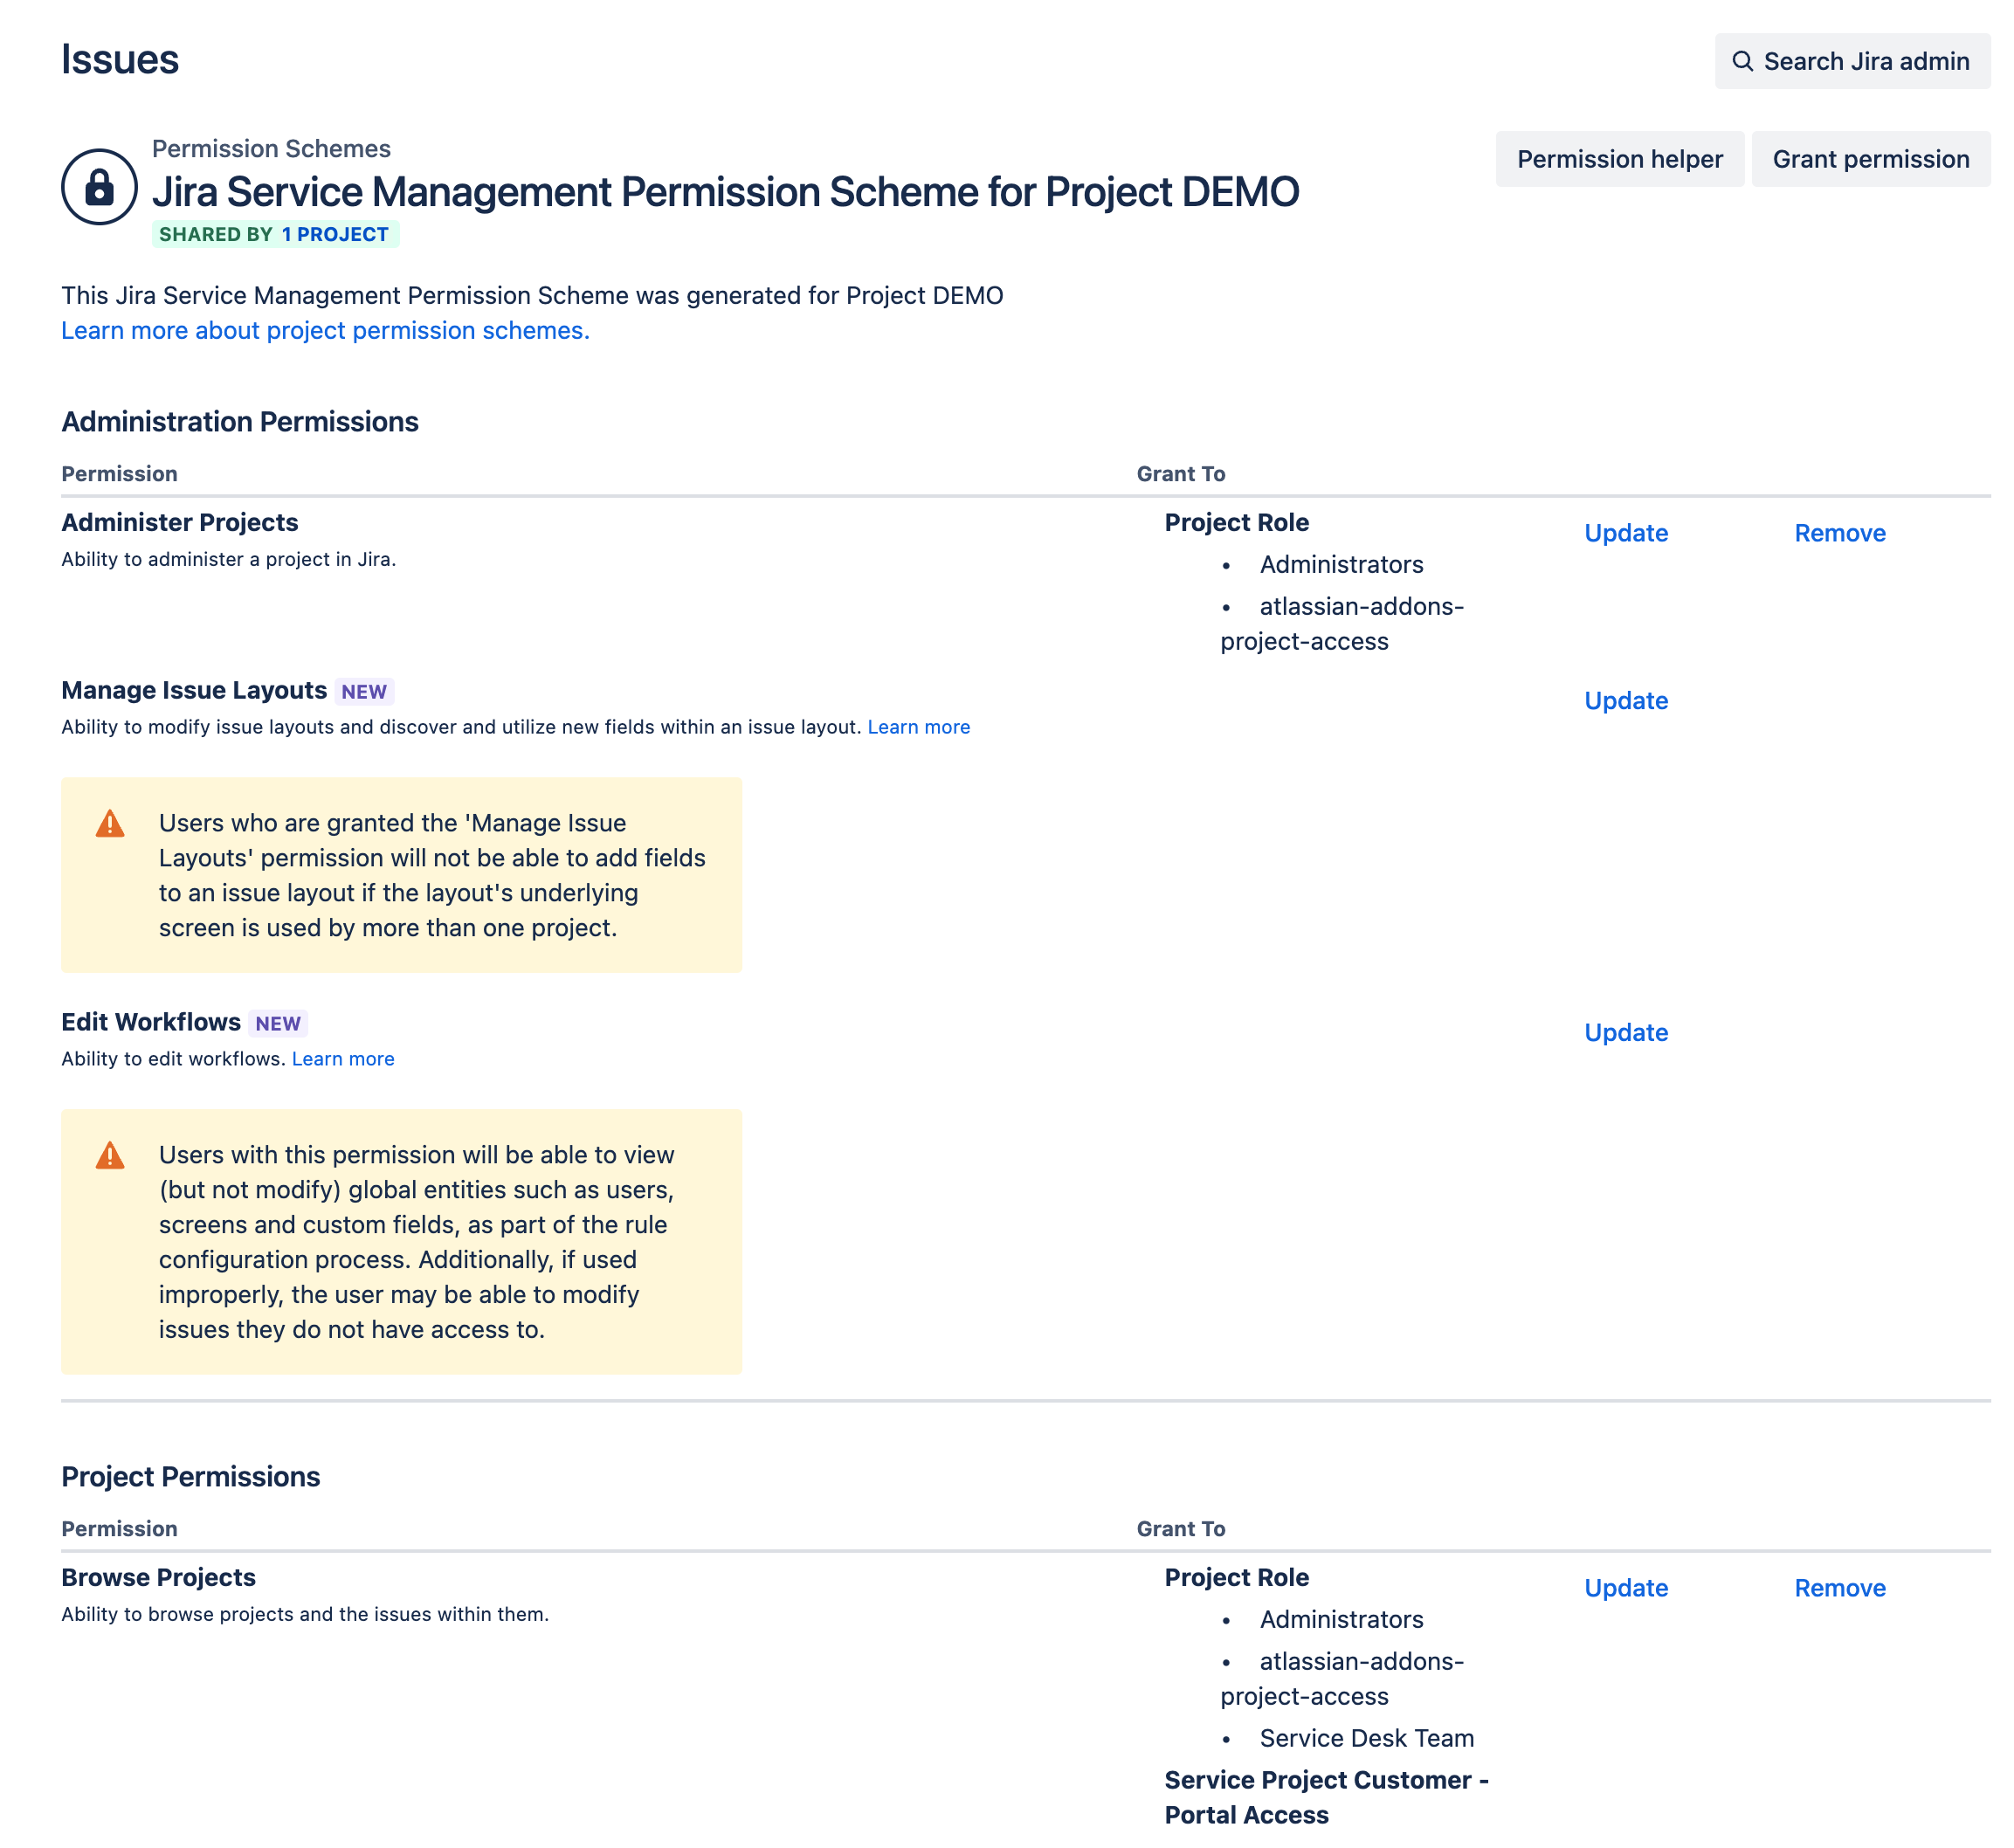
Alternatively you can copy permissions from another project, that you have access to, by simply by clicking on the Actions button and select Use a different schema. The following screen will appear, from which you can Update or Remove assigned permissions.
The following screen appears. Just select the project whose schema you want to copy and click on Associate.

Customer permissions
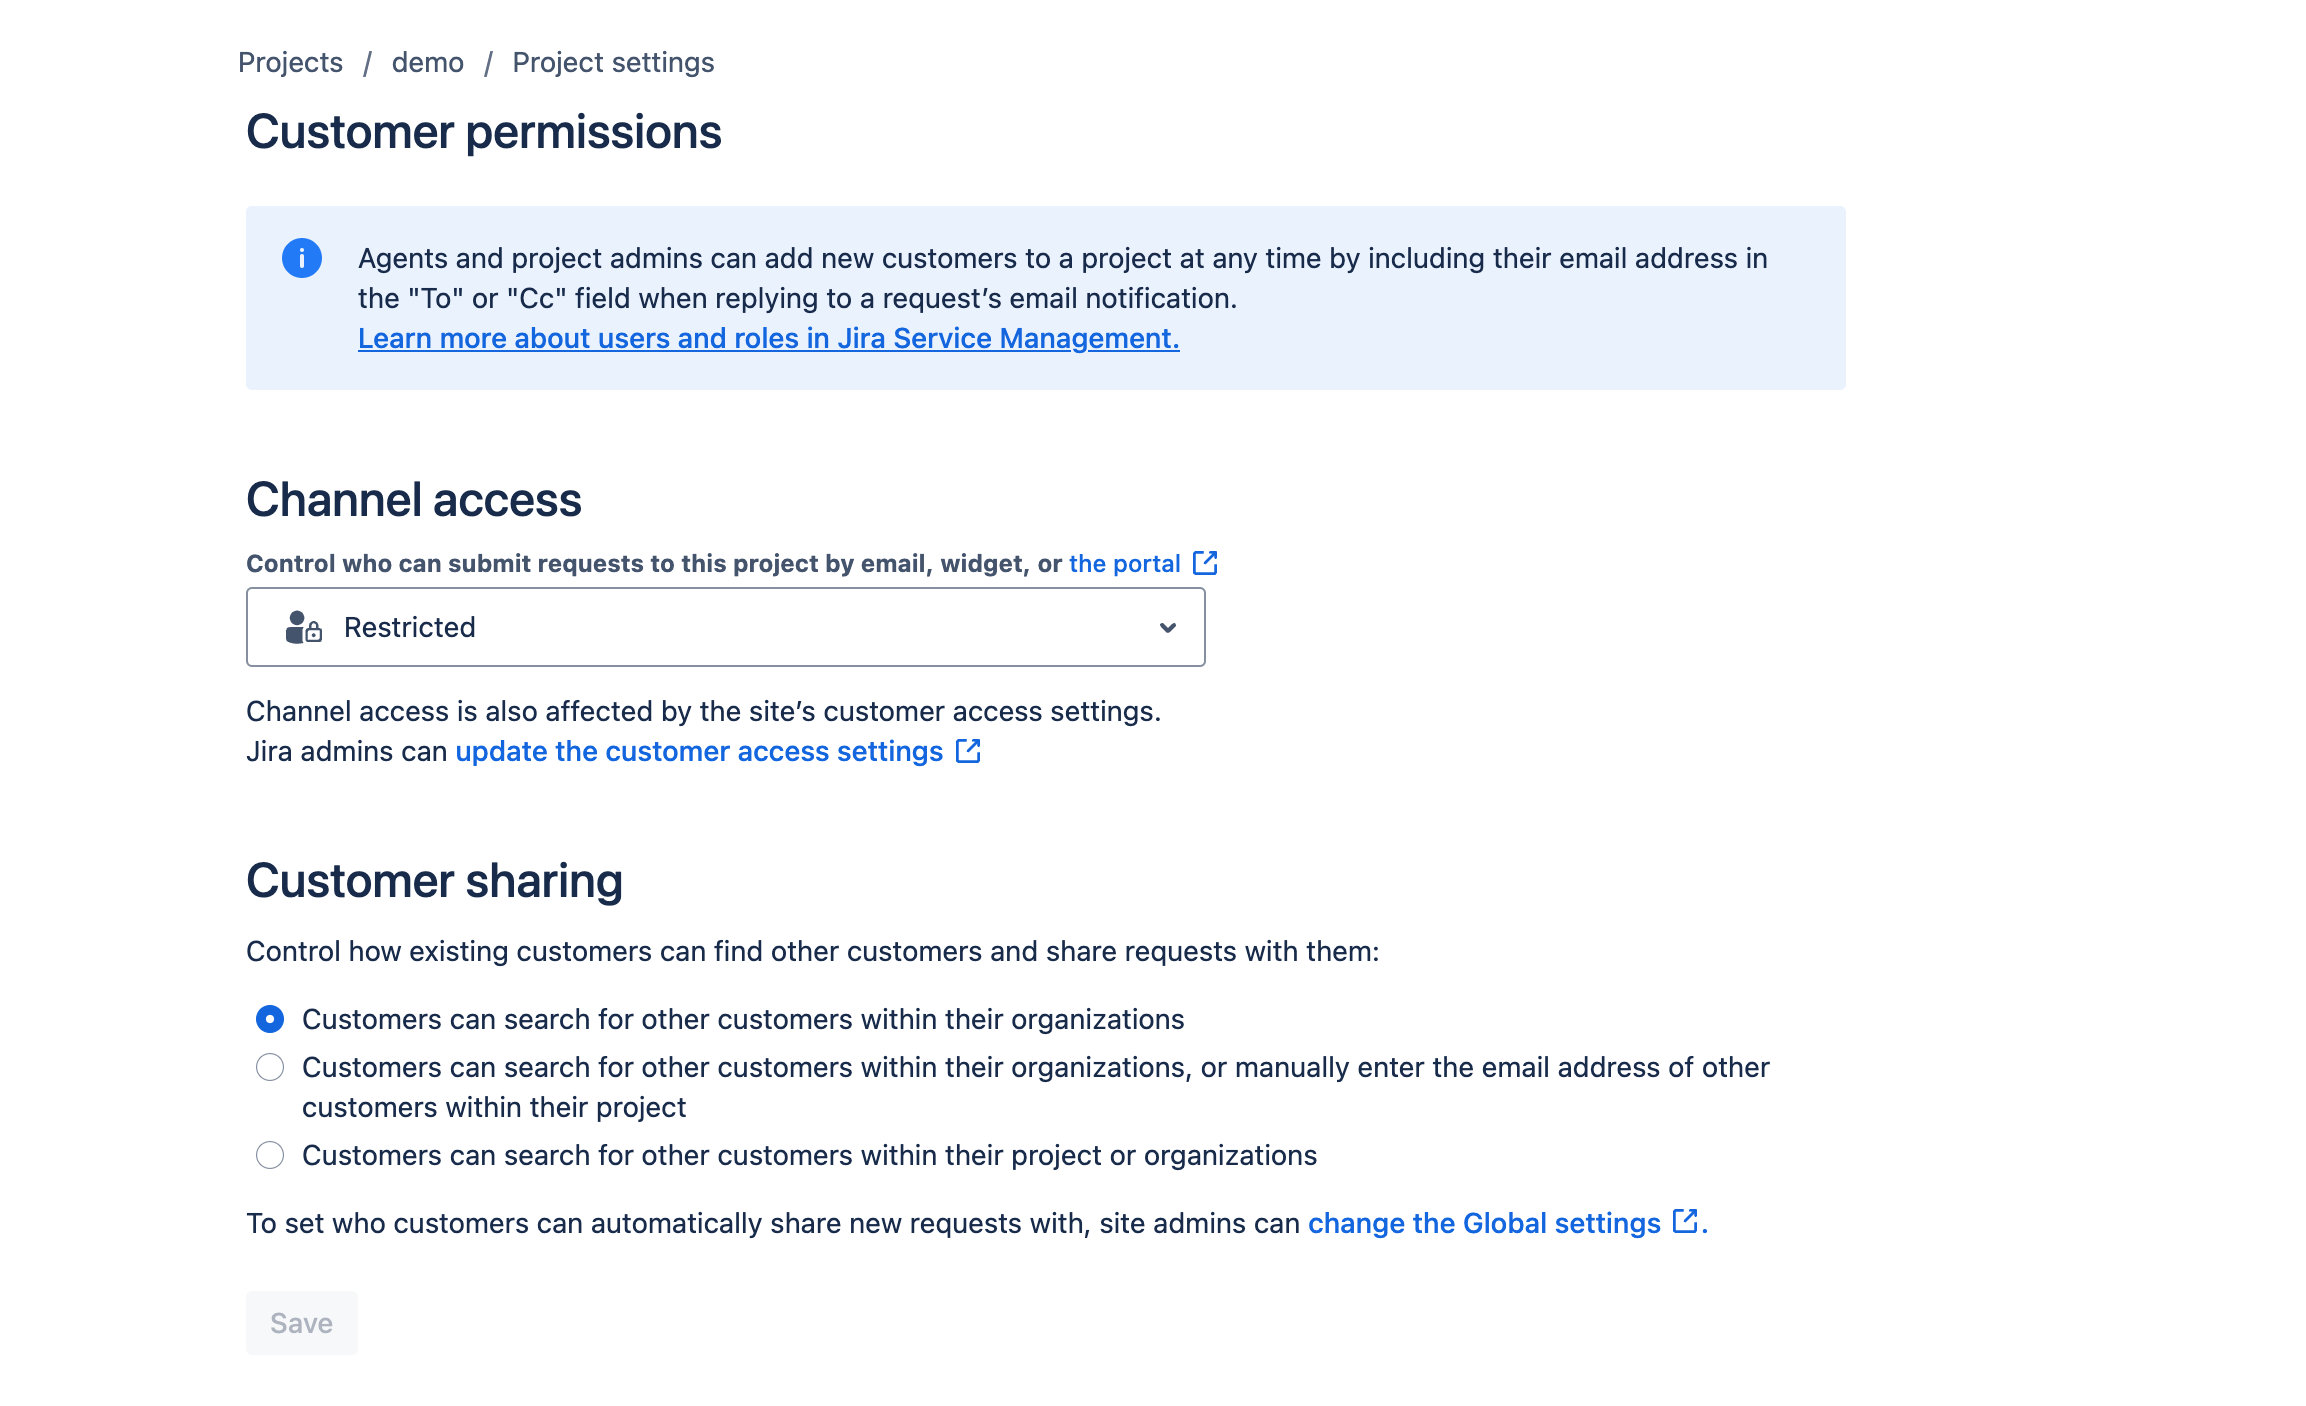
The Customer permissions functionality lets you set the level at which customers can search for other customers. This is set to three levels
- only search within own organisation (default)
- only search within own organisation or enter the email of a specific customer (if known)
- search within the project or own organisation
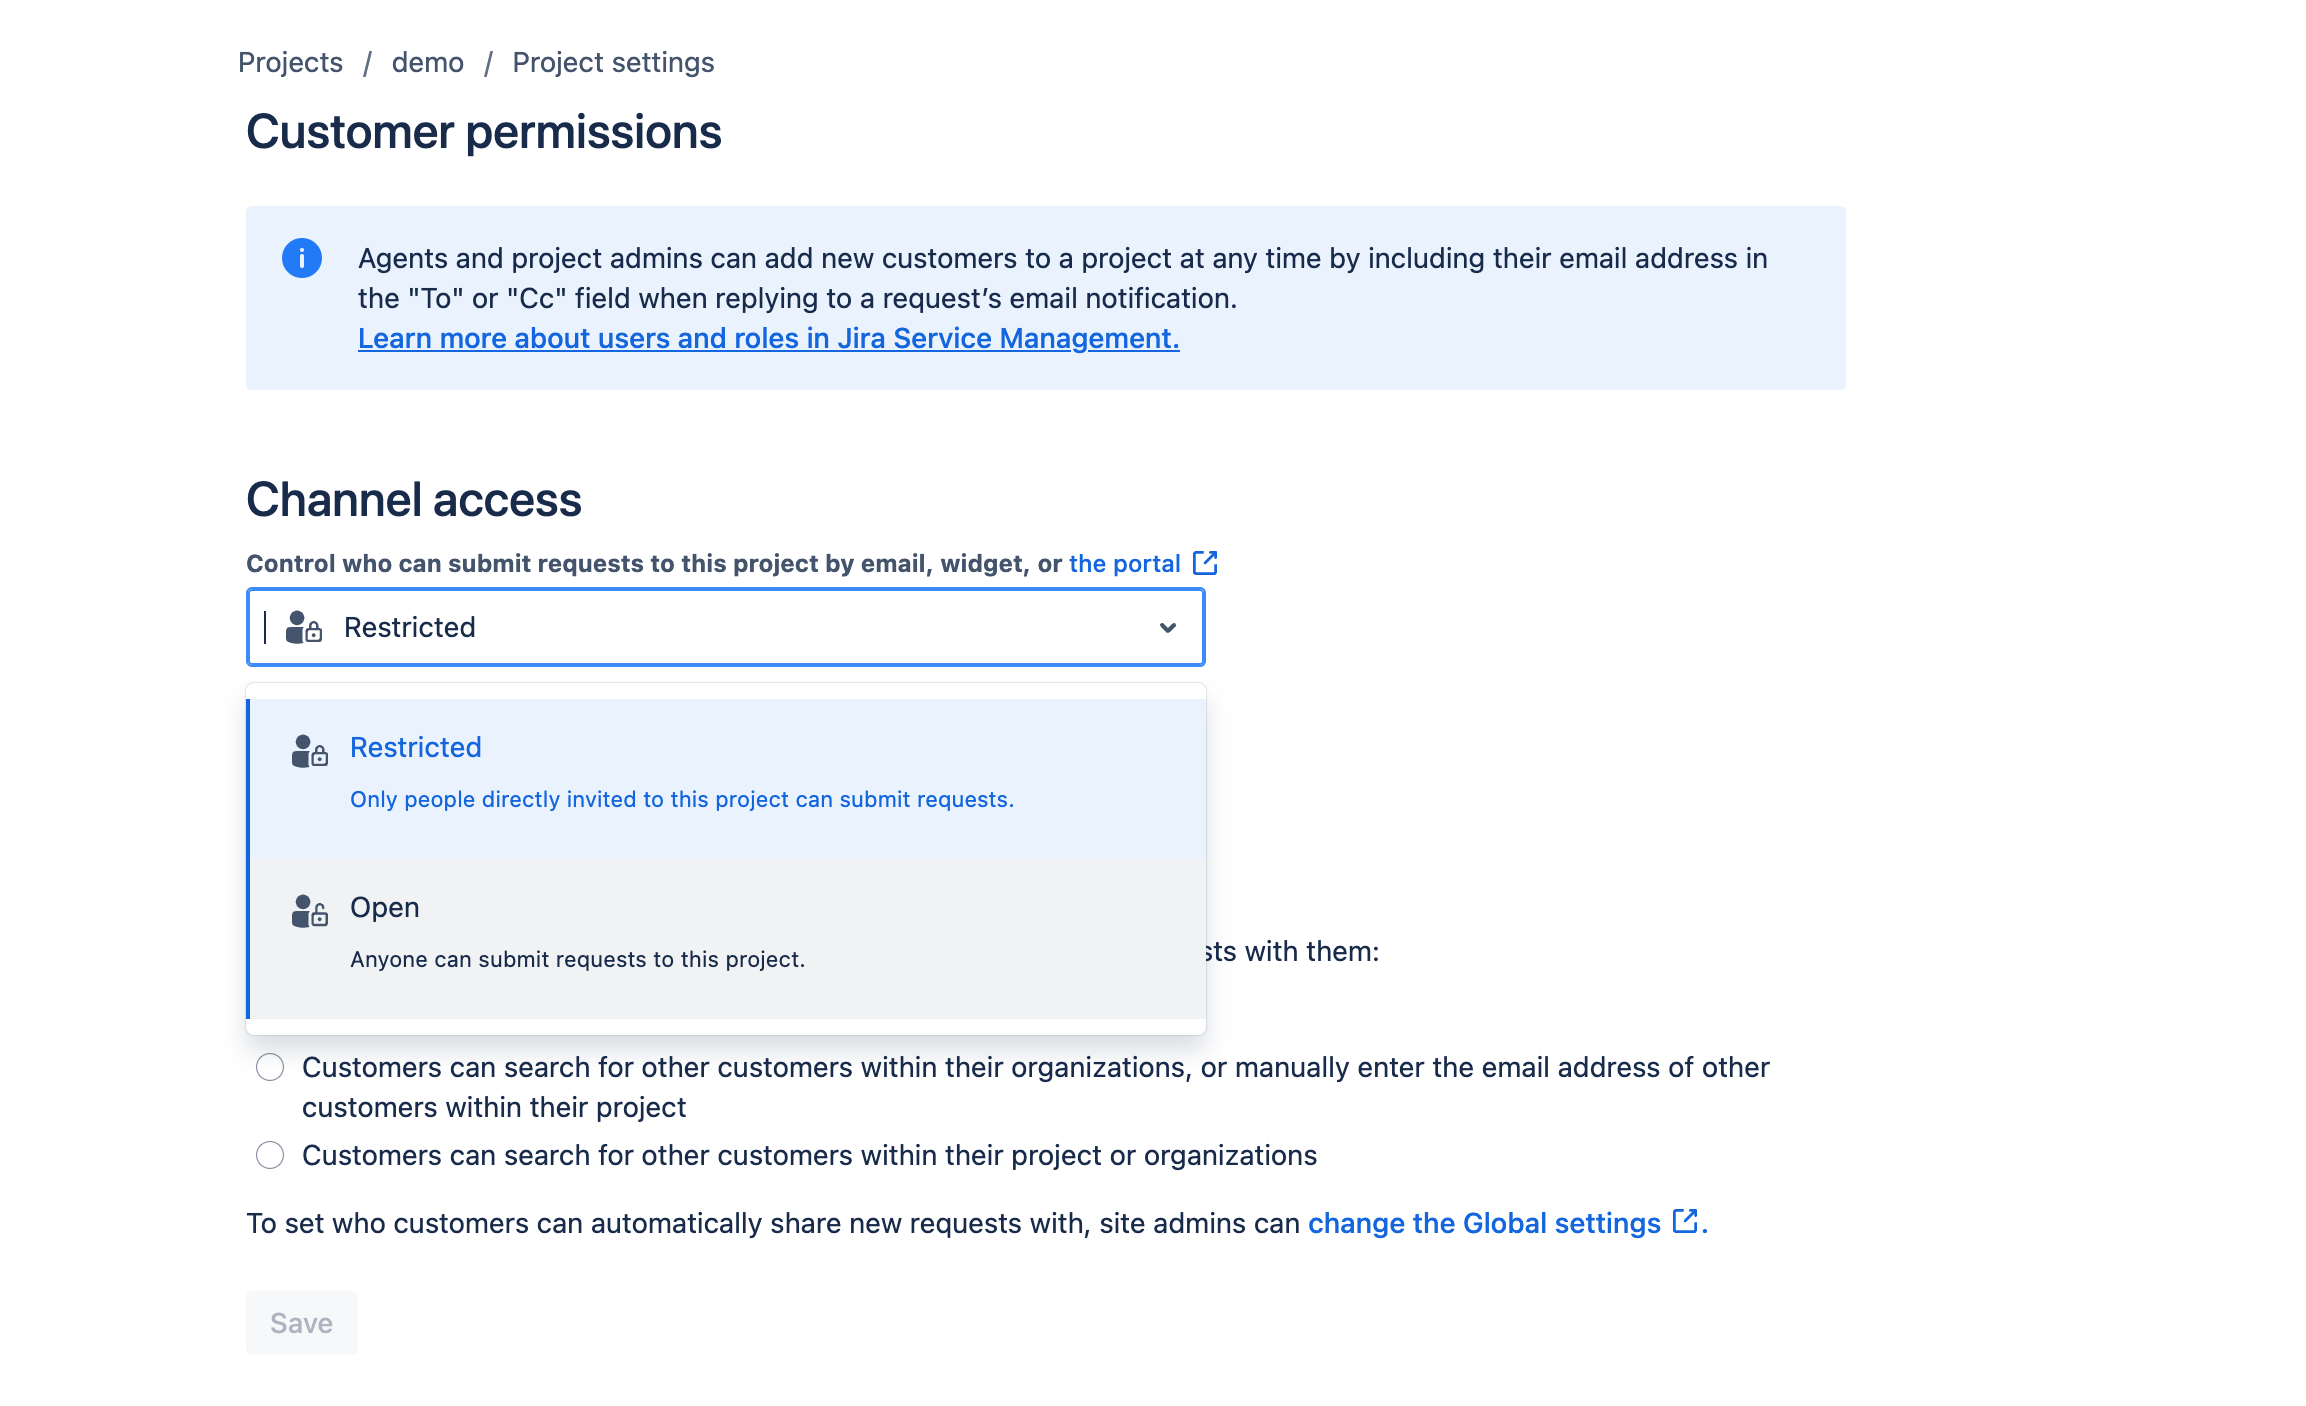
You can also determine whether the JSM projects portal is restricted to customers that can login or open to anyone who has the URL. The default is to have access restricted. I do not recommend changing this.
Issue security

This function requires a Premium or Enterprise plan, as such it is out of scope for this article. By using this functionality you are enabling security permissions schema that will be applied to your issues. This can be useful for
- Segregation of roles
- Implementing a Security Incident and Event Management process
Conclusion
We have come to the end of the first article in this series relating to the Project Settings. We have explored what JSM is, gone through some of the Project Settings feature.
In the next article we will continue to go through the Project settings options to discover just how versatile JSM can be.
Hopefully this has been useful to you and I wish you well on your ITSM journey…