
JIRA Service Management
User Access Management
Series: JSM, Post # 5
First posted: 2025-01-07
Read time: 12 minutes
Written By: Steven Godson
Greetings!
In this article, the second in my JIRA Service Management (JSM) series, I will explore the Access Management capabilities available in a JIRA Service Management (JSM) project. It includes a detailed look at the Single Sign-On (SSO) options provided by the Atlassian Guard product. The document aims to guide users on how to manage user access effectively, align with organisational security policies, and implement SSO with the necessary permissions.
Note: you will need to have Organisation Administrator permissions to implement SSO, as well as access to your organisation’s MS Entra ID admin.
Key Principles
The following are a few examples of areas that should be considered, ideally as part of your design for JSM as discussed in the initial article of this series, when planning for managing user access to JSM.
- Managing users should not be an onerous task
- Align with your organisation’s information security policies
- Align with your organisation’s Joiners, Movers and Leavers (JML) process
- Review license usage to ensure you only those who need it have access
- Follow the principle of least privilege access so users only have permission to do what they need to do to fulfil their role
Available Roles
There are three distinct roles, with JSM, that users can be assigned to.
- Administrator - access to all functionality plus the ability to access the Project Settings and make changes to the project’s configuration
- Agent - access to the agent functionality to create and manage request and Incident records
- Customer - the ability to create requests, view requests that have been raised and search the knowledge base (if access is provided)
These roles can be assigned in a number of ways which we will explore in the next section.
Basic User Management
JSM provides ‘out of the box’ functionality for managing users. It is accessed from the Project Settings menu under Access -> People and access.
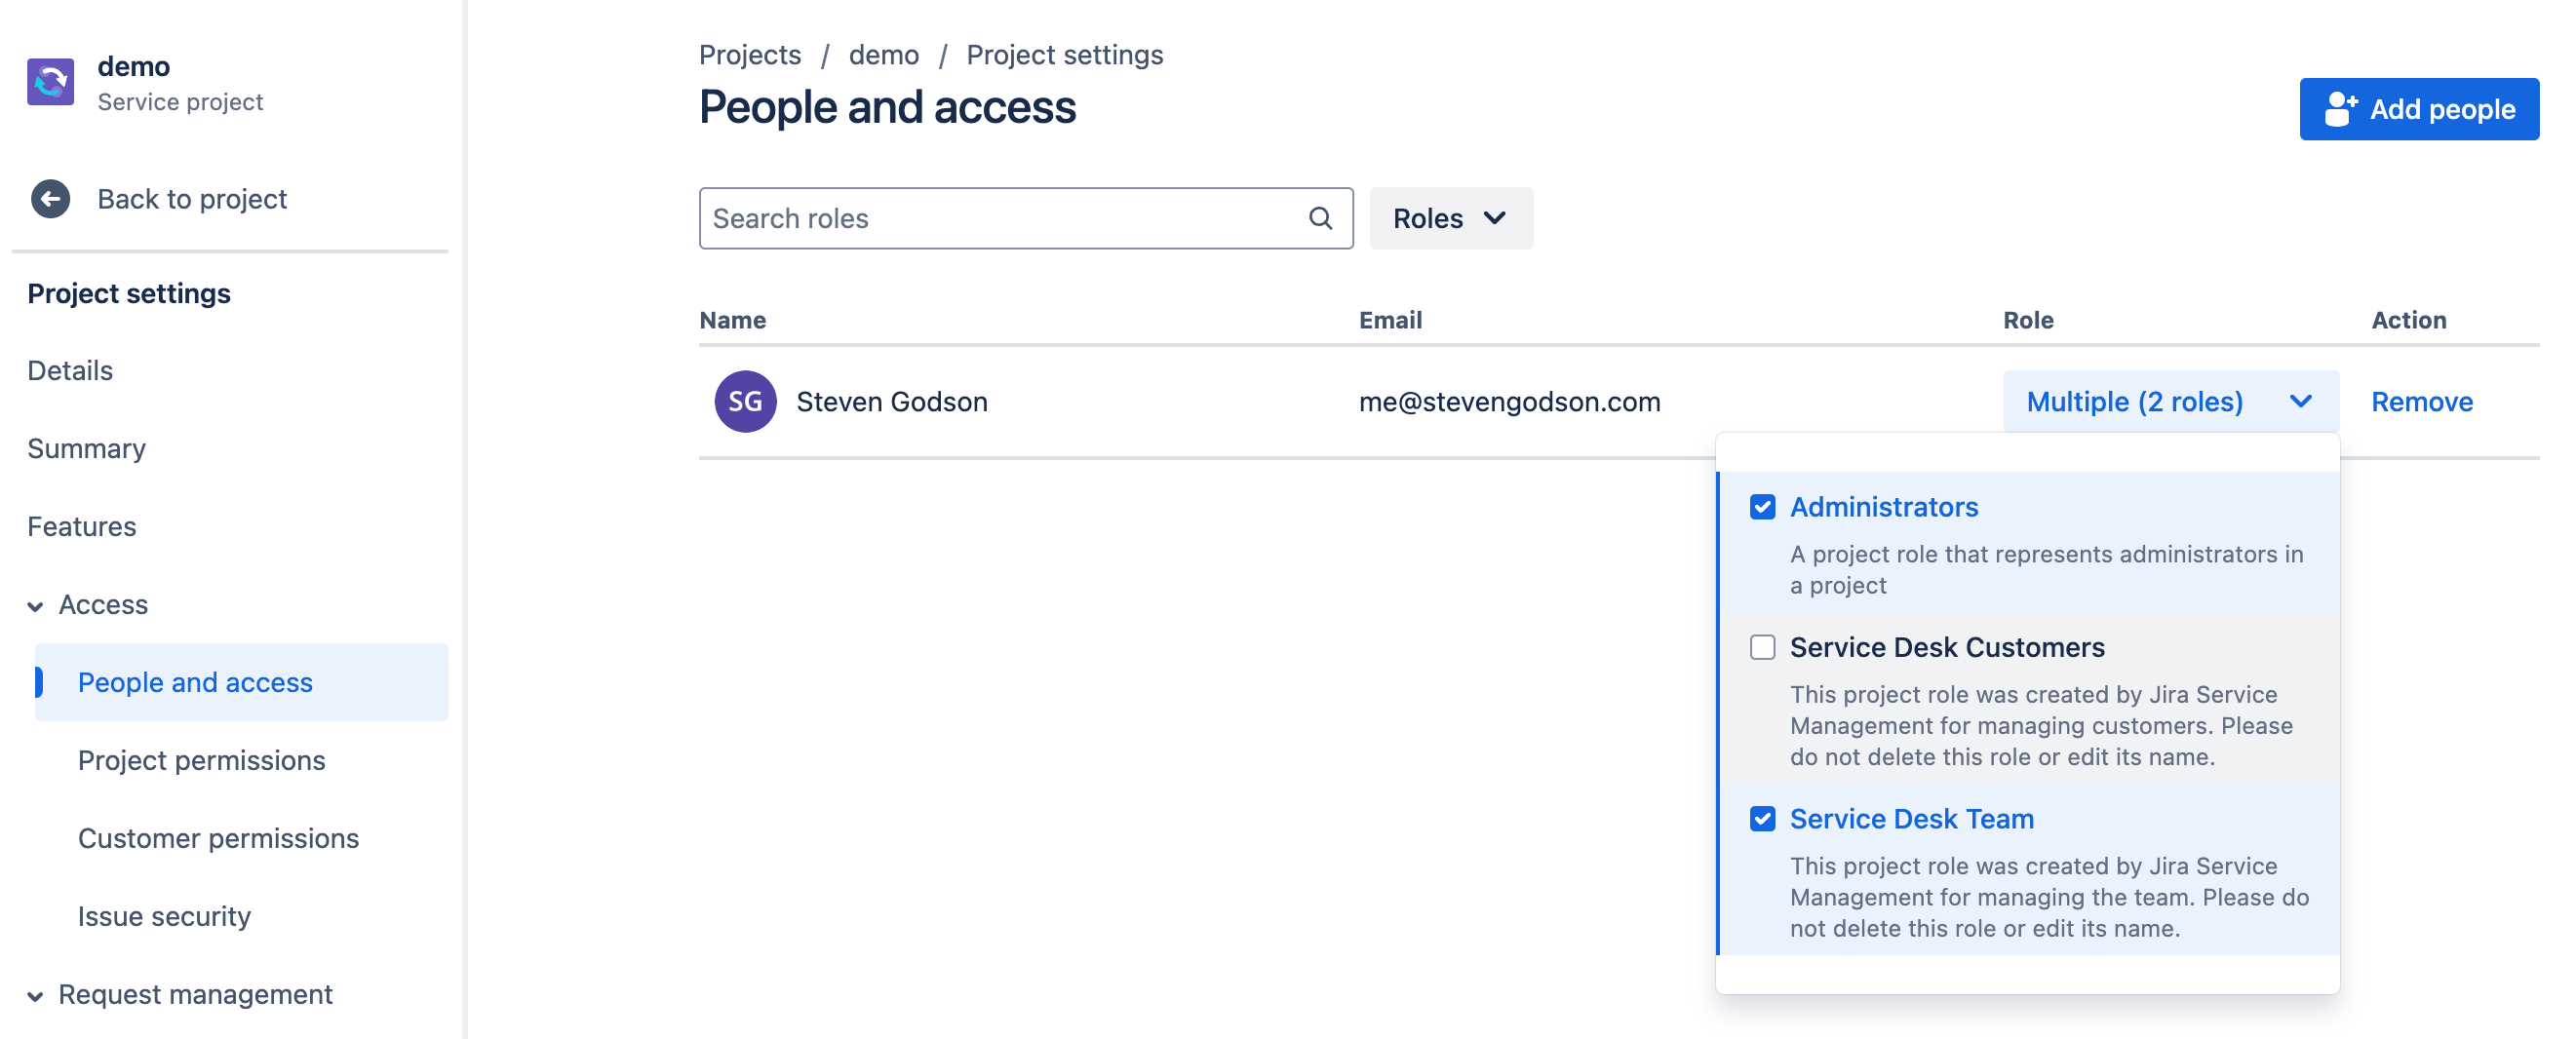
The People and access screen is where users of the JSM project can be managed. From this screen, you can
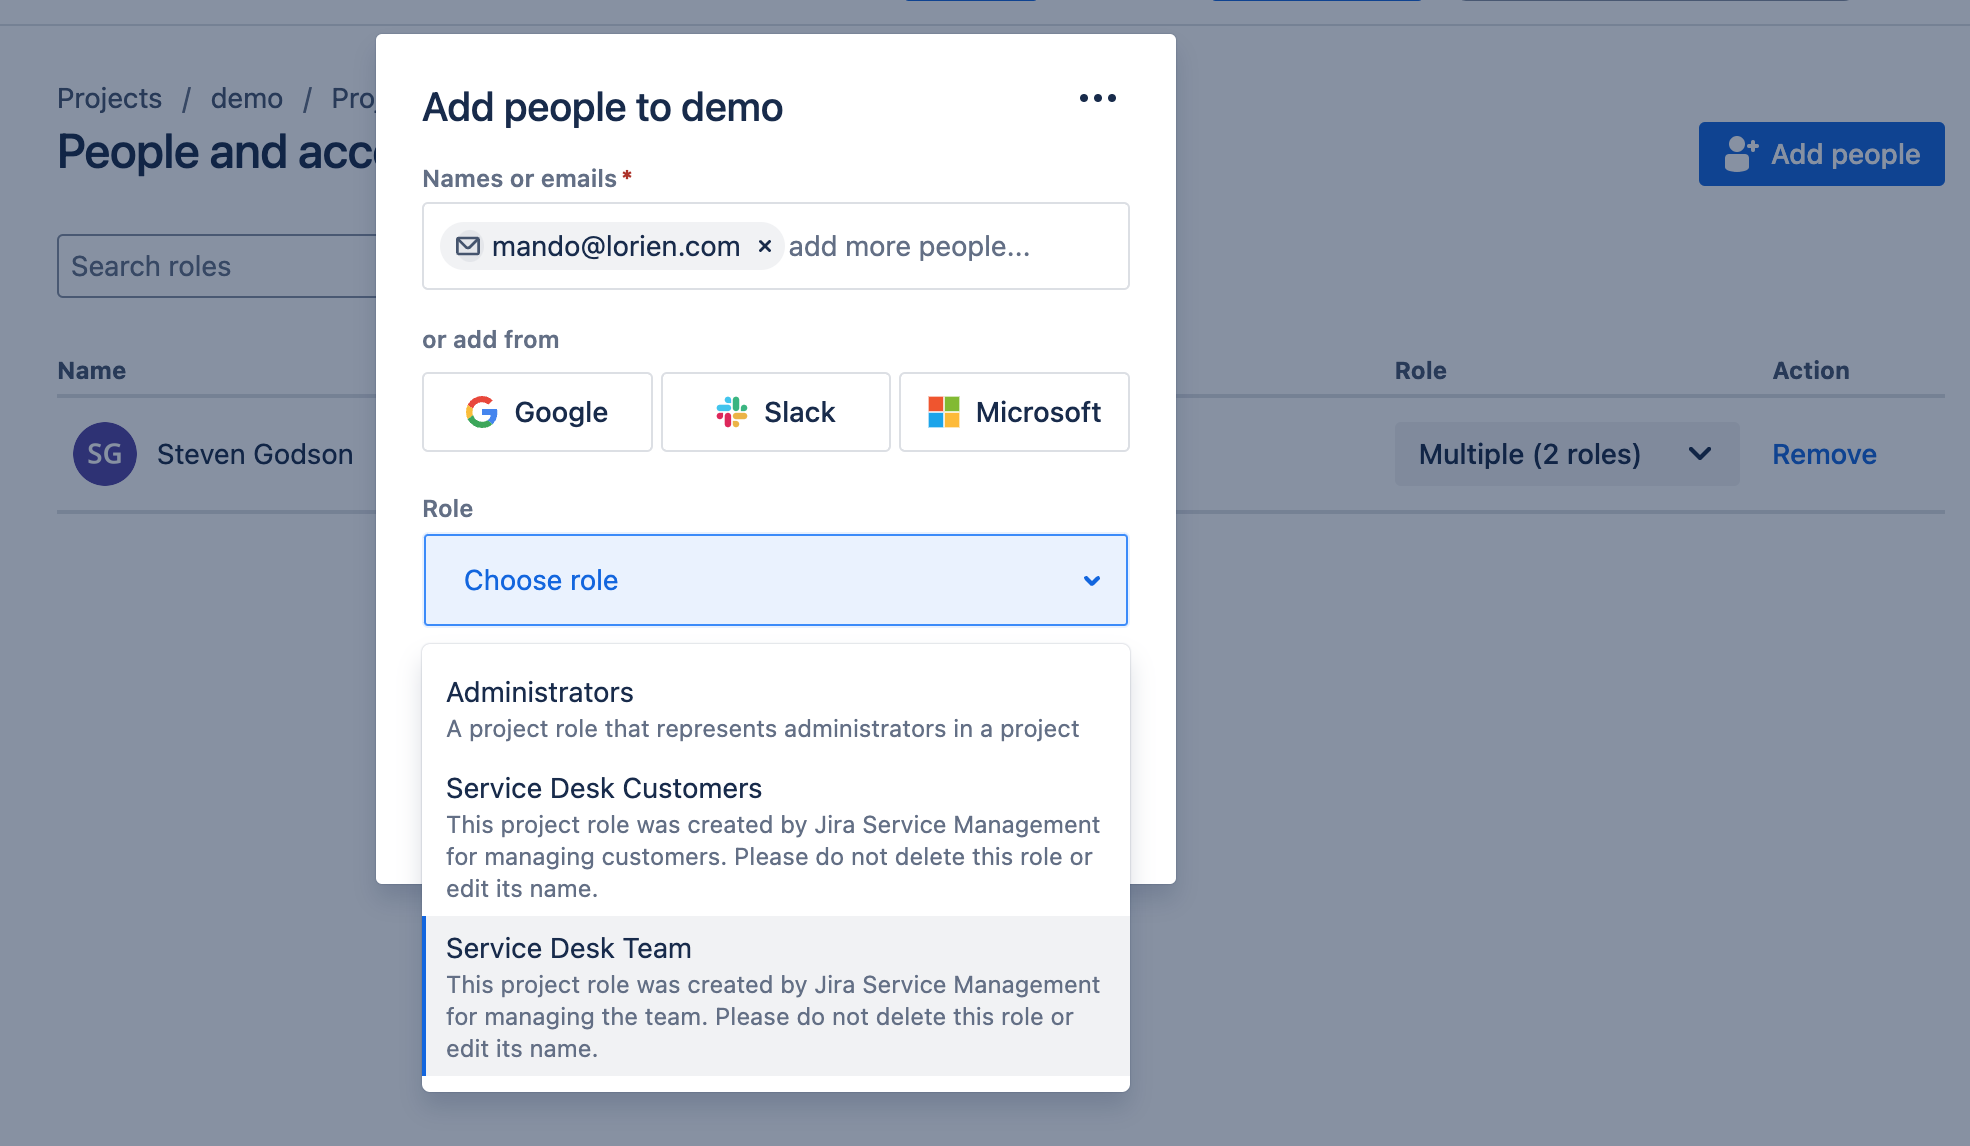
- Add users to the project by
- Clicking on the Add people button
- adding the email of the users you want to give access to OR add from Google, Slack or Microsoft
- Choose the role that you want them to have
- Click on Add
- Remove users
- View users by file using the Roles filter
- Search for specific users in the Search roles field
Single Sign On (SSO)
To use SSO with any Atlassian product a subscription needs to be taken out for Atlassian Guard. This provides four methods of authenticating users for SSO.
From an architectural perspective, this sits outside of JSM and can be considered a global Atlassian product as it controls access across all products that your organisation has signed up to with Atlassian.
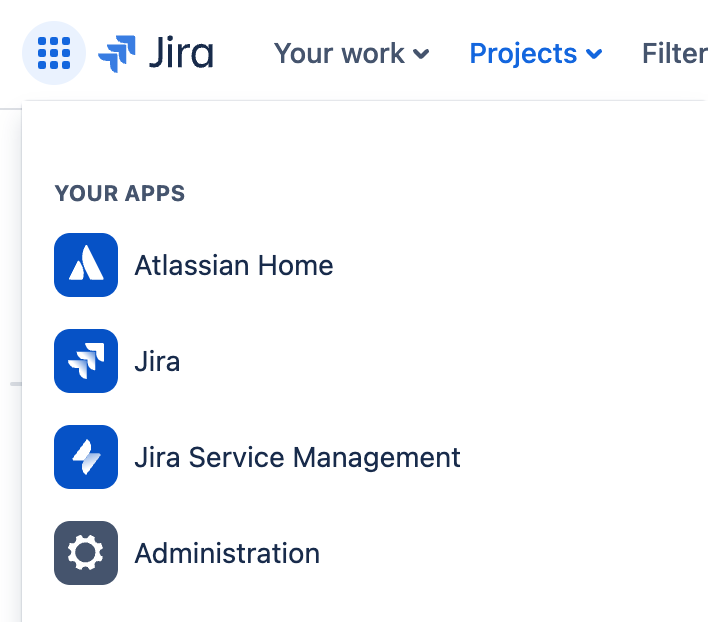
These settings are accessed via the Atlassian Administration menu.
Domain Verification only
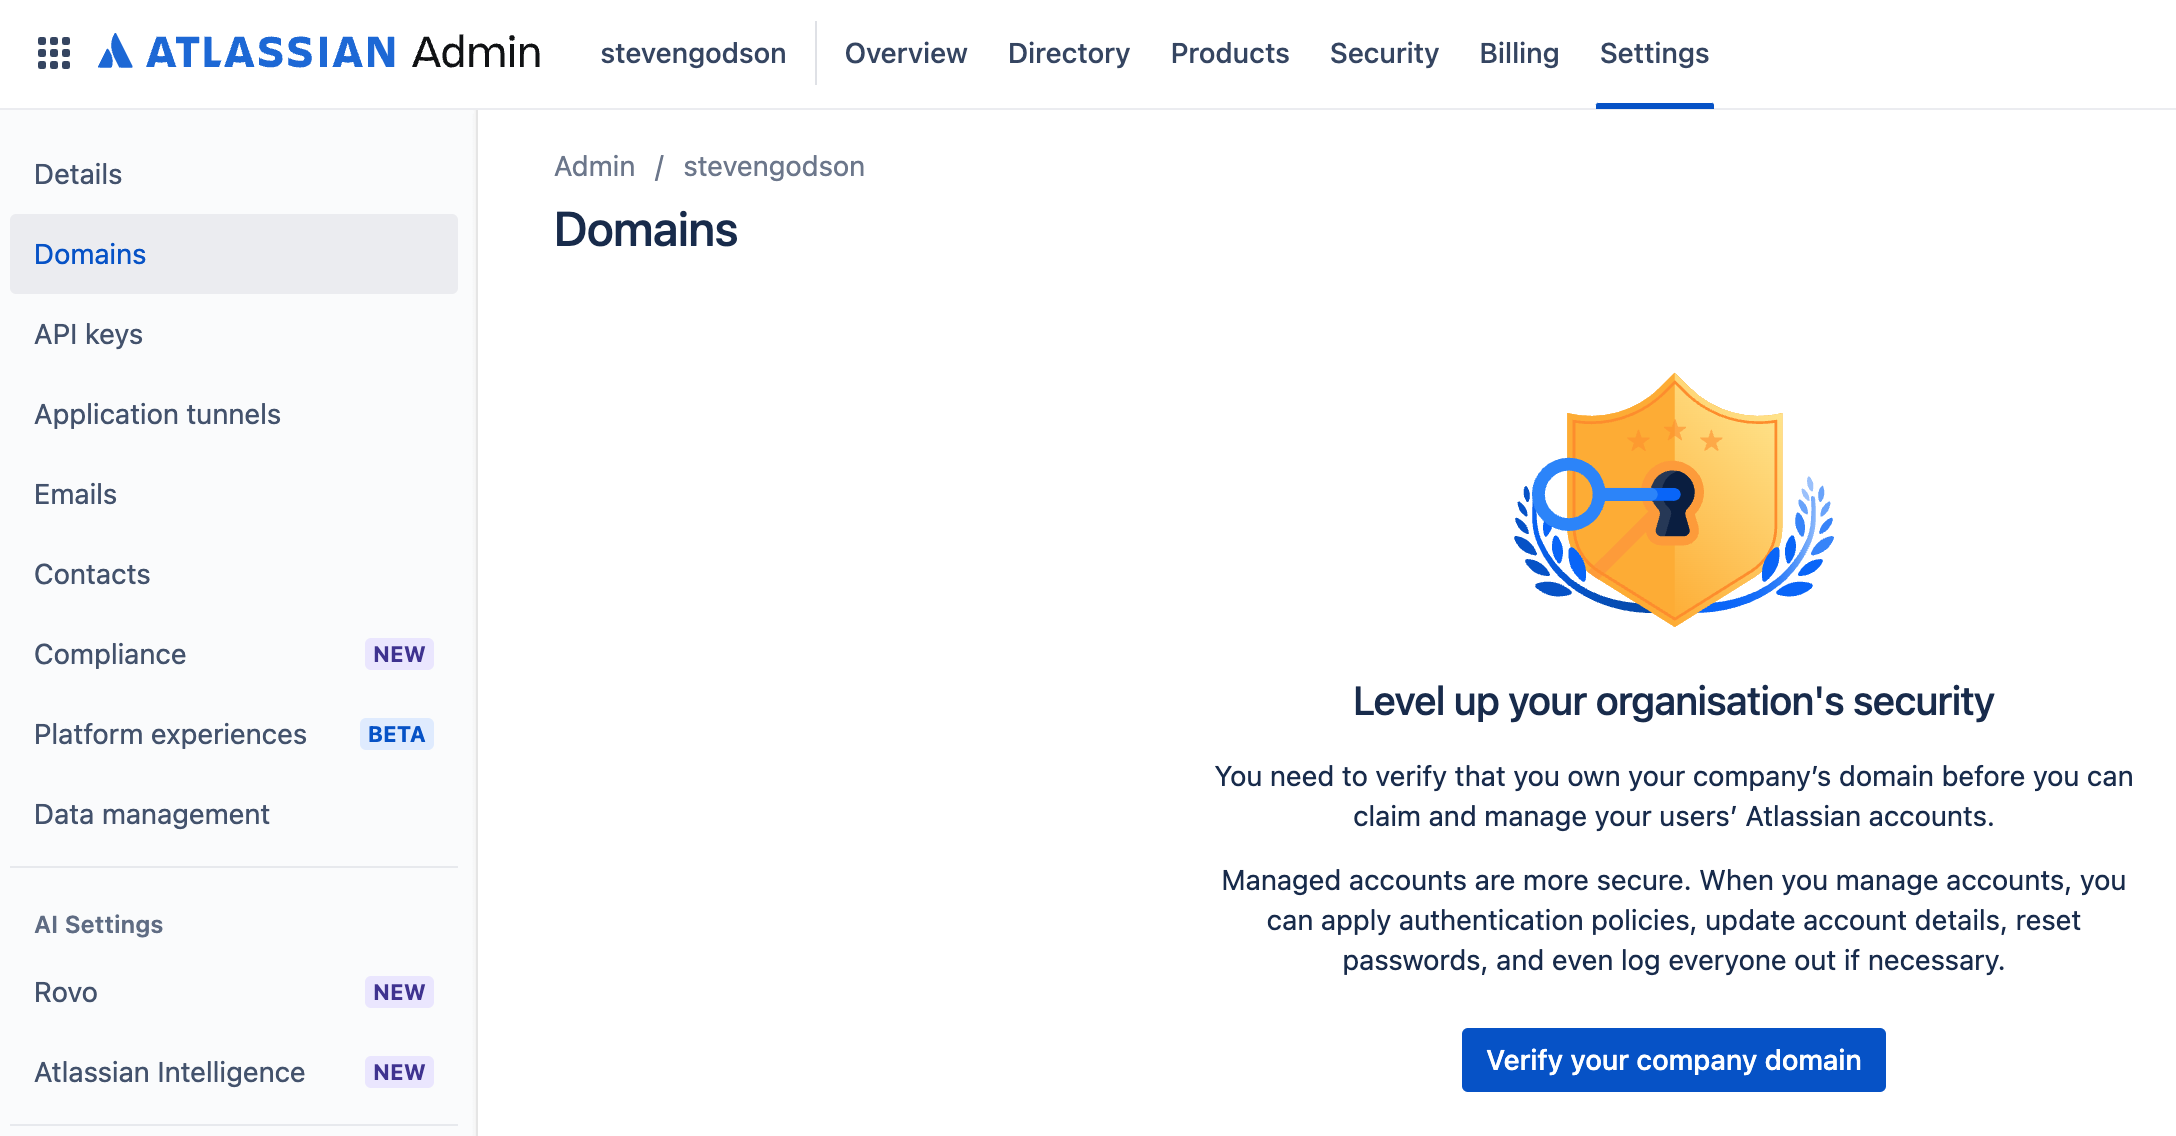
This is the simplest way of deploying SSO as it only requires you to have access to the DNS records for the email domain that you want to use for authentication e.g. stevengodson.com.
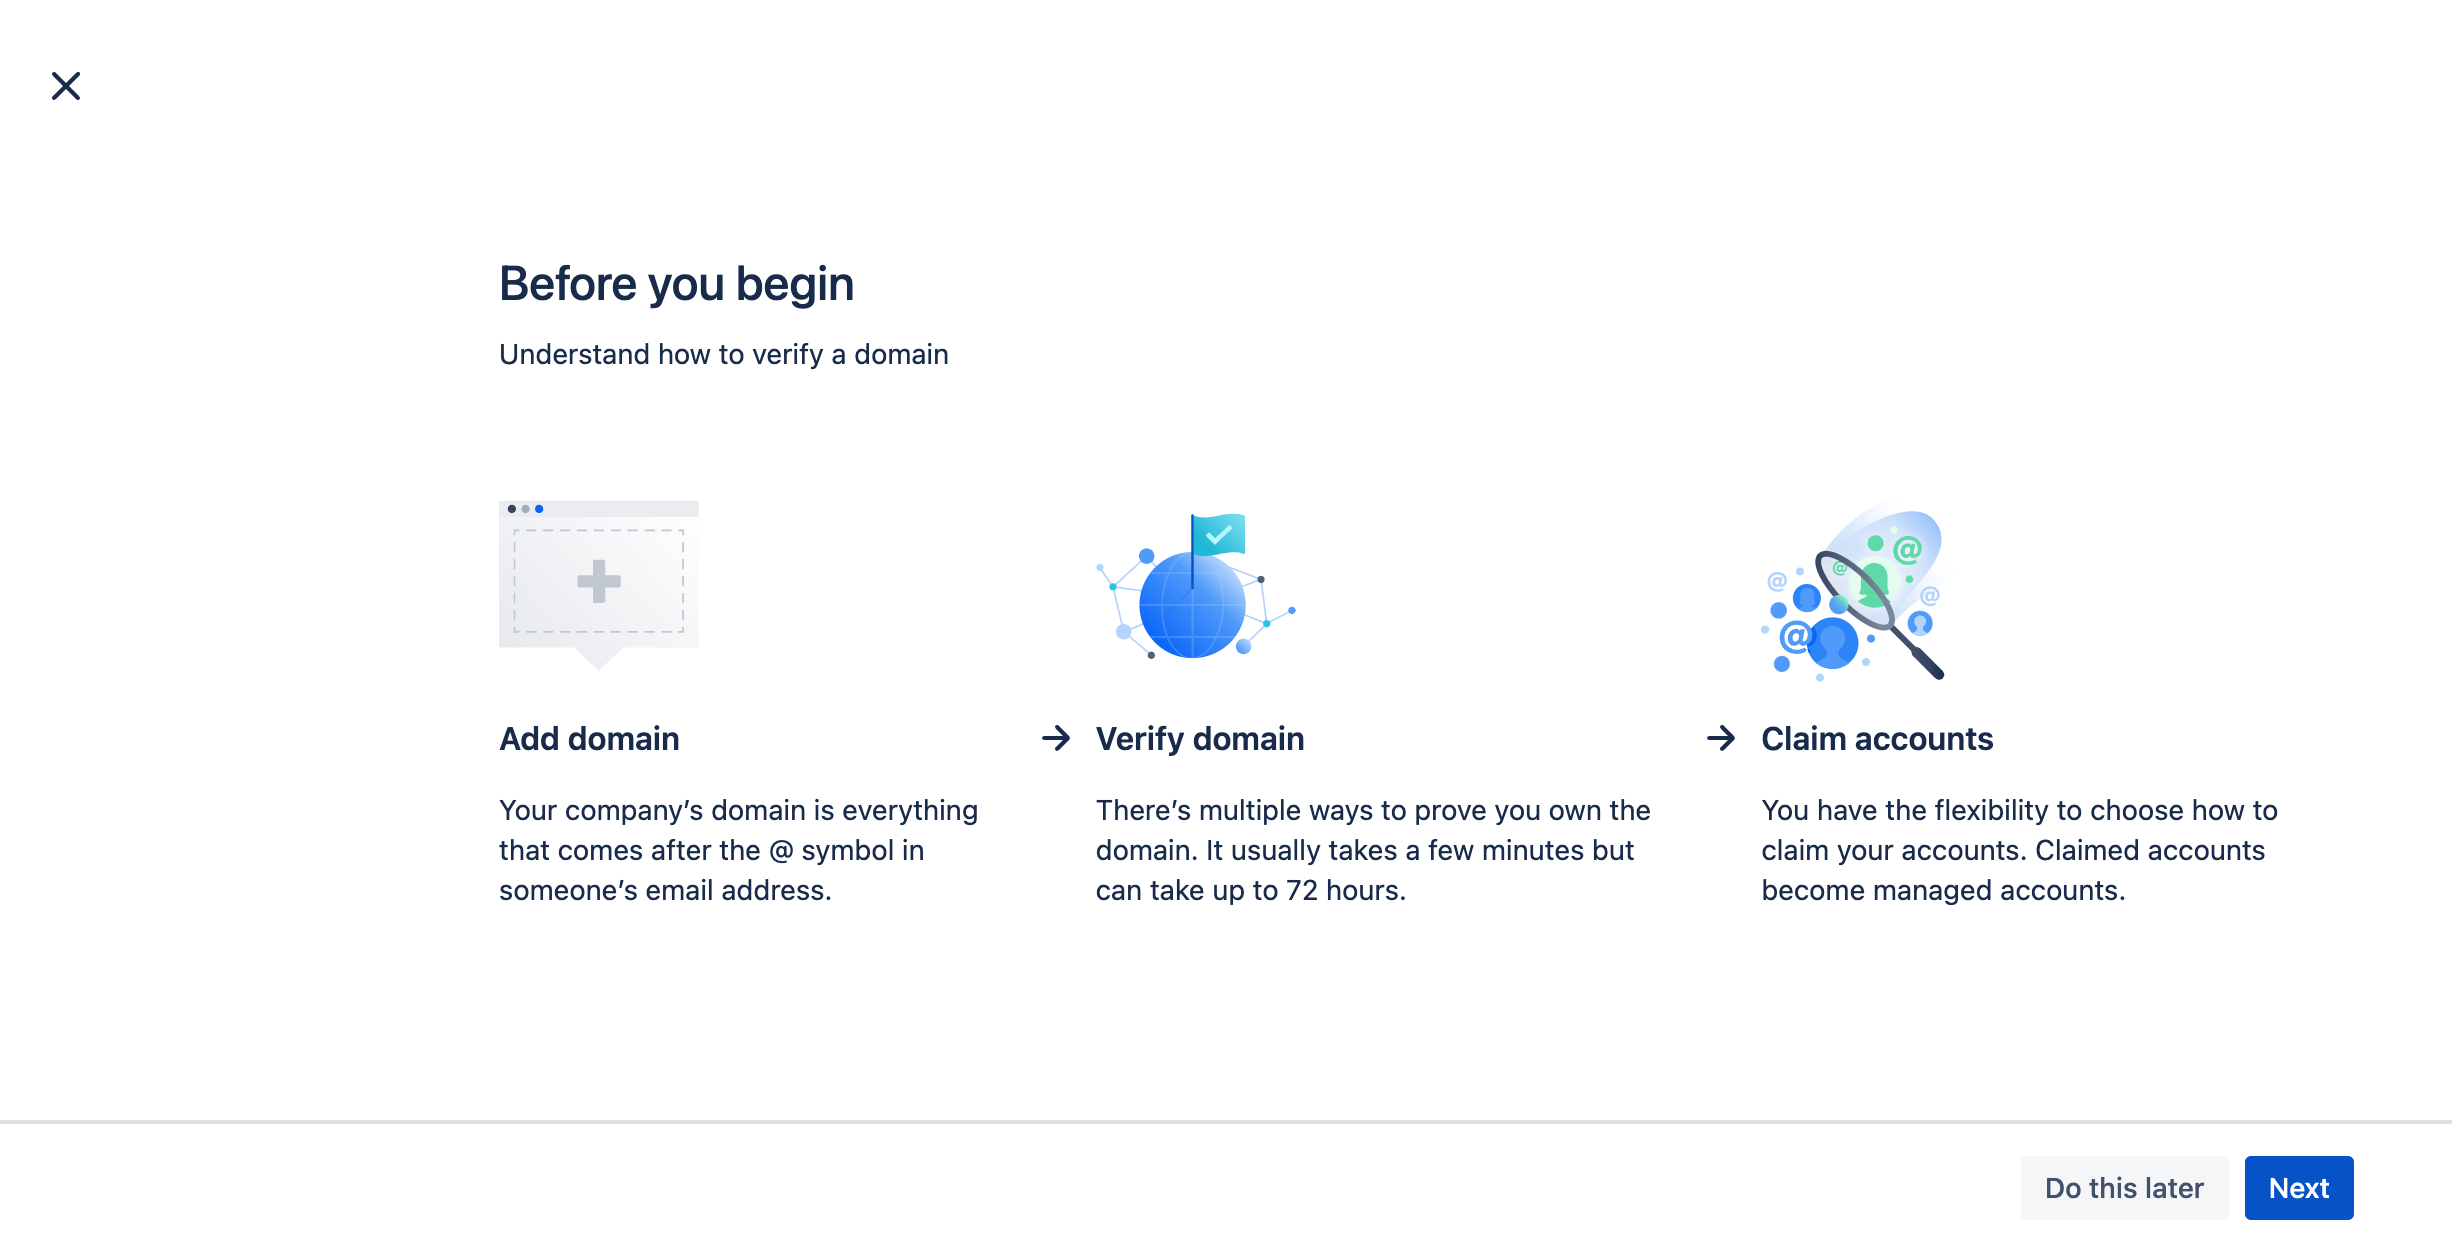
In the Atlassian Admin menu select Settings then Domains and click on the Verify your company domain button.
Click on Next on this screen.
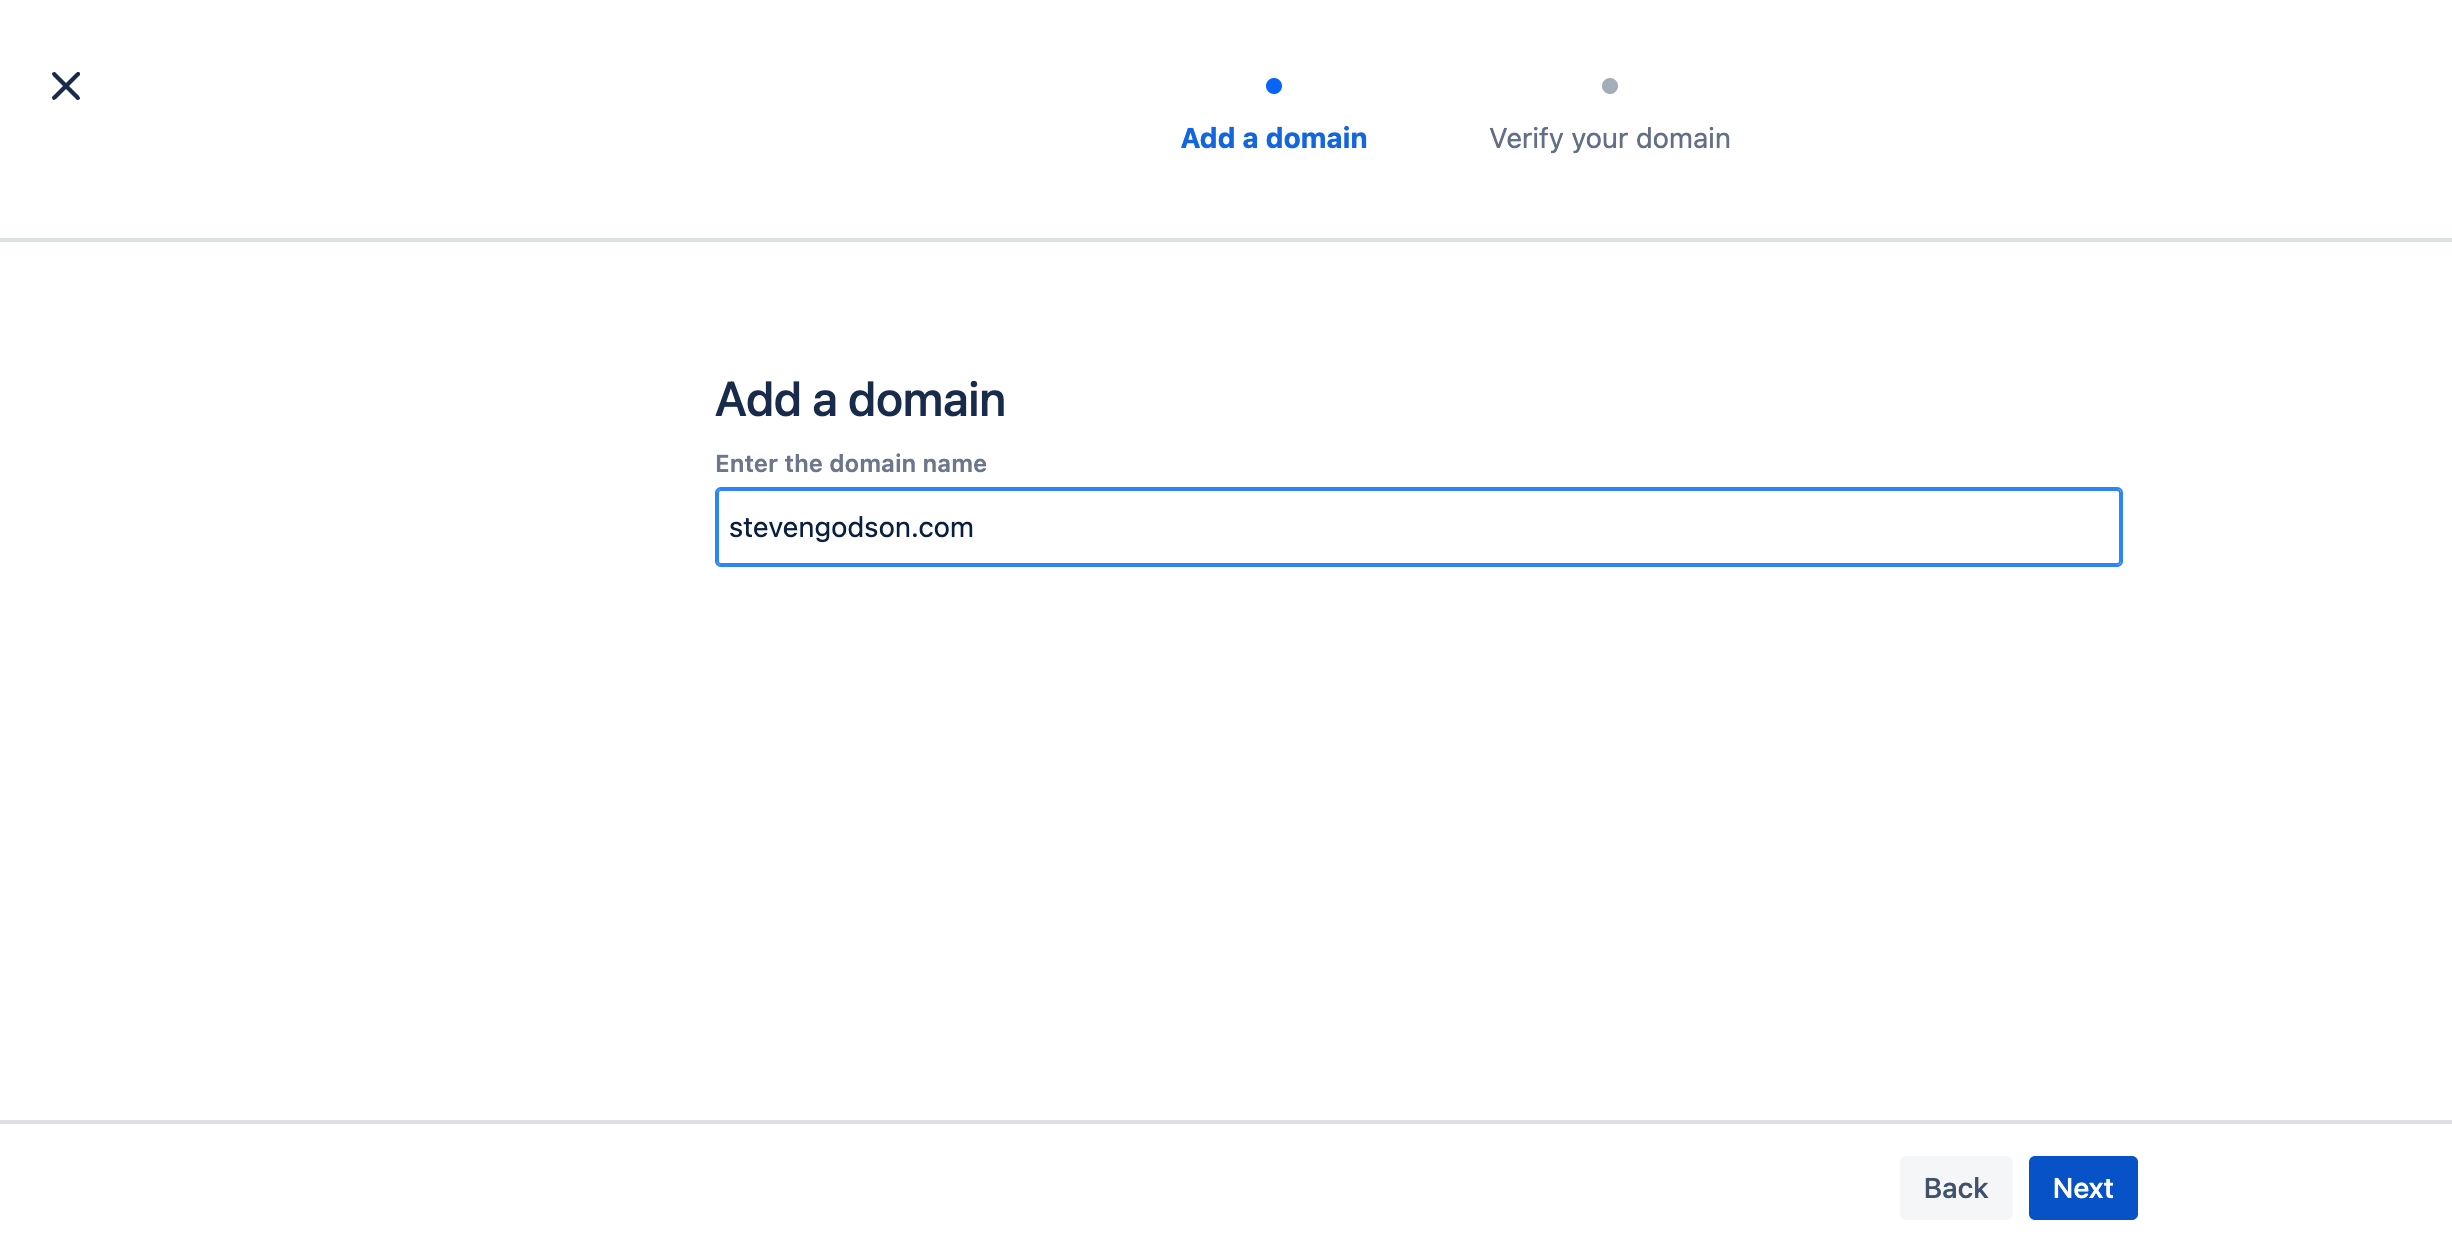
Enter the domain that you want to verify and click Next.
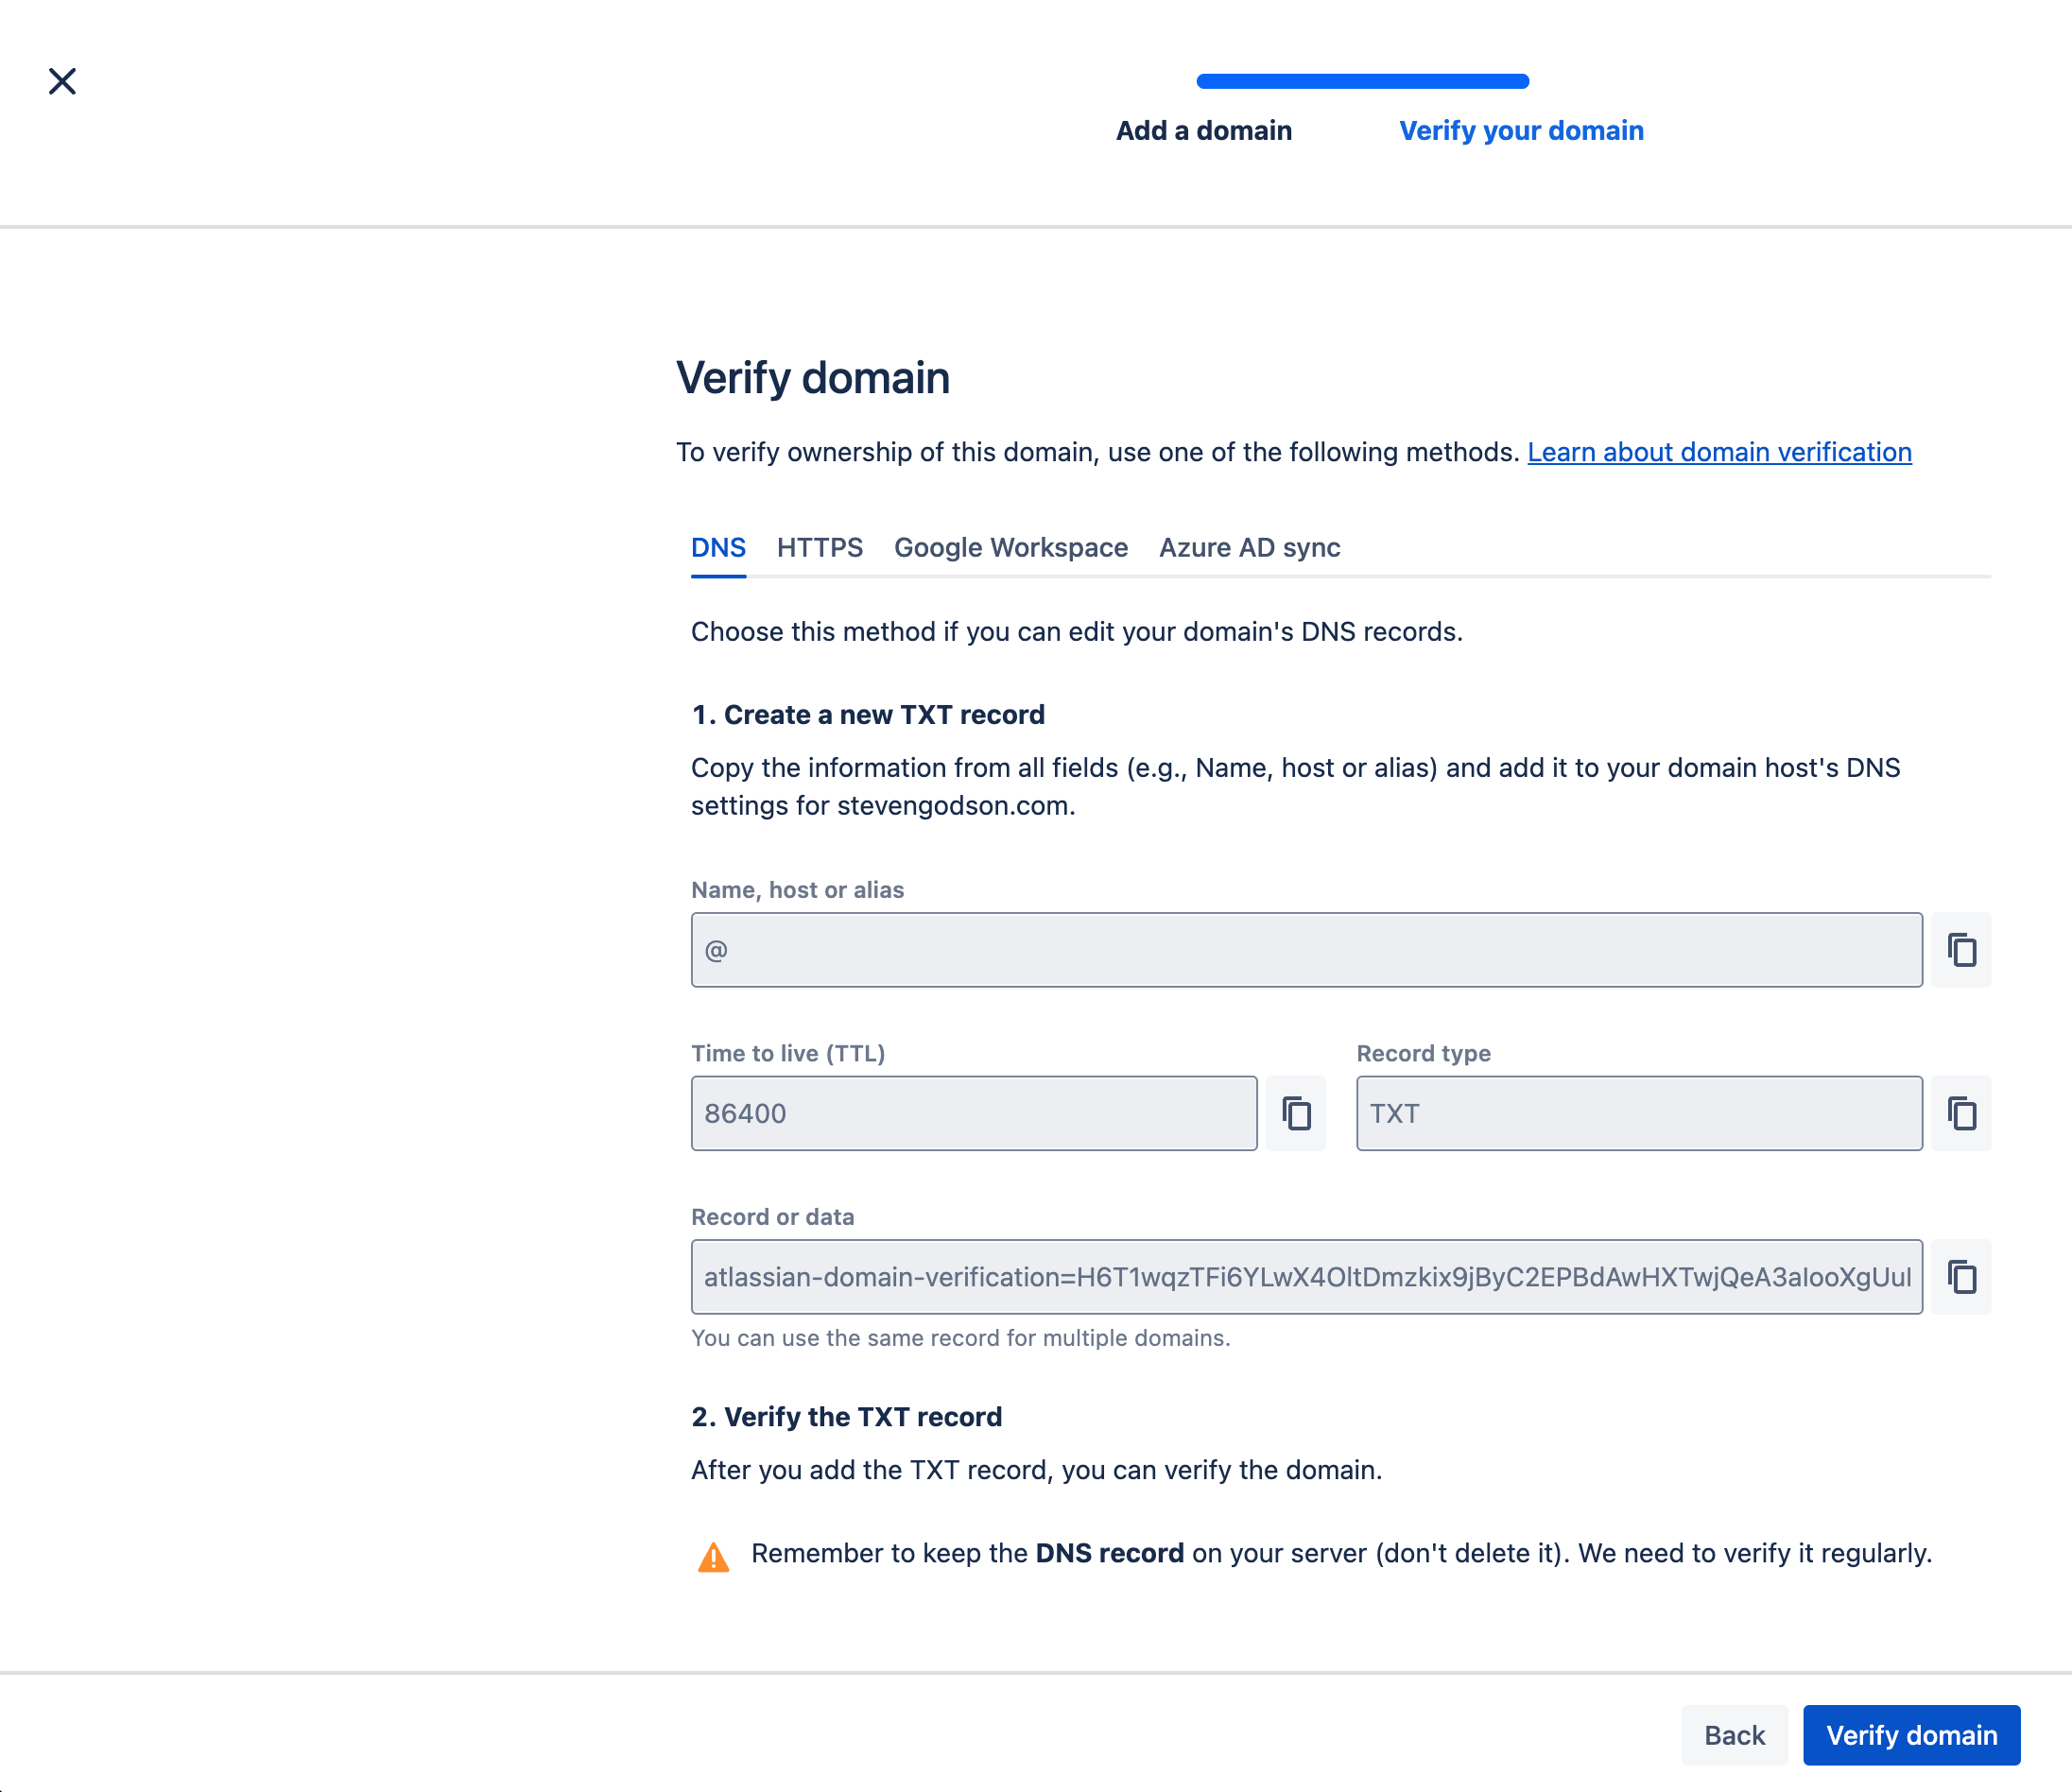
On the following screen, select the method of verification that you want to use, follow the instructions and click on Verify domain when completed.
You should be taken back to the main Domains screen where your domain will be listed. *Note: this may take several hours to verify depending on the method that you choose.
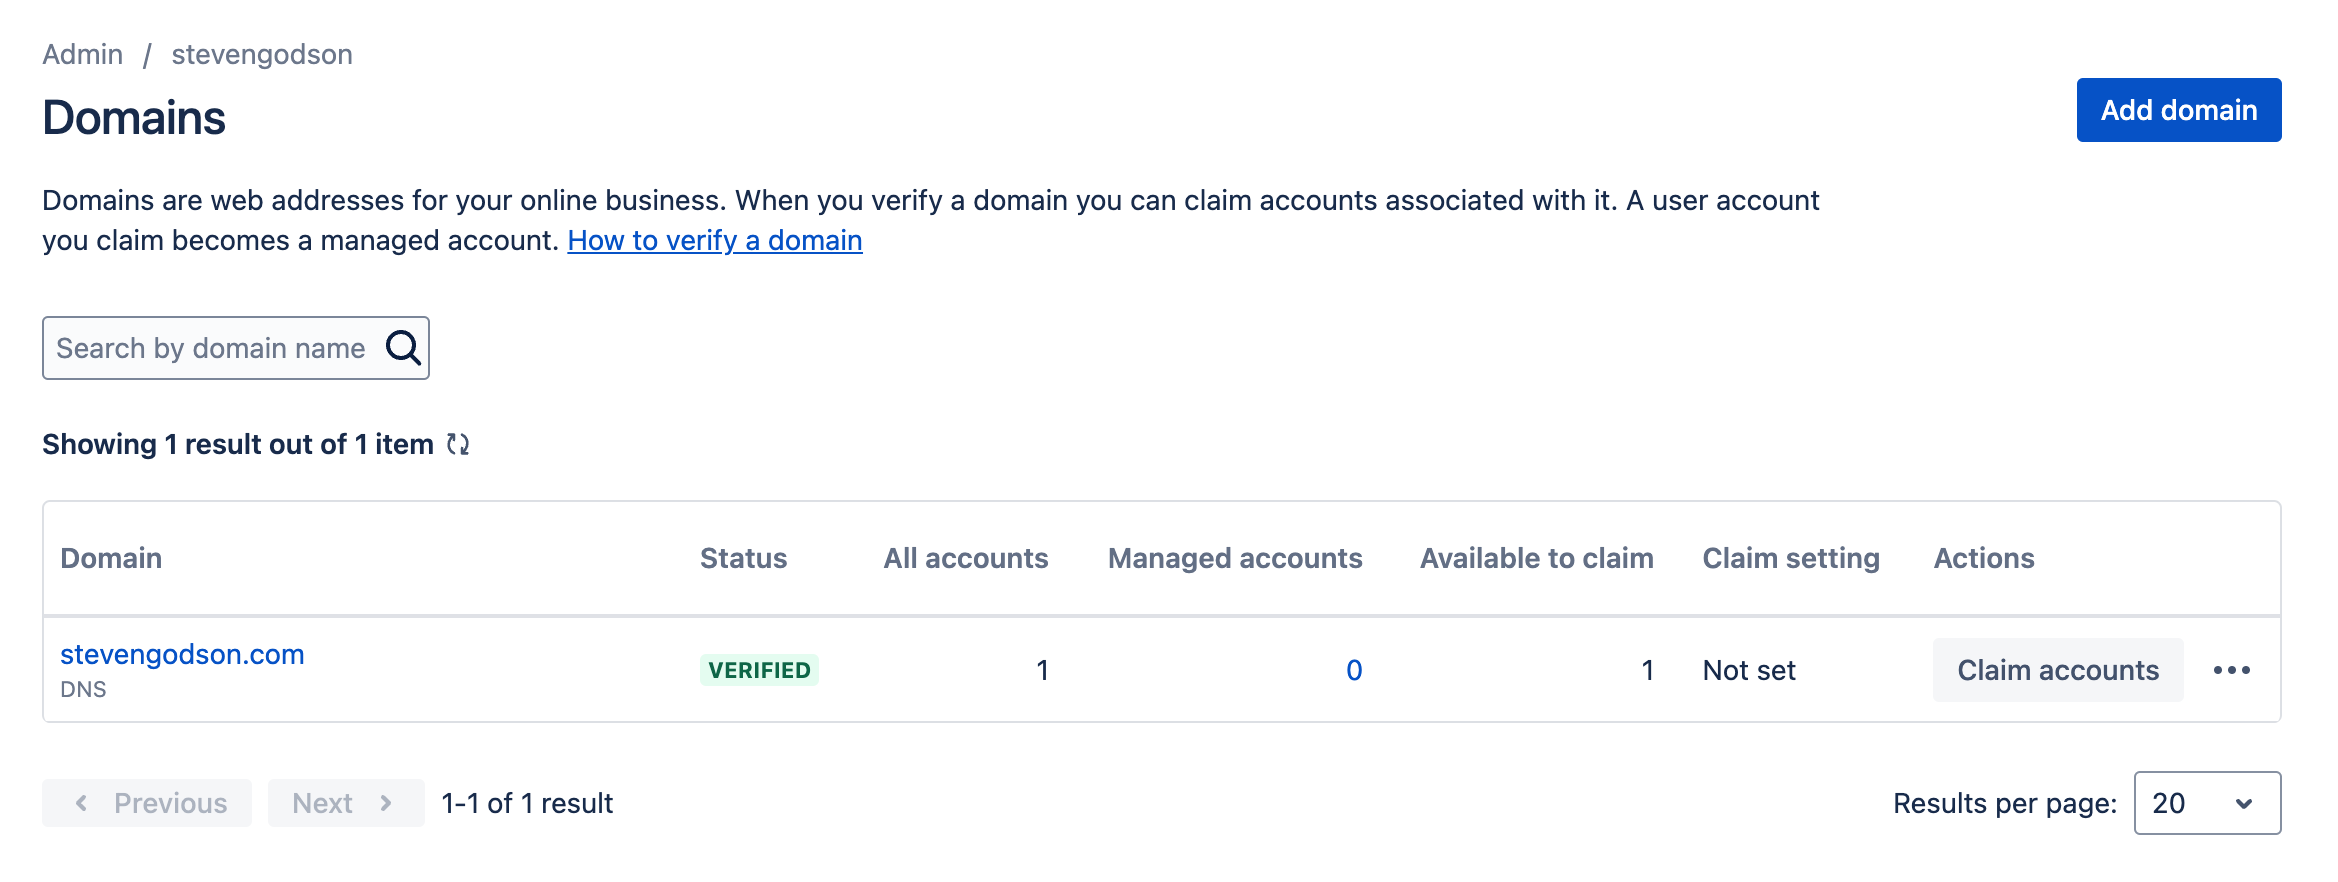
Once your domain is verified you can claim any existing accounts for the users under that domain. From this point, any users that are logged into their browser, using the verified domain can log in, using SSO, to Atlassian Cloud.
Access to specific projects within Atlassian will still need to be granted at the project level following the steps shown in the Basic User Management section of this article.
Identity Provider Integration
If you want to be able to control access to your Atlassian projects and products, through your existing federated user management tool, this can be achieved by implementing an Identity Provider integration using SAML and deploying Authentication policies.
This will, with the exception of Google Workspace, require you to take out a subscription to Atlassian Guard, which is licensed based on the number of users claimed rather than active, so I strongly advise you to check the current pricing and be sure you have a valid business case to proceed.
Once you have set up your Atlassian Guard subscription, or signed up to the free 14-day trial, navigate to the Atlassian Admin -> Security -> Identity Providers screen and select your identity provider.
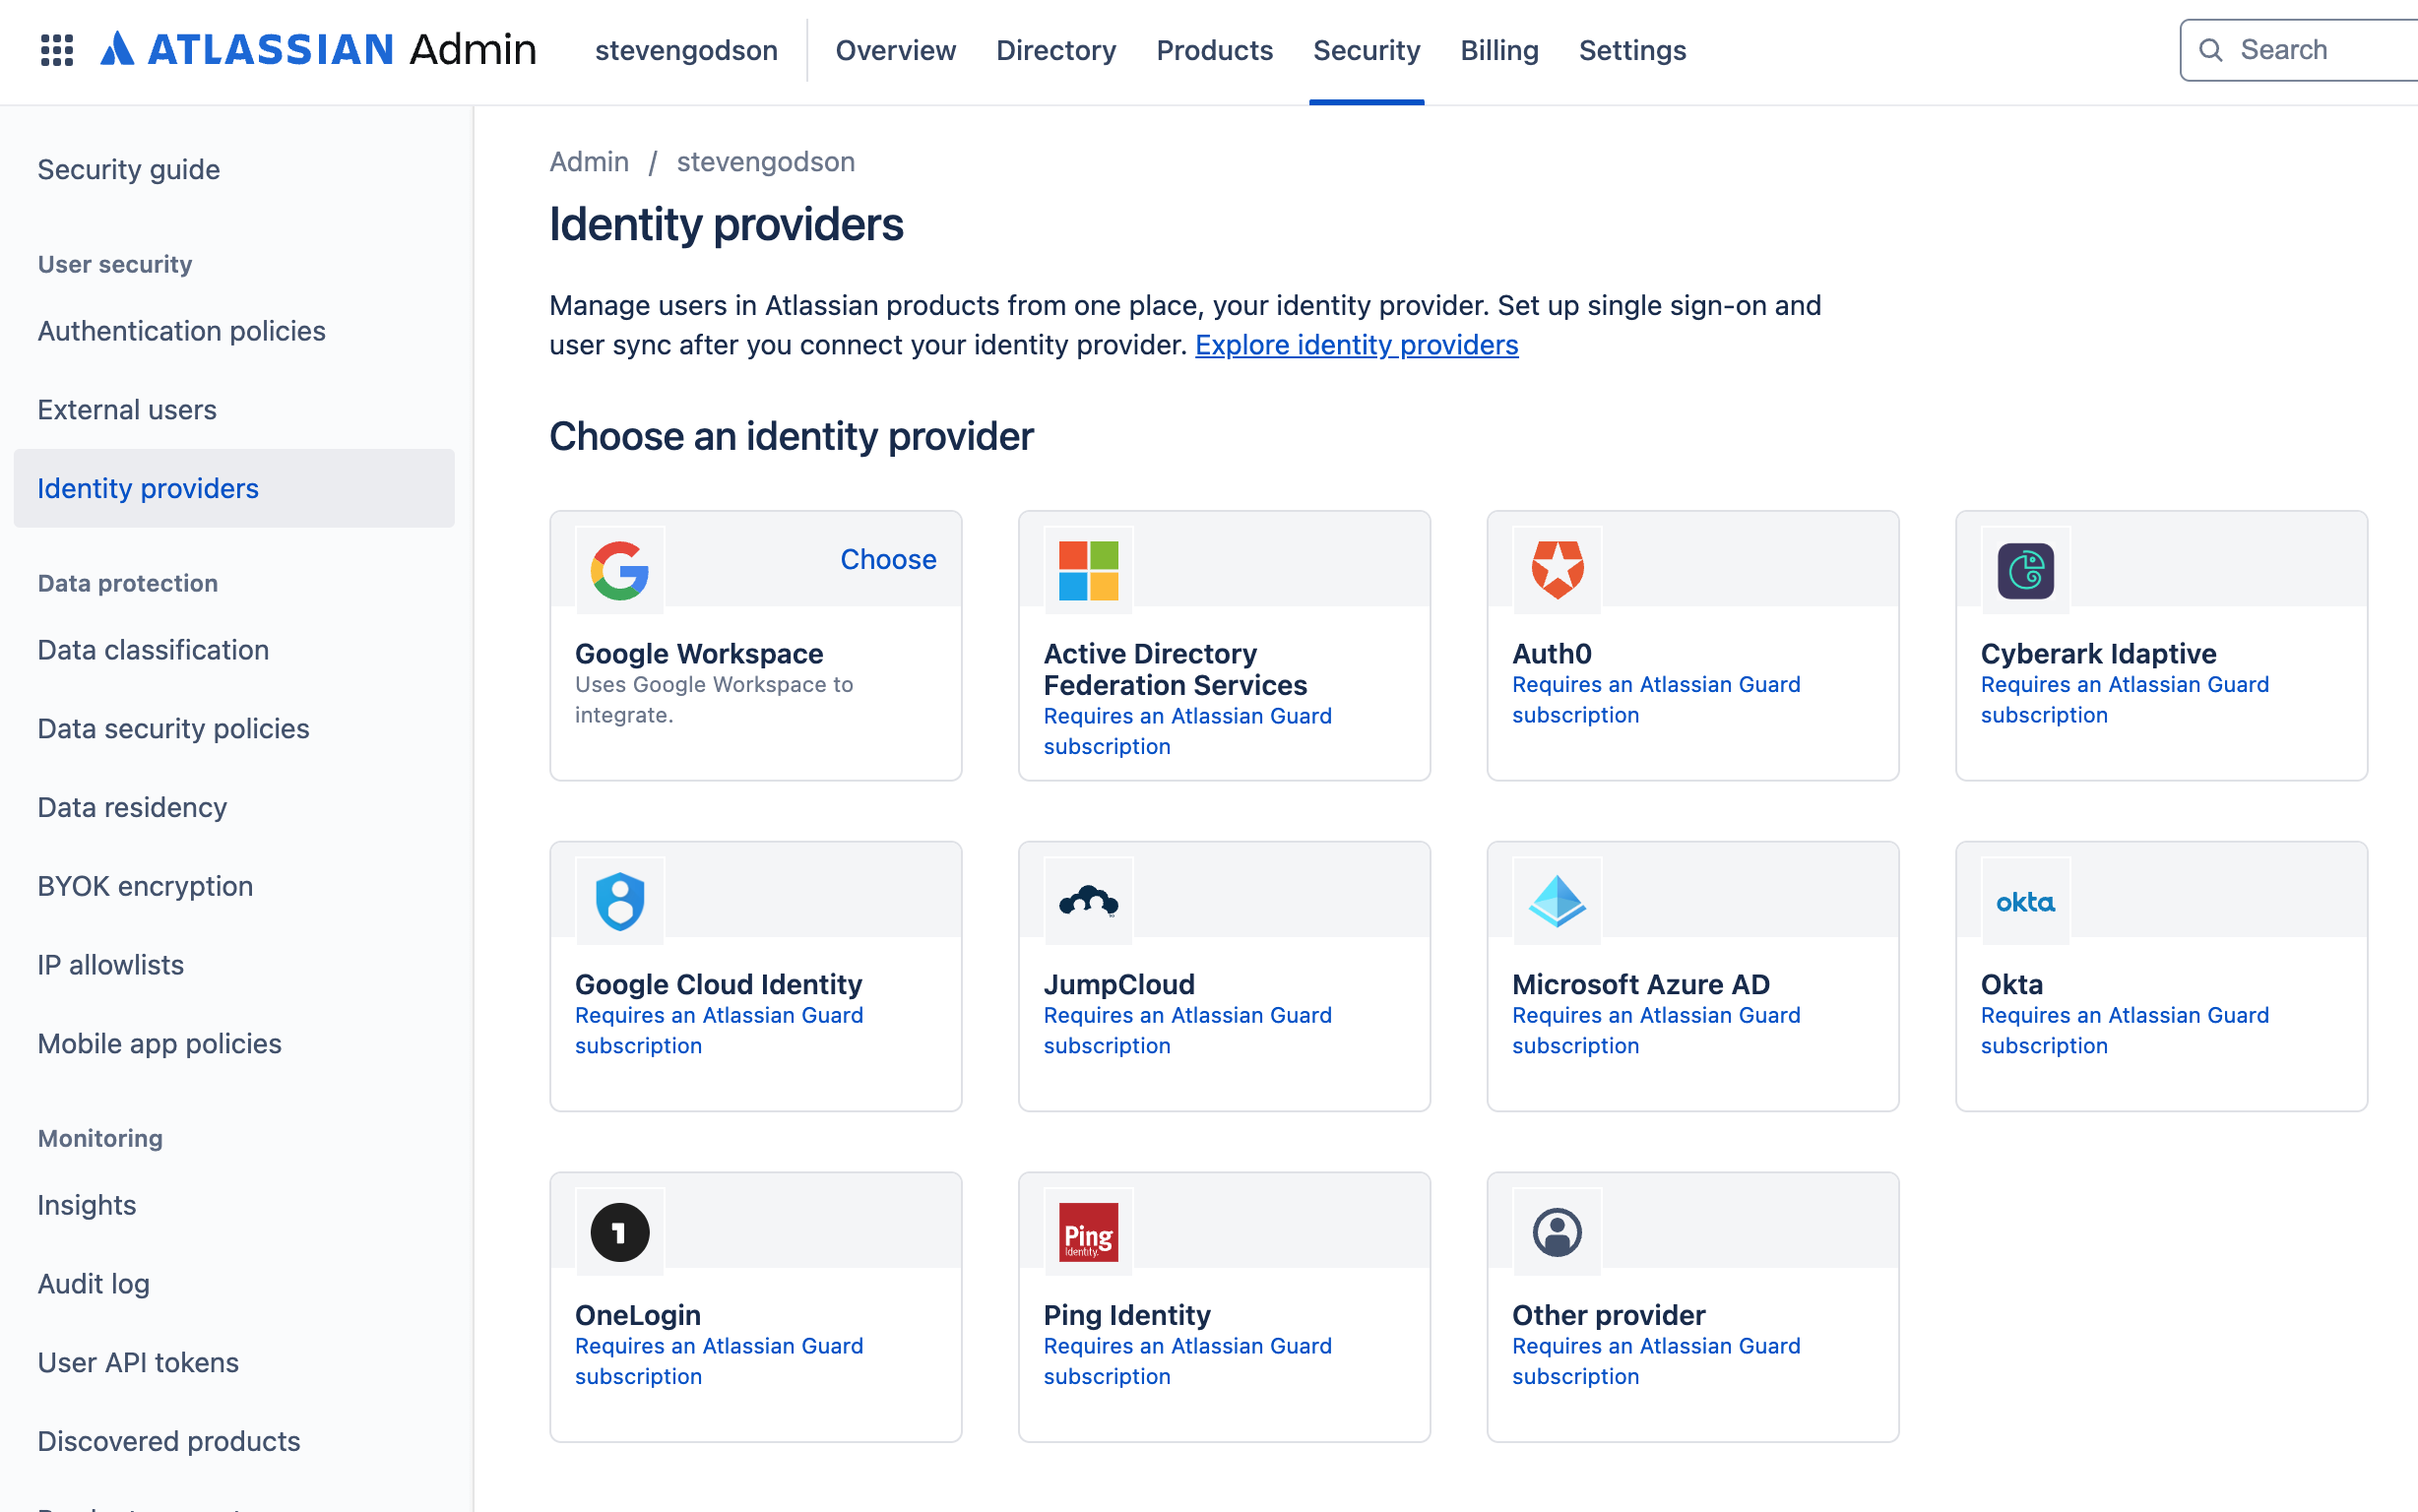
Note: most of these options will require you to verify your domain prior to setting up any integration.
If the workflow for your specific integration does not cover setting up Authentication policies, I recommend navigating to Administration -> Security -> Authentication policies and creating a new policy for your specific Identity Provider integration to enforce single sign-on for all sync’d users.
These policies give you control over whether
- A user needs to use Two Factor Authentication
- Log In using third-party login routes
- Use API Tokens to access the JSM APIs
- Set how long users can be idle before they are kicked out. Note: consult your organisation's Information Security Policies to ensure compliance with any mandated periods
Considerations
- If using groups to delineate role access, populate with a test user, wait for it to sync and test the access
- To give synced users with a group automatic access to certain projects, you just need to
- In Administration -> Directory -> Groups select the applicable group and give all members access to JSM and *Confluence
- In your JSM project go to Project Settings -> Access -> People and Access and add the user group to the appropriate JSM role (Admin, Service Desk Agent and Customer)
- The email addresses of the users, that are synced, MUST be the ones using a verified domain. Failure to do this means users will be treated External users and, as such, unmanaged
Conclusion
We have come to the end of the fourth article in this series. We have explored the User Access Management controls for JSM.
In the next article, we will go through the User Portal which is the main view for Service Desk Agents when working on different request types.
Hopefully, this has been useful to you and I wish you well on your ITSM journey…