
JIRA Service Management
Premium Features (Part 2)
Series: JSM, Post # 8
First posted: 2025-02-13
Read time: 10 minutes
Written By: Steven Godson
Greetings!
In today's fast-paced IT environment, organisations need robust tools to manage their service management processes efficiently. JSM Premium offers a suite of advanced features designed to supercharge your IT service management (ITSM) practices and help your teams work smarter and faster.
In this article, we will be exploring the key features that come with upgrading to Premium and how to implement them.
I am splitting this article as follows:
- Part 1: Key Features and Customer Engagement
- Part 2: ITSM Processes (this article)
- Part 3: Asset Management, Governance and Security
ITSM Processes
Problem Management
Problem Management in ITIL v4 is a practice aimed at reducing the likelihood and impact of incidents by identifying actual and potential causes of incidents and managing workarounds and known errors. The practice is divided into three main phases:
- Problem Identification: Activities for identifying problems include analysing incident records and identifying duplicate and recurring problems.
- Problem Control: After identifying problems, this phase involves taking a closer look at them to understand their nature and impact.
- Error Control: This phase handles recognised mistakes and may allow for the development of potential long-term fixes.
The purpose of Problem Management is to ensure that errors causing incidents are identified, understood, and eliminated quickly and reliably. This helps organisations to move away from daily firefighting and focus on more valuable work.
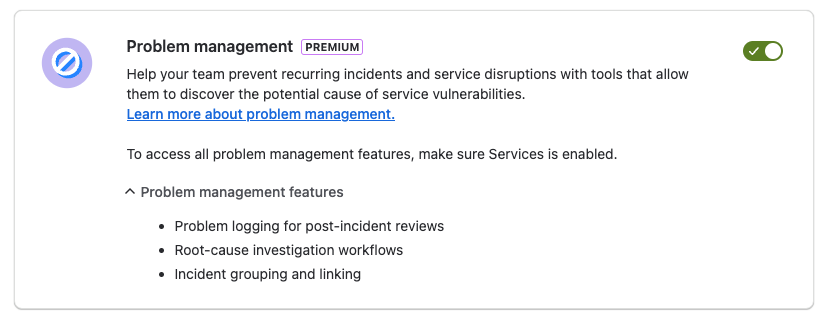
How to switch it on
Problem Management can be switched on by navigating to Project Settings -> Features and clicking on the switch at the top right-hand of the Problem Management card.
You will see this message appear at the bottom of the screen.
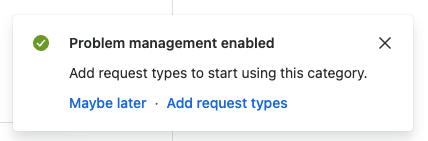
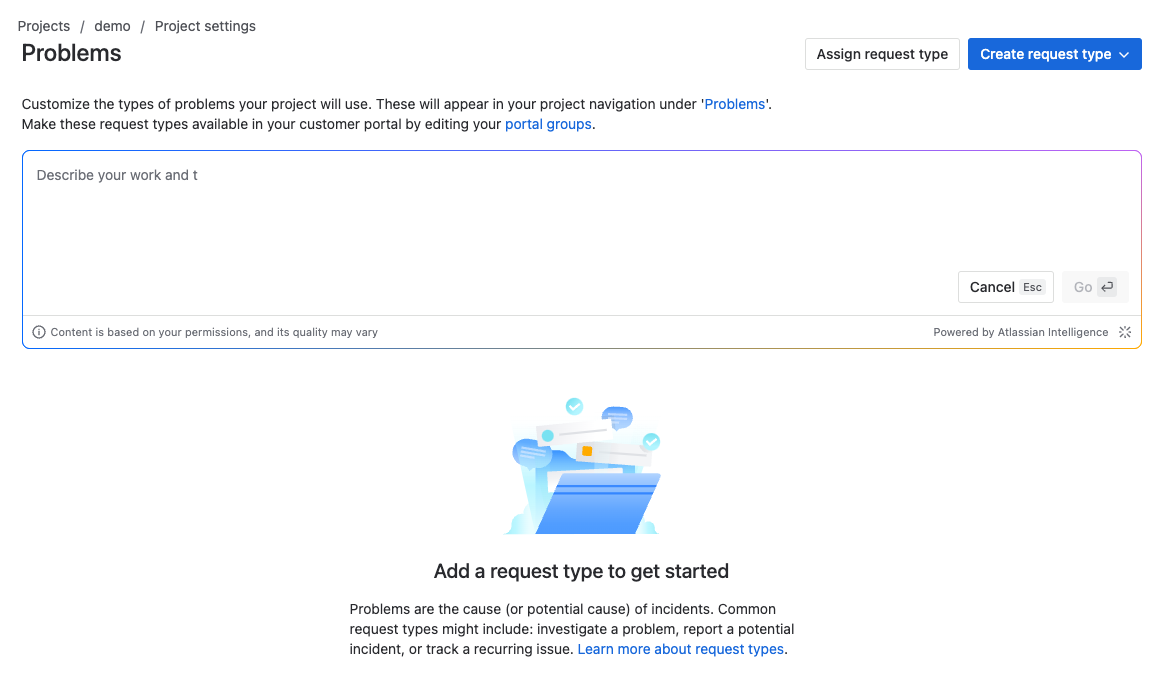
If you opt to add a request type at this stage you will be taken to the following screen where you can add a request type from…
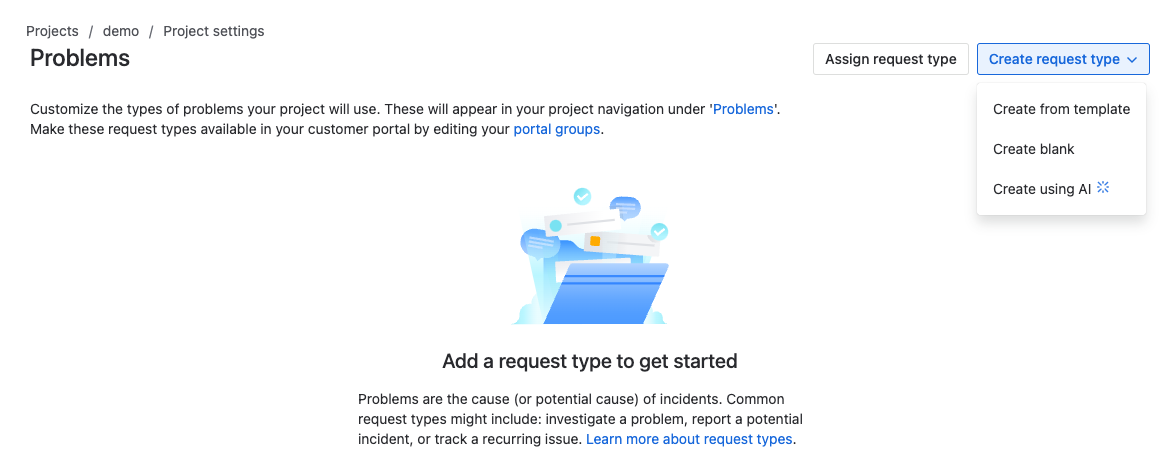
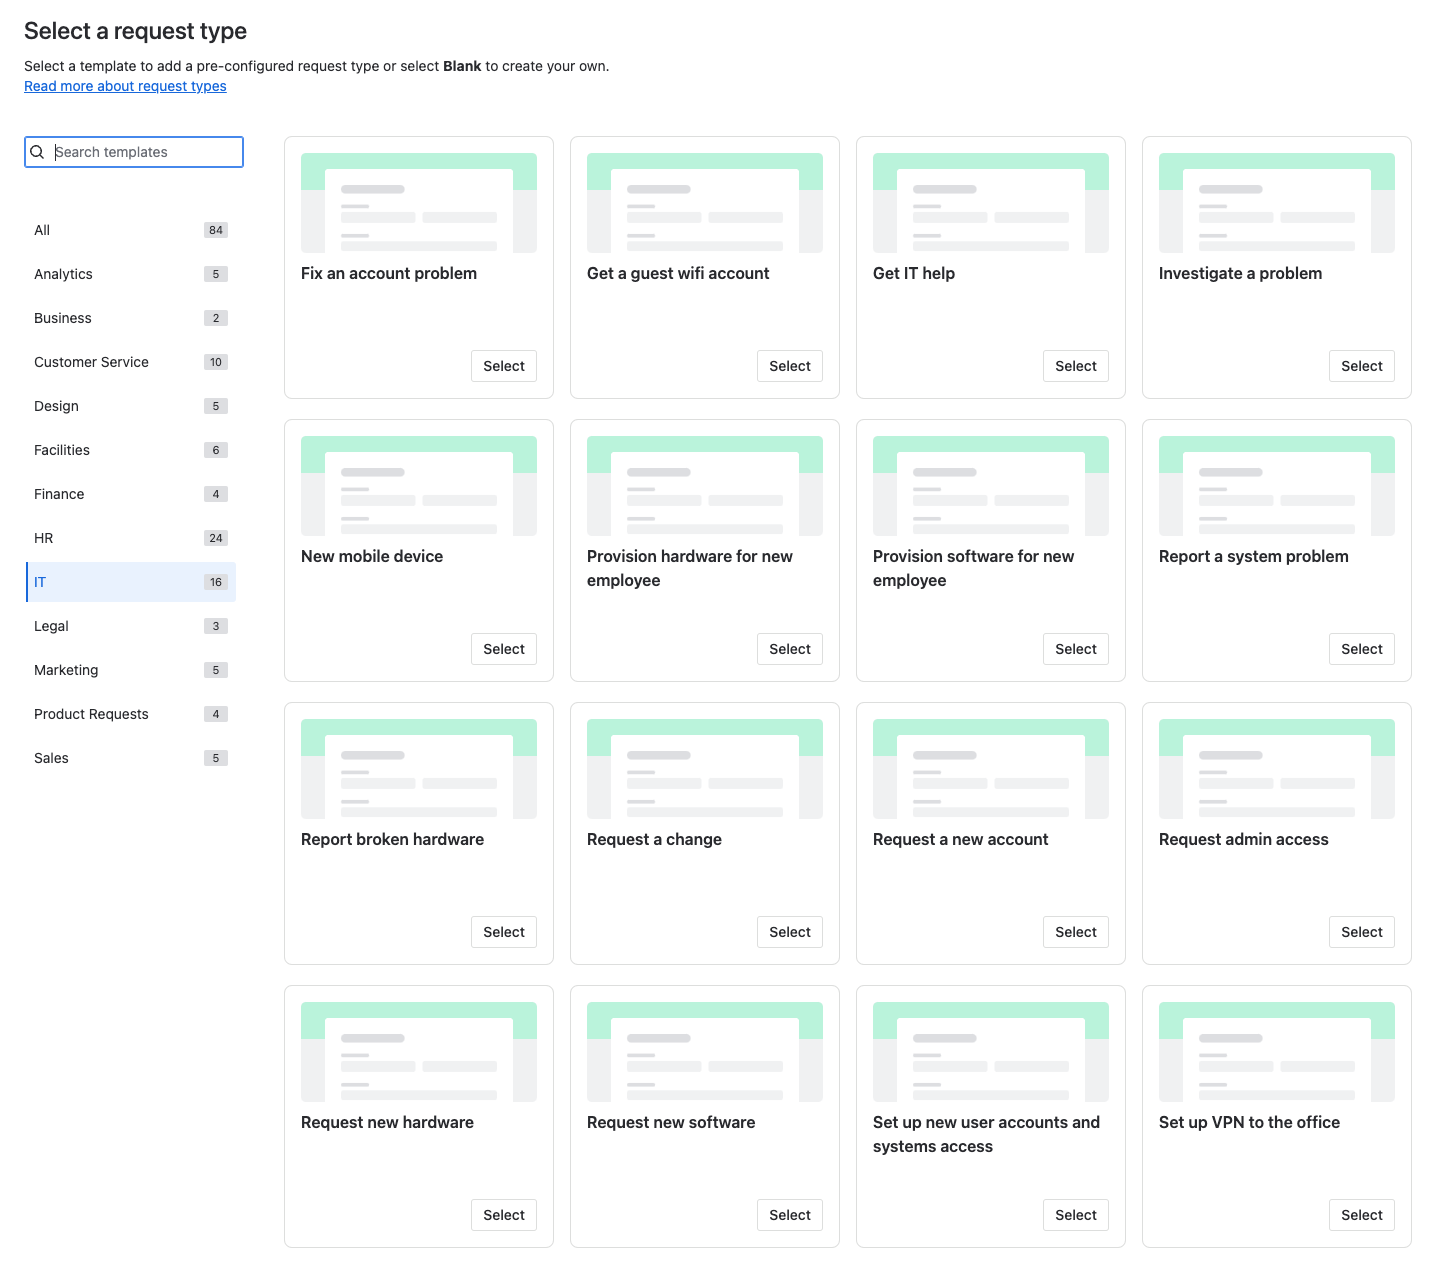
An Atlassian template…
From a blank request type…
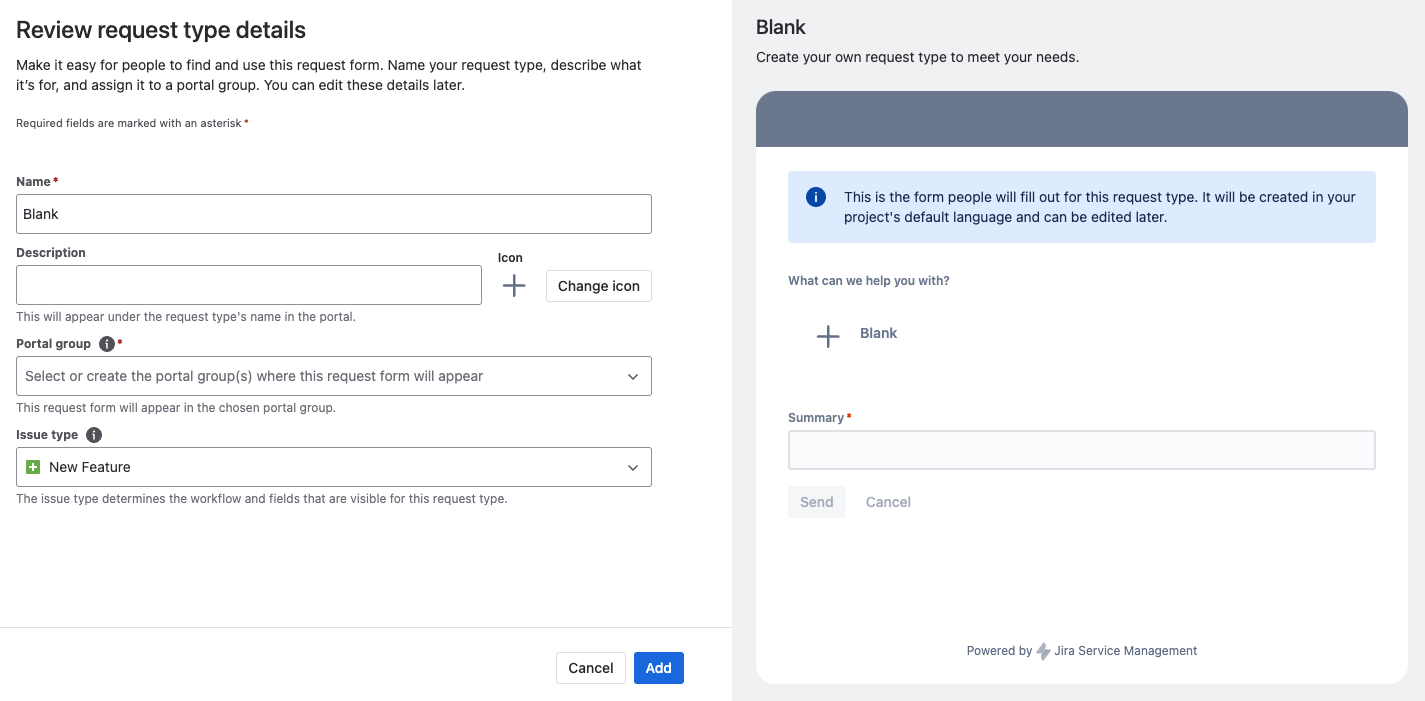
Or using AI.
Managing the request type
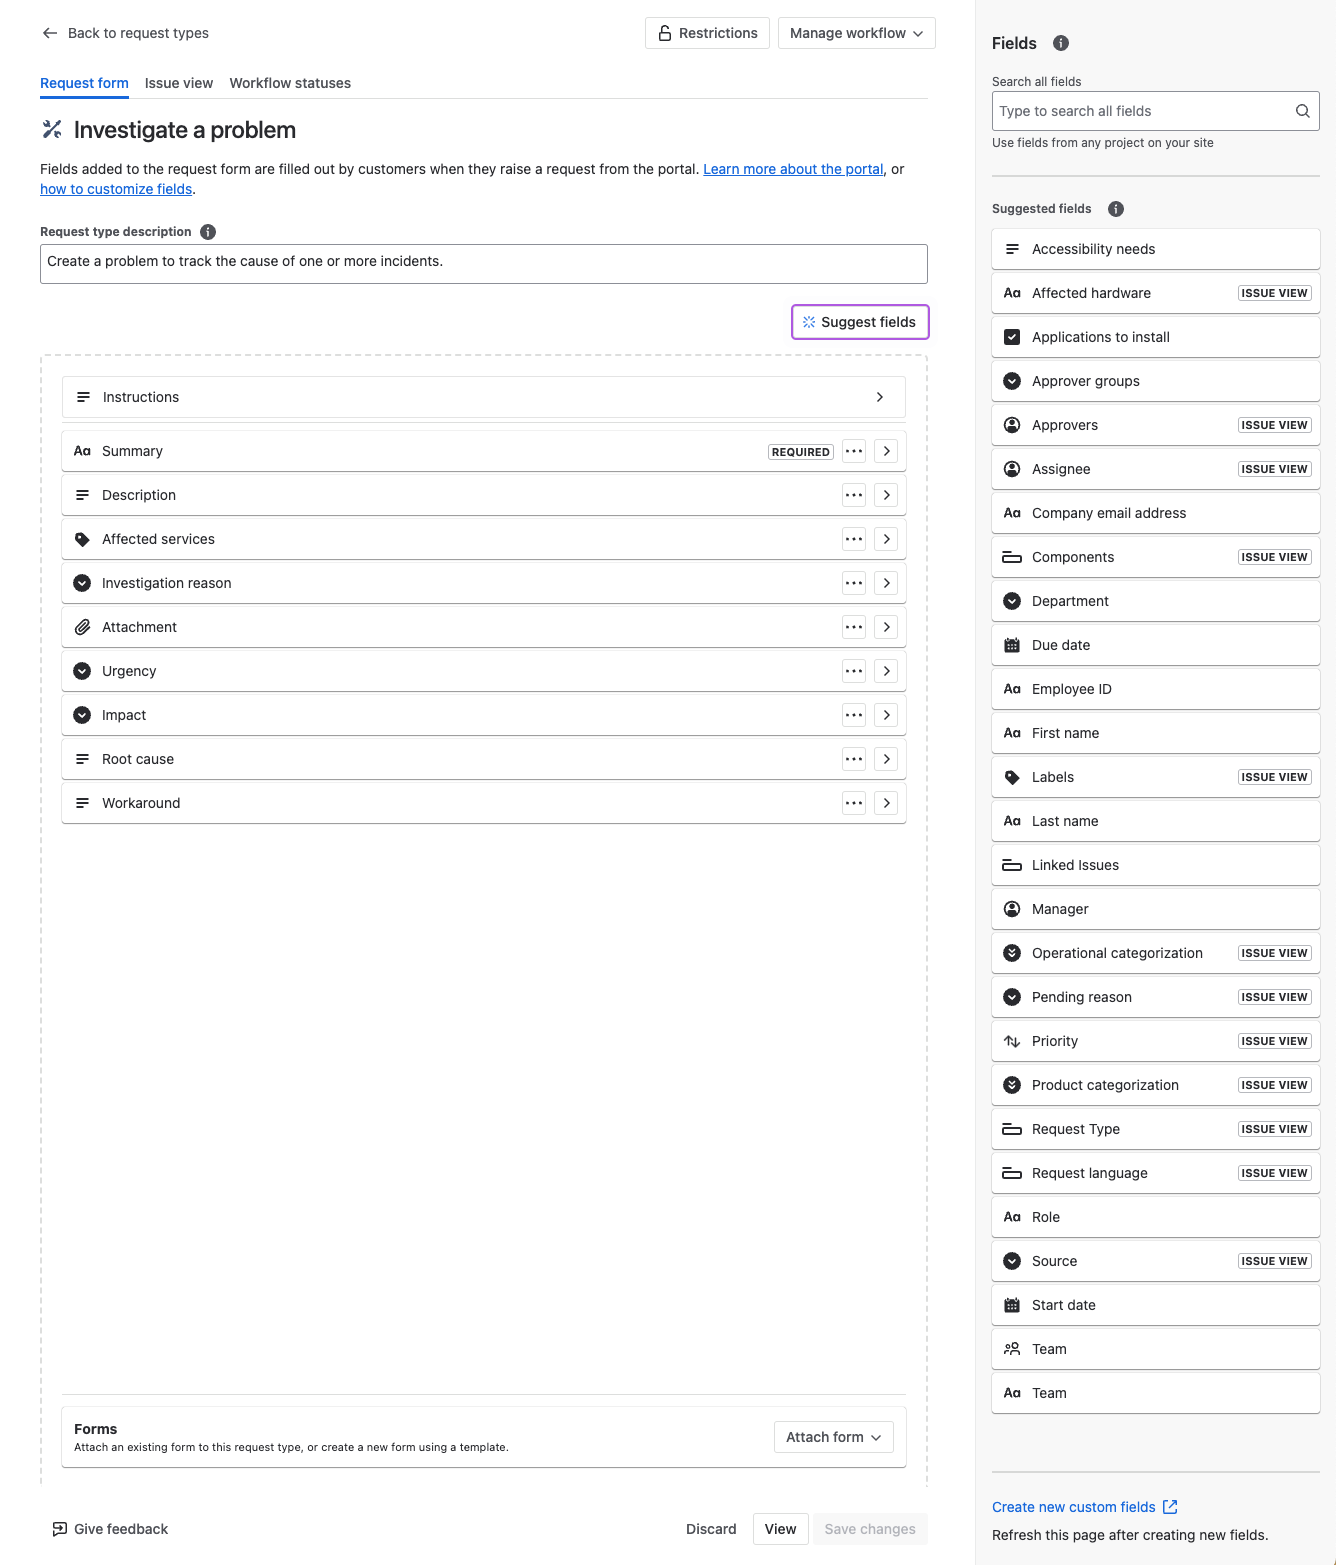
Once created you will be able to customise the Problem record through Project settings -> Request management -> Request types -> Problems.
You can configure the request form, used to raise a Problem, the issue view, used by those with the Service Desk Agent role to manage Problems and review/change the workflow statuses.
You can also view and edit the processes workflow, if required, to align with your business's Problem Management process.
Post Incident Reviews
What is it?
A Post Incident Review (PIR) in ITIL v4 is a formal meeting or process that takes place after an incident has been resolved. The goal of a PIR is to analyse the incident, understand its causes, and assess the incident management process itself. This review provides an opportunity for key stakeholders to review the incident, share insights, and document lessons learned.
The PIR is critical for organisations because it:
- Uncovers Root Causes: Identifies the underlying technical and process failures that contributed to the incident
- Promotes Learning: Provides a structured environment for teams to learn from mistakes or missteps
- Improves Future Response: Leads to actionable recommendations that enhance the organisation’s ability to respond to and prevent future incidents
- Ensures Accountability: Ensures that action items are assigned to responsible teams or individuals to prevent recurrence
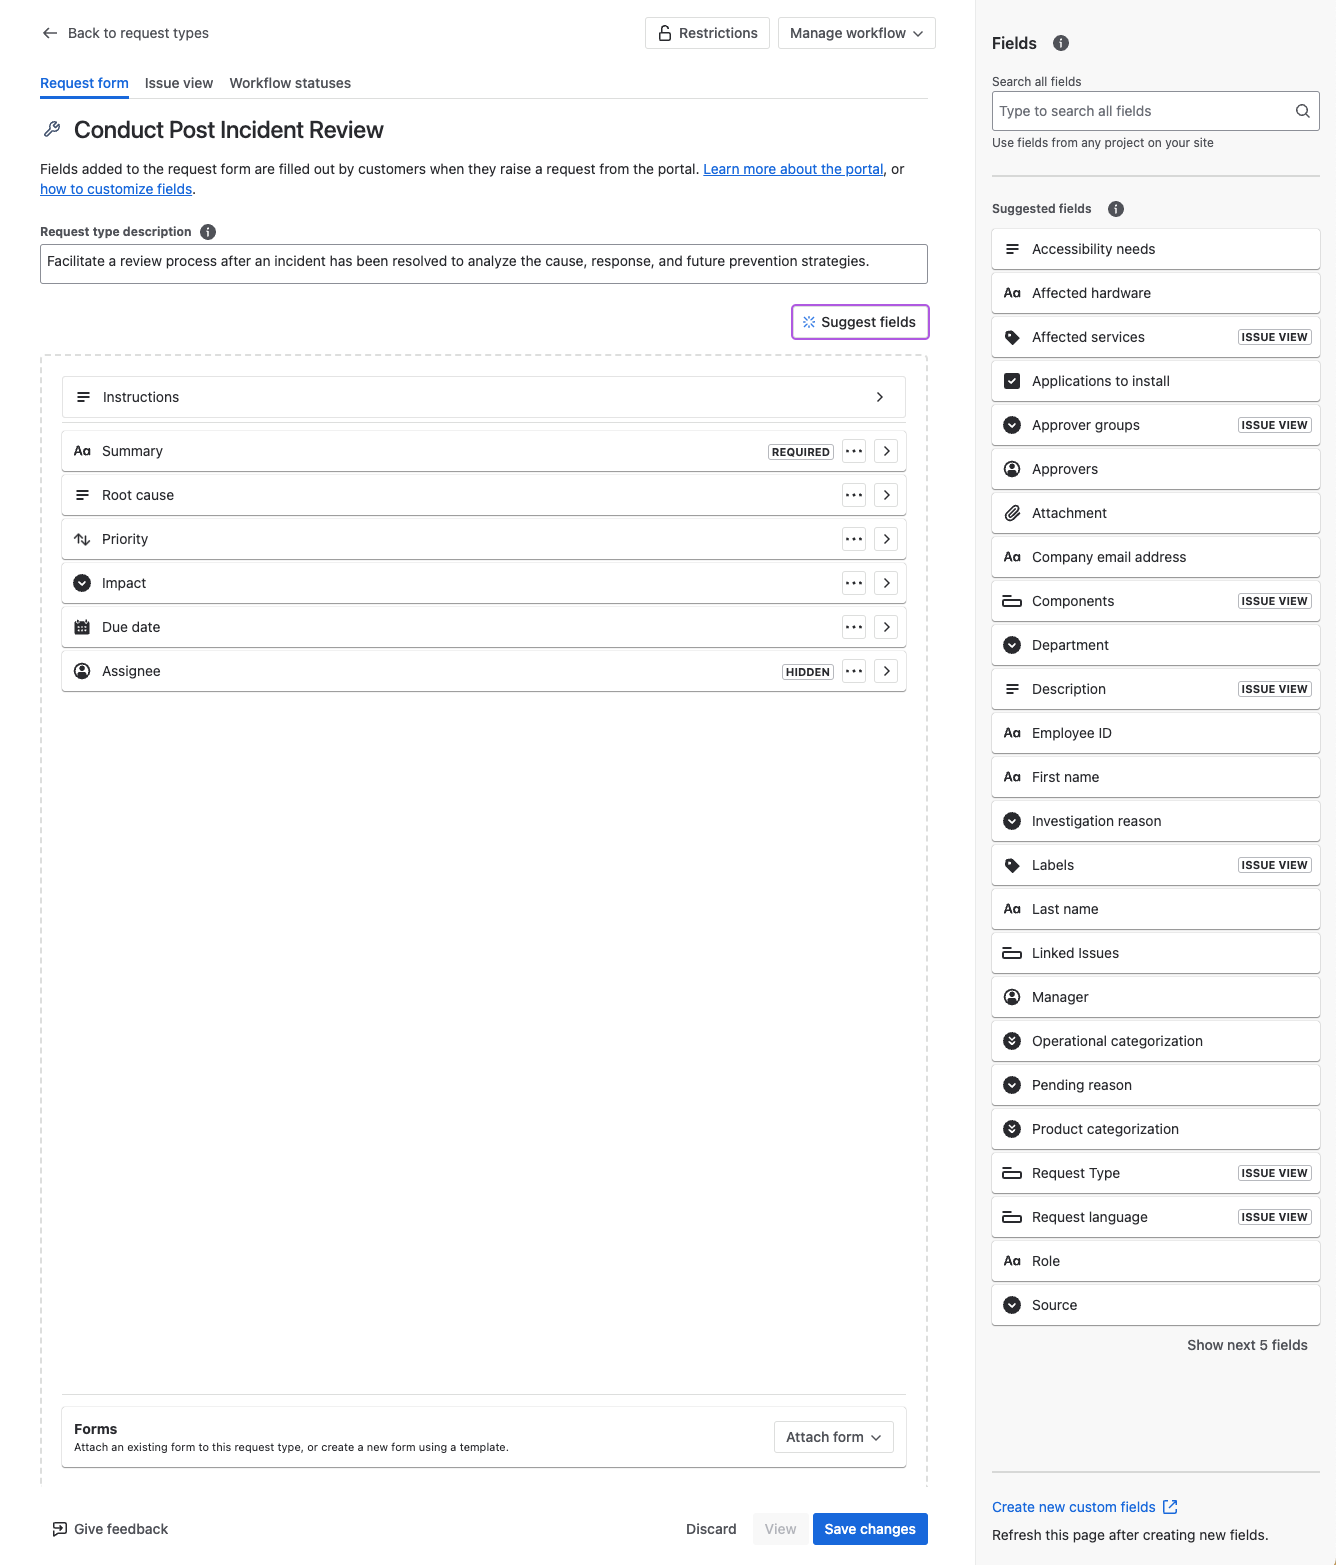
Creating and managing a request type
Creating and managing a PIR request type is the same as Problem Management, so I will not be repeating this.
Change Management
What is it?
ITIL v4 Change Management, also known as Change Enablement, is a practice within the IT Service Management (ITSM) framework designed to manage changes in a controlled and systematic manner. The primary objective of Change Management is to minimise the risk associated with changes while ensuring that beneficial changes are implemented efficiently.
Key aspects of ITIL v4 Change Management include:
- Evaluation and Approval: Assessing the potential impacts of changes and obtaining necessary approvals.
- Implementation: Executing changes in a structured way to reduce risks and increase operational efficiency.
- Risk Management: Identifying and managing risks associated with changes to prevent service interruptions and ensure stability.
Creating and managing a request type
Creating and managing a PIR request type is the same as Problem Management, so I will not be repeating this. However, I will highlight that there are plenty on templates to choose from, which allows you to have a request type for most conceivable ITSM scenarios, either out of the box or by customising a template.
Change management operations
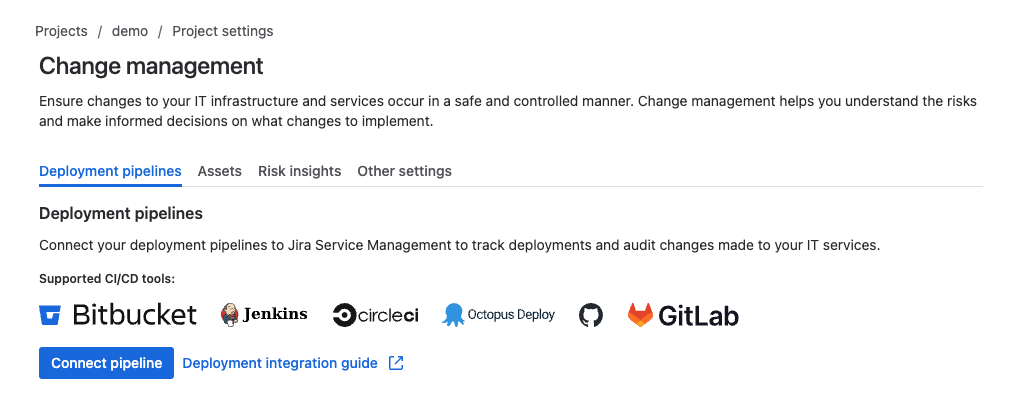
The Change Management functionality also opens up an entry under the Project settings -> Operations menu which gives you the following functionality.
Deployment pipelines
Connecting your Continuous Integration and Continuous Delivery (CI/CD) pipeline with your Change Management process is a great way to ensure that any modifications to production systems are carefully reviewed and approved. By integrating it with CI/CD, you maintain a high level of reliability while benefiting from the speed and automation of CI/CD
Assets
This screen enables you to link your asset records to Requests for Change (RfCs). This provide assurance that there is no ambiguity as to which specific assets an RfC relates to, and therefore the business risk of the change can be accurately assessed.

The two steps to do this are 1) creating a custom field that maps to your asset schema, and 2) adding that field to your change request types.
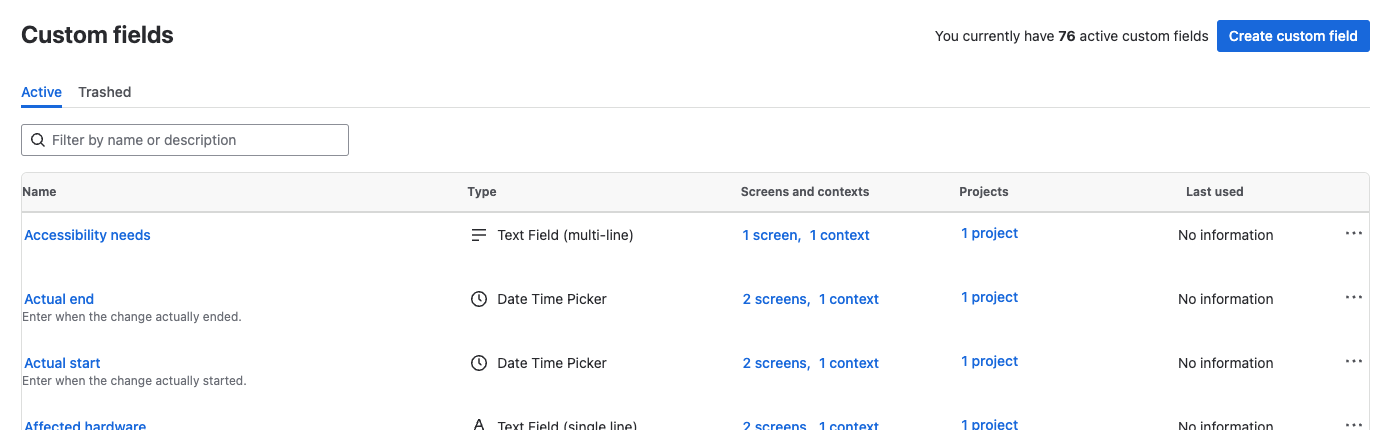
Let’s walk through this. Click on the Create custom field link and then the Create custom field button at the top right-hand of the screen that appears.
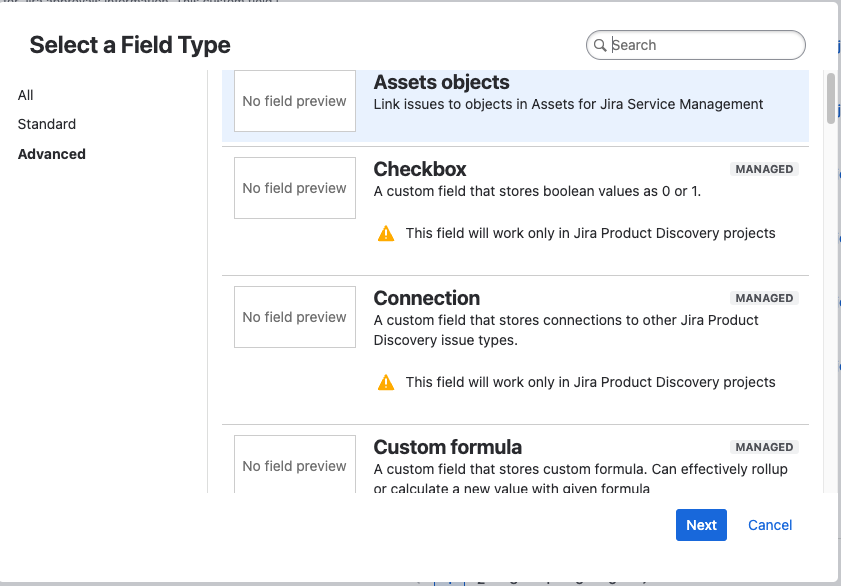
In the popup form, choose Advanced from the side menu and then the Asset Objects option. Now click on Next.
Provide a name for the field and a description. Now click on Create.
From the list of Custom fields that will appear, click on the name of your newly created field, then open the Context tab, and finally the Create, edit or delete contexts link.
From this screen click on the Edit Assets object/s field configuration link.
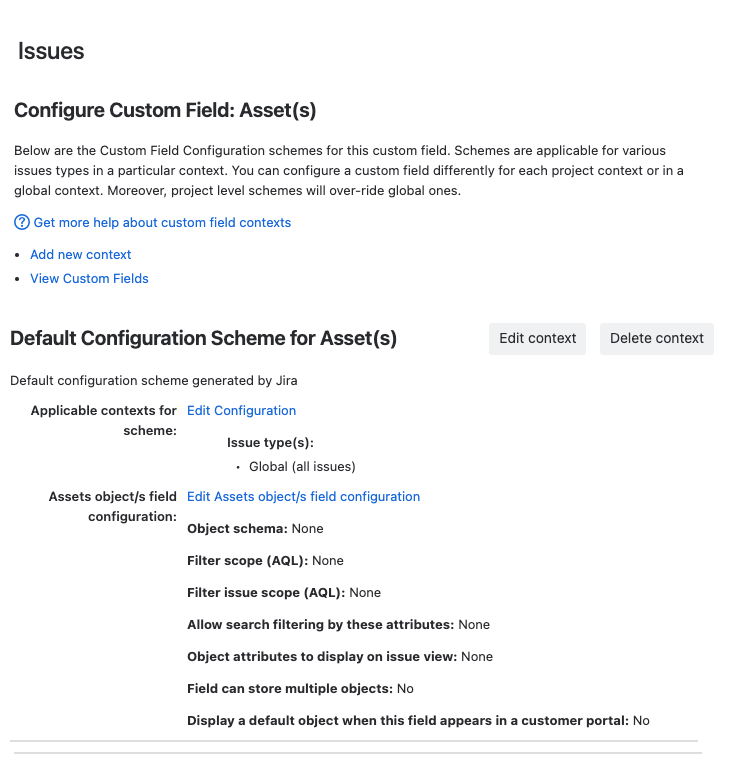
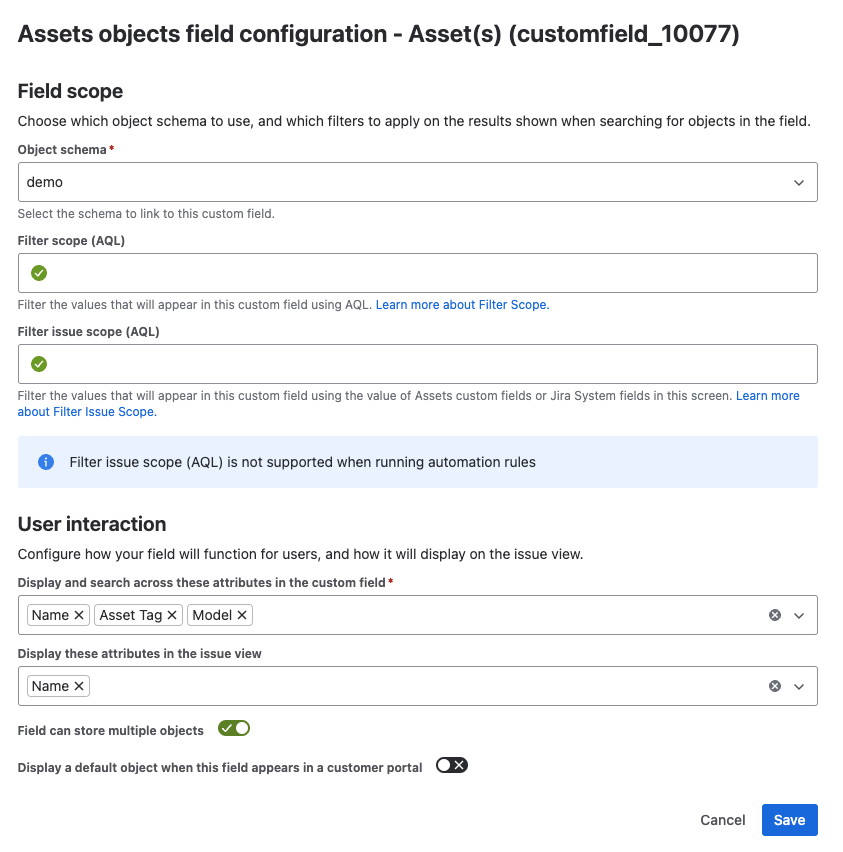
On the next screen you need to specify, as a minimum.
- Object schema - your asset schema
- Which fields users can search against in the custom field
- Which field will appear in the field for the issue view
- Whether the field allows multiple selects, crucial if your RfCs will relate to more than one asset
Click on Save when ready.
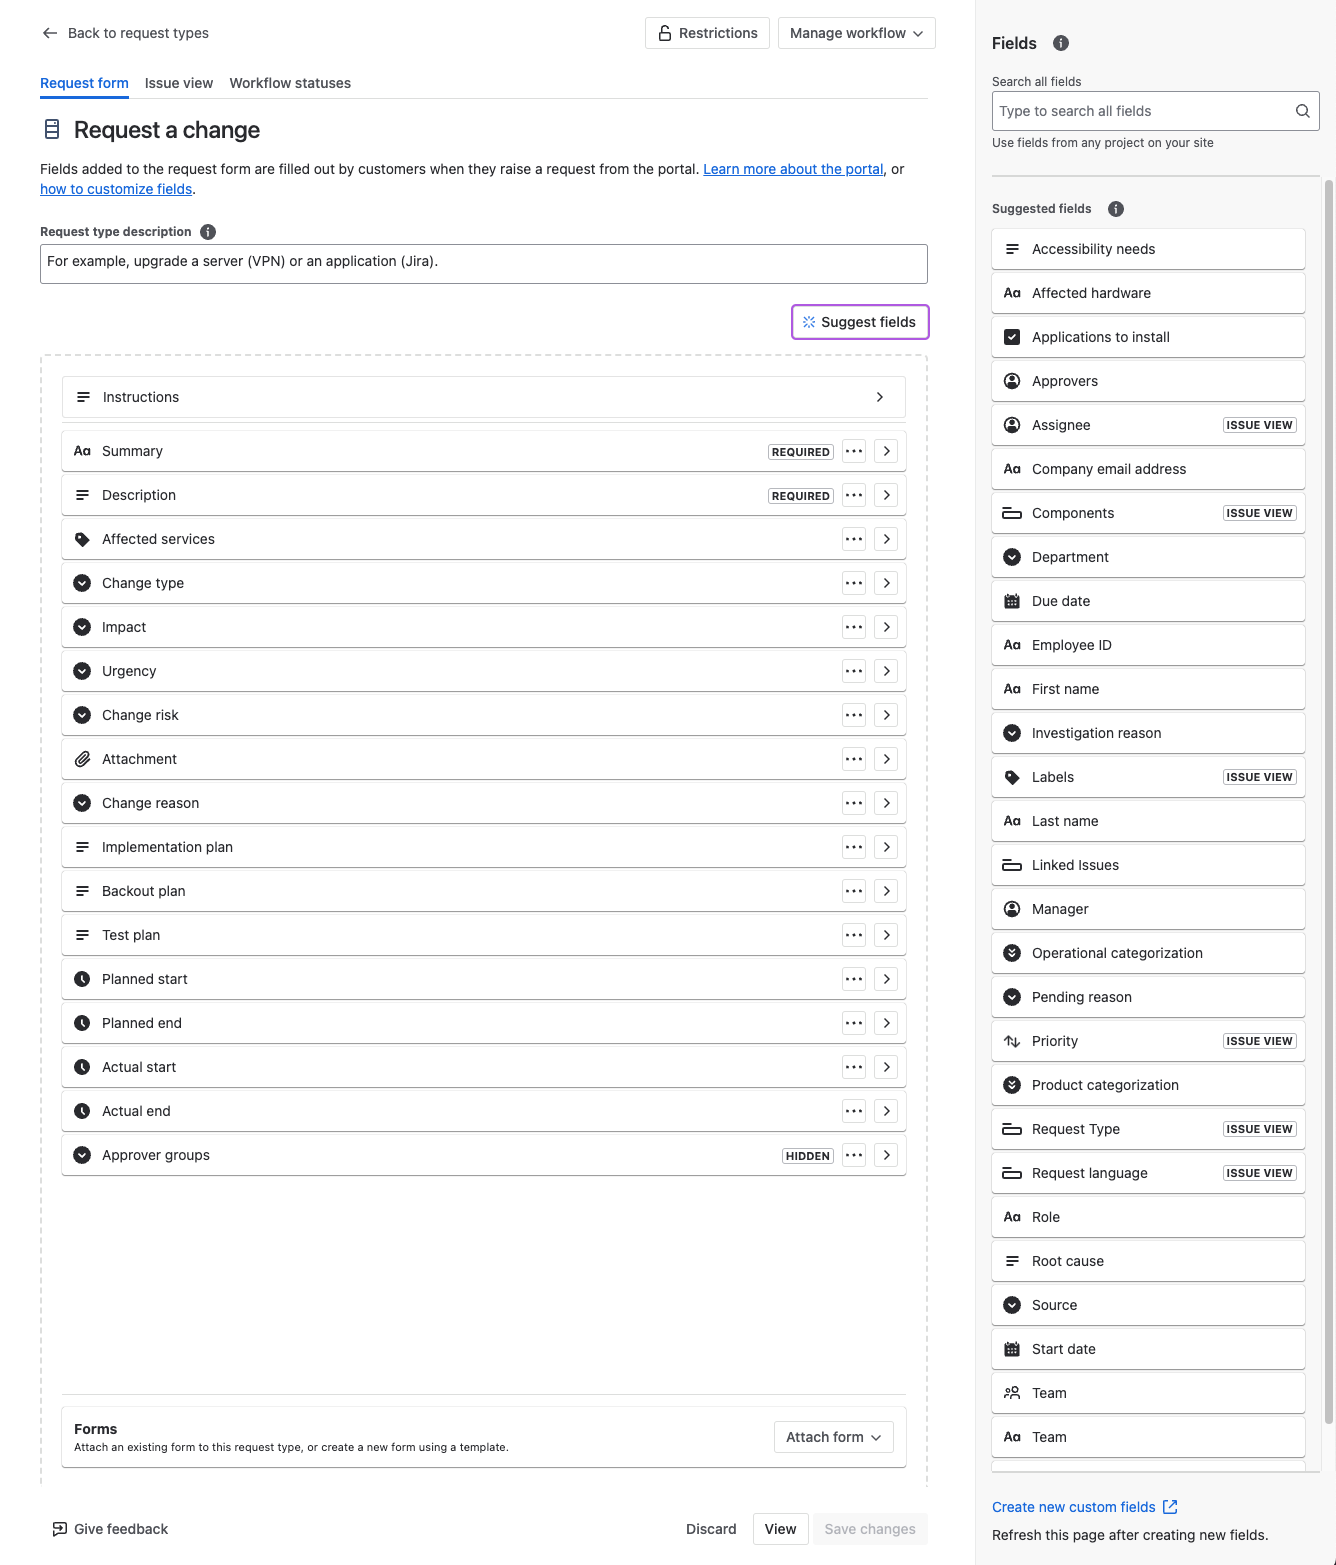
Now navigate back to the Project settings -> Operations -> Change management -> Assets screen and click on the Request a change link. Note: if you have more than one request type under for changes these will all be listed here.
Now drag your new custom field from the right-hand of the screen and place it where you want it to be in the list of existing fields. Once you and ready click on Save Changes.
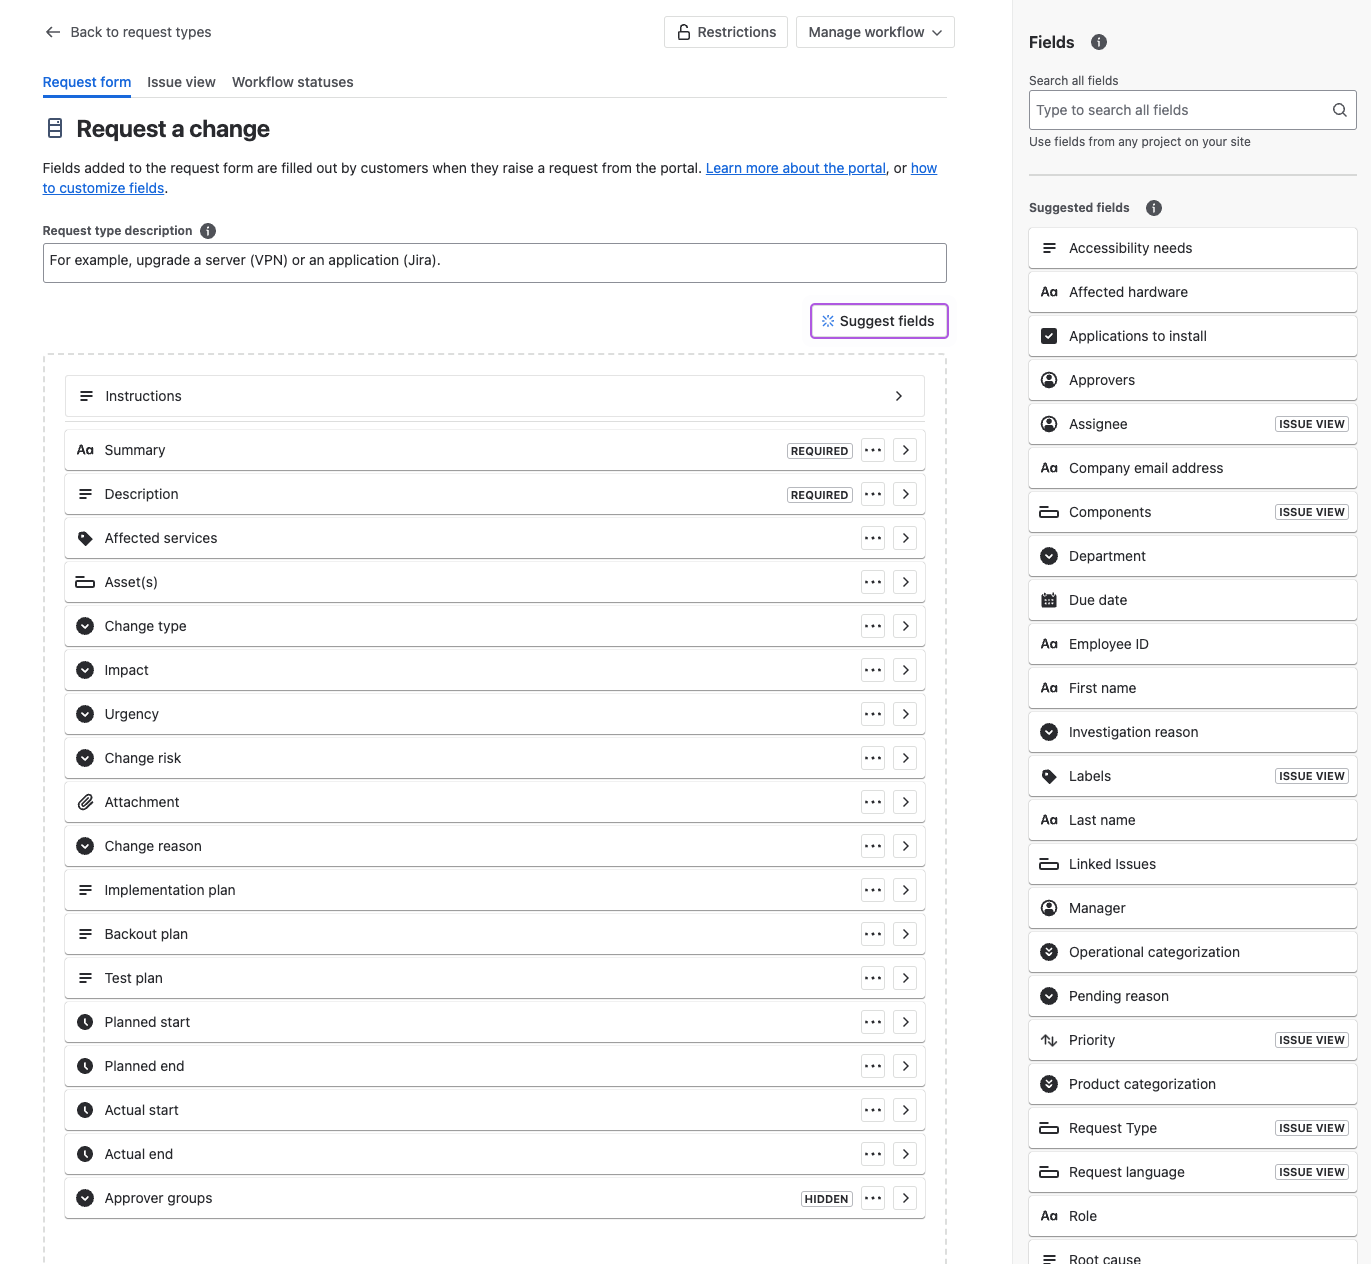
Your field is now visible whenever someone creates or views the assigned request type(s).
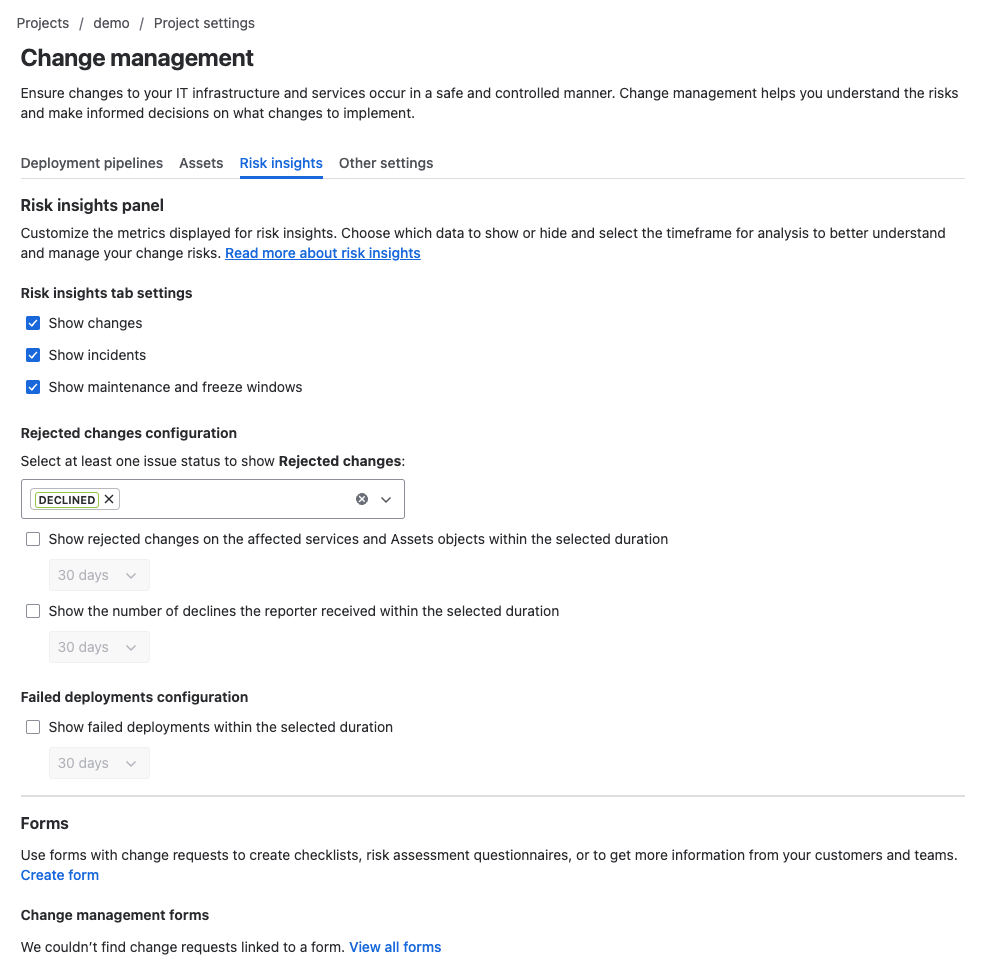
Risk insights
This area lets you set.
- Which risk insights tabs are visible on the View screen for Change request types
- Specify the status to be used for rejected changes and specify time windows if you want to show rejected changes
- Specify the time window if you want to show failed deployments
- Create standard forms for use within your Change request type to drive consistency of data capture
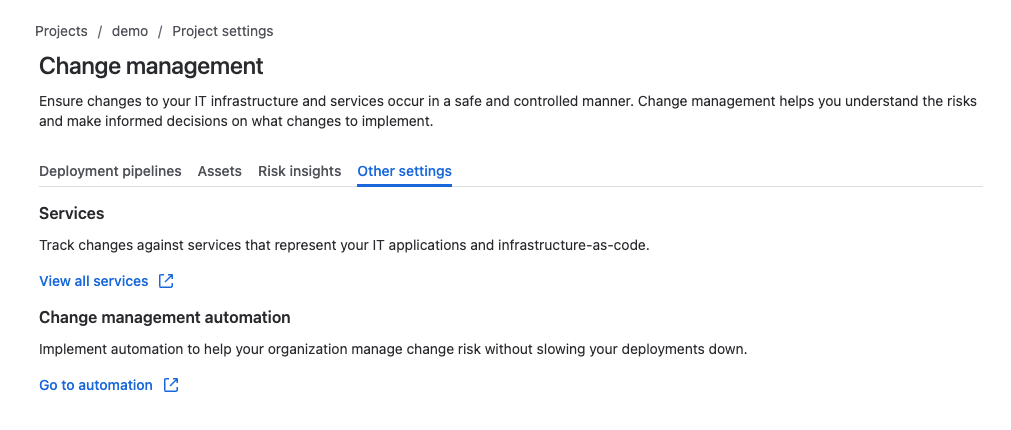
Other settings
This area links to.
- The list of services that you may or may not have configured within your project. Services are separate from assets as they relate to a service that is delivered to a customer and may consist of one or more assets
- The automation area of the project where you can create automation rules using existing templates on Atlassian’s AI tool
Advanced Alert Integration
Premium gives you the ability to integrate JSM with one or more Enterprise Management tools. This means that your service desk agents will have visibility of alerts that have been generated in your service(s) and, depending on how much automation you want to use, go from automatically raising Incidents to automating Incident response and resolution.
This is a large topic, which deserves a detailed look, so I will cover this later in the series.
Conclusion
In summary, JSM Premium stands out as a comprehensive solution tailored for modern IT service management needs. By harnessing its advanced features, organisations can streamline their service management processes, enhance efficiency, and provide exceptional service delivery.
From advanced incident management to AI-powered capabilities, and robust support to enhanced security, JSM Premium equips teams with the tools they need to excel in a fast-paced digital landscape.
Embrace the power of JSM Premium and unlock new levels of productivity and reliability in your IT operations.
Hopefully, this has been useful to you and I wish you well on your ITSM journey…